


21
SERVICING INSTRUCTIONS
REPLACING PARTS
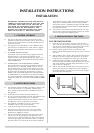
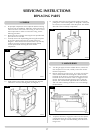
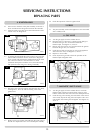
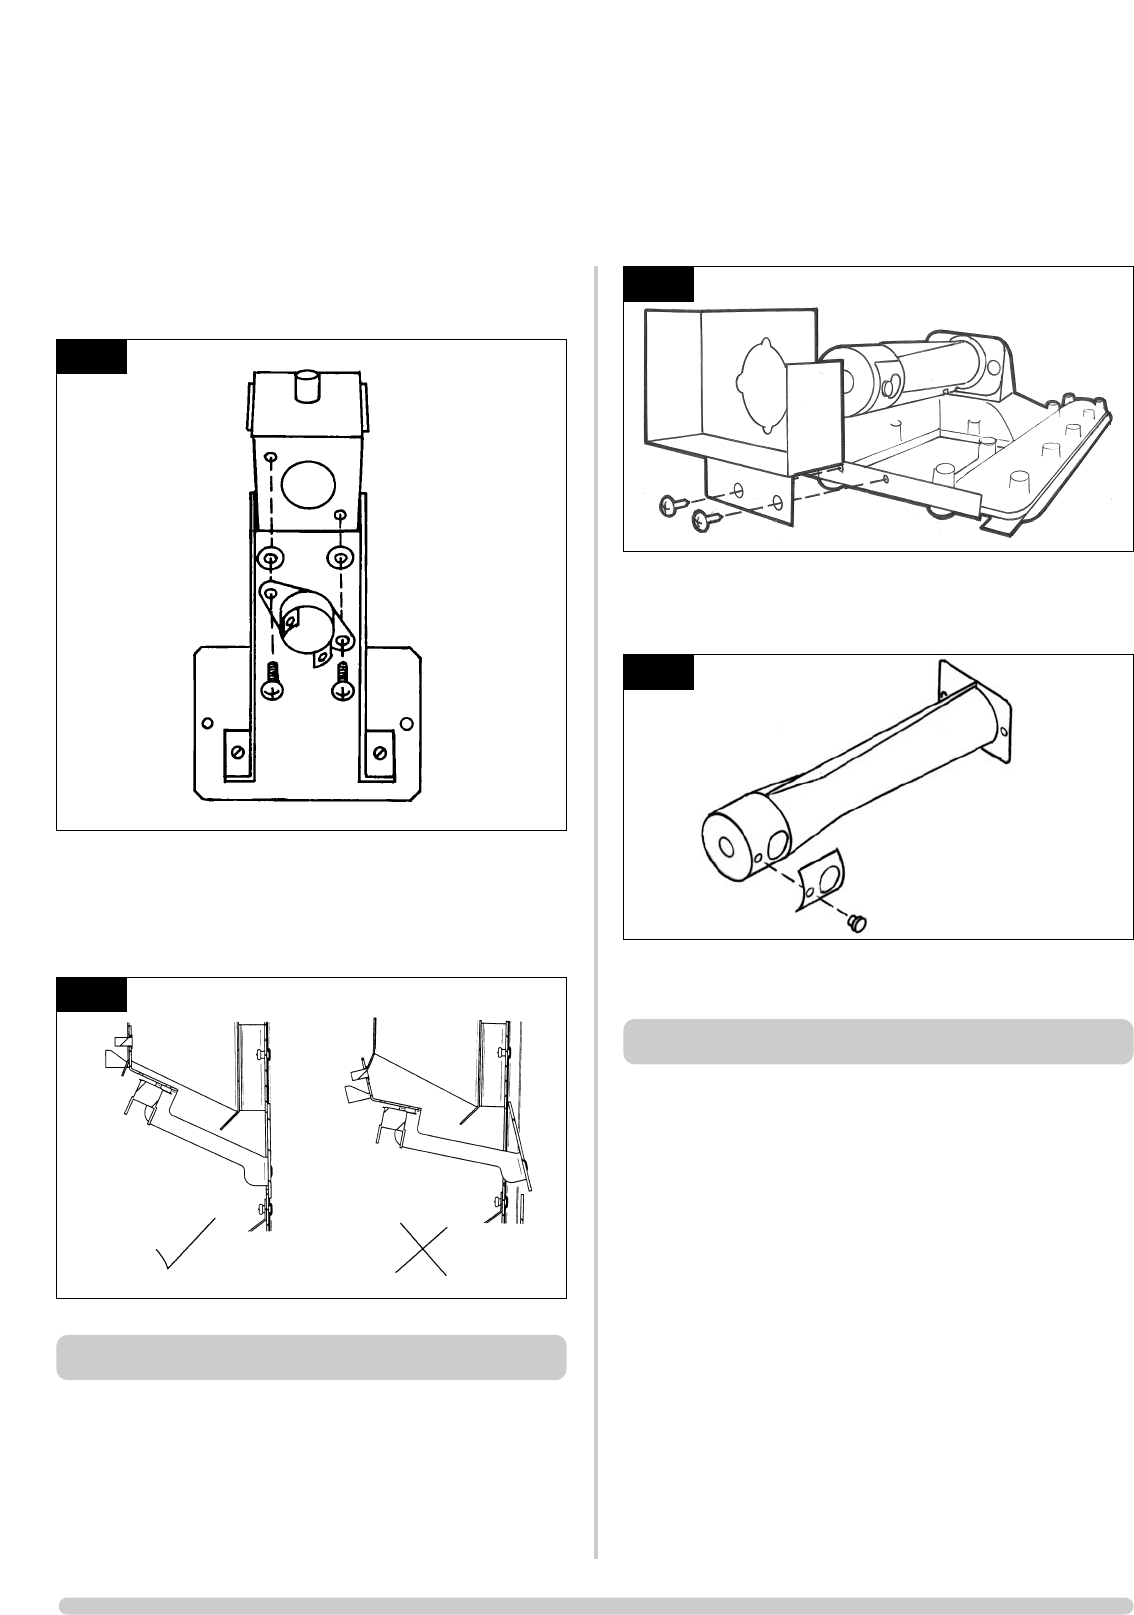
9.5 Refit the new sensor, ensuring that the plastic spacers are
between the sensor and the bracket. Refit the leads. See
Diagram 20.
9.6 Feed the cable back through the hole as you replace the
bracket. When the bracket is located correctly it will sit
flush with the back panel without force required. If not
positioned correctly the bracket will sit at an angle. See
Diagram 21.
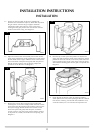
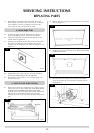
10. PRIMARY AERATION PLATE
10.1 Turn the gas supply off at the isolation device.
10.2 Refer to Section 2 to remove the main burner.
10.3 Remove the two screws on the burner skin to detach the
venturi cover from the venturi. Slide the venturi cover off the
venturi as per diagram 22.
10.4 Change the aeration plates to those stated in the technical
specification for the gas the product will be using, refer to
the databadge.
NOTE: EVEN IF NO AERATION PLATE IS REQUIRED, THE
SMALL SCREW MUST BE REPLACED.
11. CHANGING BETWEEN GAS TYPES
In order to change between gas types, it will be necessary to
change the following items.
- Pilot Injector
- Control Valve
- Main Injector
- Main Burner
- Aeration Plate (if required)
- Databadge
The relevant parts can be ordered from Gazco, always quote
the appliance type and serial number when ordering spare
parts.
** NOTE: THE CONTROL VALVE IS FACTORY PRESET
FOR CORRECT GAS TYPE AND MODEL, A NEW UNIT
WILL NEED TO BE ORDERED WHEN CHANGING
BETWEEN GAS TYPES.
AR0619
23
AR1608
22
AR1452
20
AR1447
AR1448
21