14
920-087-04 (3-05)
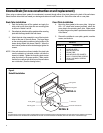
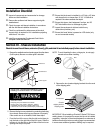
Section III – Chassis Installation
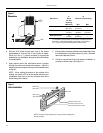
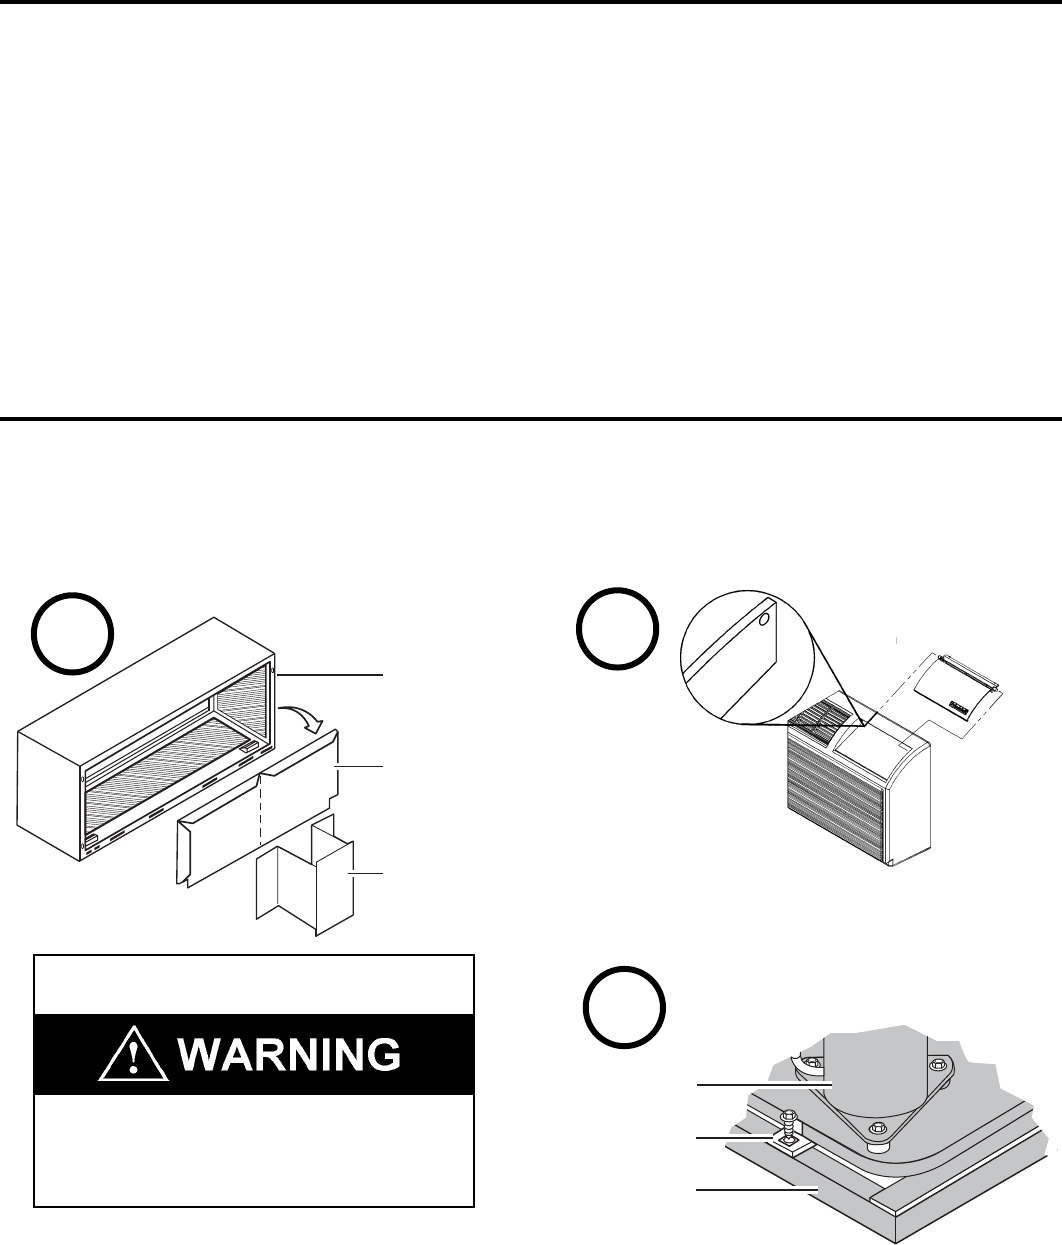
1. Remove the weatherboard and center support from the sleeve
(if still in place). Be sure an outdoor grille is attached.
Check to be sure the wall sleeve, extension (if used), grille, and drain kit are installed properly before chassis installation.
2. Remove the front cover contained in a protective plastic bag
from chassis. Remove the bag and dispose of it properly.
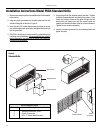
If the control door is not installed, follow these steps:
• From the front of the cover, slide the right control door pin
into the hole on the right side of the front cover. Slide the
left door pin into the hole on the left side of the front cover
opening and snap it into place.
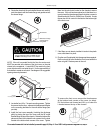
3. Remove the two chassis shipping brackets from the ends
of the shipping pallet.
NOTE: To avoid breaking the door or hinge pins, do not apply
excessive force when installing
Suffocation hazard
Keep bag away from babies and children.
Do NOT use in cribs, beds or playpens. Destroy
immediately after opening. This bag is NOT a toy.
Failure to do so can result in personal injury and/or death
IMPORTANT: Use a wall sleeve adapter kit (PXSE) if
installing a P-Series chassis in a T-Series sleeve.
Compressor
Chassis
shipping bracket
Shipping pallet
IMPORTANT: When installing a Friedrich P-Series PTAC into an
existing sleeve, it is important to ensure that the unit is installed
completely. Inspection of the air seal between the condenser air
baffl es and around the indoor mounting fl ange is recommended.
In some cases additional gaskets or baffl ing may be required.
Wall sleeve
Weatherboard
Center support
1
Control
Door
Pins
Front Panel
2
3
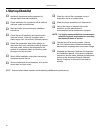
Installation Checklist
Inspect all components and accessories for damage
before and after installation.
Remove the cardboard wall sleeve support and grille
weatherboard.
Check for proper wall sleeve installation in accordance
with the wall sleeve installation instructions.
Check for a subbase kit or other means of structural
support which is re quired for ALL installations projecting
more than 8" into room.
Install the recommended Condensate Drain Kits for
complete con den sate removal.
Ensure that the chassis is installed in a 16" high x 42" wide
wall sleeve that is no deeper than 13 3/4". A baffl e kit is
required if the sleeve exceeds that depth.
Ensure that drapes, bed, bedspread, furniture, etc. DO
NOT block either return or discharge air grilles.
Inspect the condenser air inlet and outlet for any
obstructions (shrubbery, etc.)
Ensure that 'reset' button is pressed on LCD device (only
on cord connected models)


