


Page 8 AirTamer®
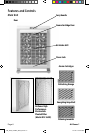
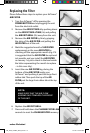
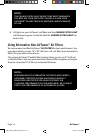
Insert the 6. AIR FILTER by placing the bottom
of the AIR FILTER inside your AirTamer and
pushing it past the large front rubber tab.
Then push the top of the AIR FILTER past the
large front rubber tab at the top of the unit.
NOTE:
make sure ThaT The air floW arroWs oN The filTer
face ToWards The froNT of The uNiT.
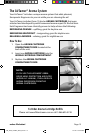
Replacethe7. AIR EXIT GRILL.
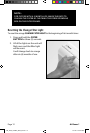
Place the unit on a level oor, keeping it 8.
at least 4” (10.2 cm) away from any wall,
furniture or appliances. Position the unit so
that the clean air will ow to your desired
area (clean air ows from the front of the
unit). Ensure that the AIR INTAKE GRILL
and AIR EXIT GRILL are not blocked.
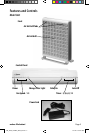
Power On/Off
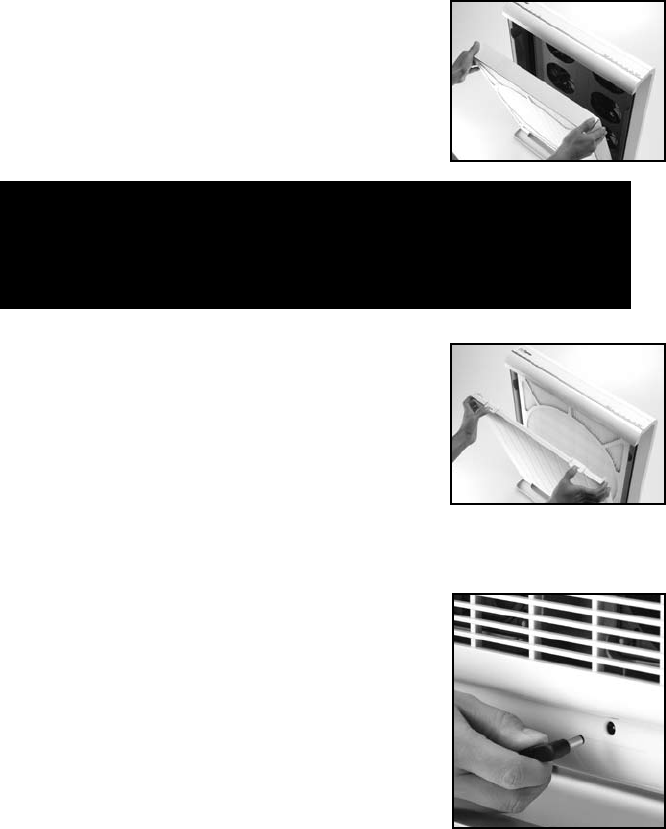
The 1. POWER CORD is shipped as two pieces.
Connectthetwopieces,plugtheendwith
wall outlet prongs into an electrical outlet,
and the round end into the POWER JACK
located at the back of your AirTamer®.
Press the 2. POWER BUTTON to turn the unit
on. The POWER BUTTON will illuminate
when on.
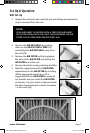
Fan Speed
Your unit will initially start at the highest speed – Speed 5. Select your
desired fan speed by pressing the corresponding SPEED BUTTON.
Your AirTamer® has ve (5) SPEED SETTINGS 1, 2, 3, 4, and 5.
SPEED 5
will provide the highest rate of cleaning performance, but more noise.
SPEED 1
will provide the least amount of noise, but a slower rate of cleaning.
Normally,thelowerspeedsareidealforsleeporrelaxationenvironments.
7
6
HW_A600_UserMan_ENG_09.indd 8 5/11/09 2:25:04 PM