


7
U.L. Model No.: CF205
How to Assembly Your Ceiling Fan (continued)
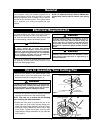
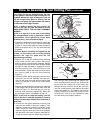
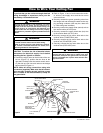
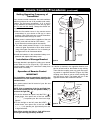
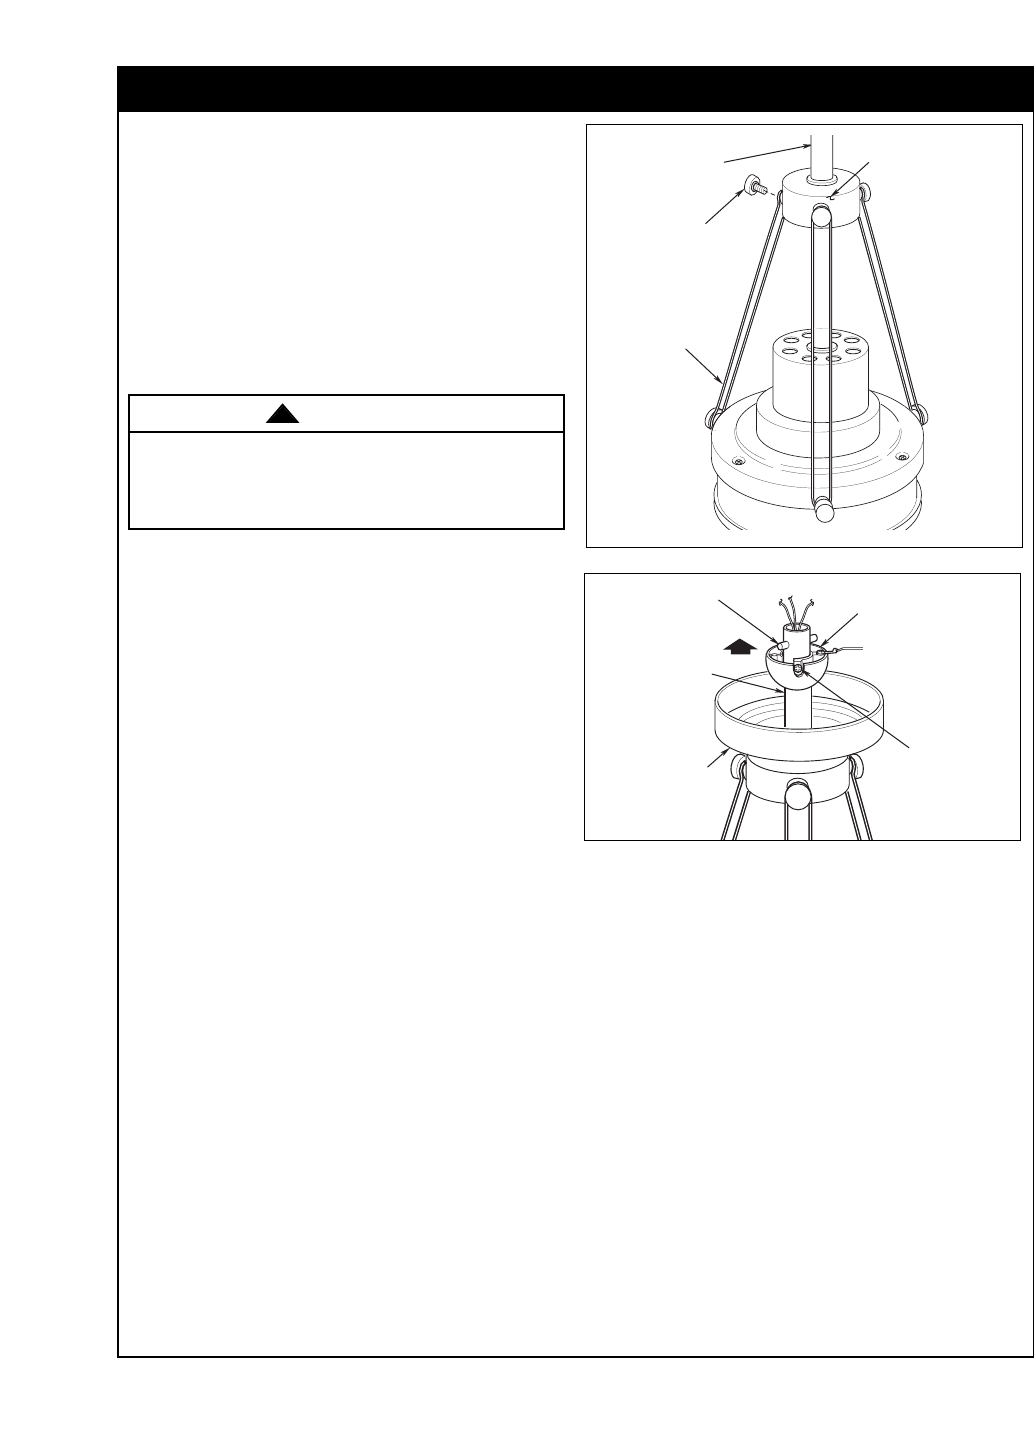
13.Slide the rod support assembly up the downrod
until the threaded holes in the rod support align
with the holes in the decorative rod assemblies
(Figure 9). Secure the decorative rods to the rod
support using three decorative rod screws; do not
tighten the rod screws at this time.
14.Rotate the rod support assembly until the decora-
tive rod assemblies are aligned vertically with the
downrod (Figure 9). Hold the rod support in this
position while tightening all six decorative rod
screws securely.
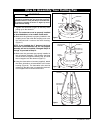
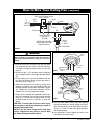
15.Place the ceiling cover over the downrod. Then
reinstall the hanger ball (Figure 10) on the down-
rod as follows. Route the three 80” motor leads
through the hanger ball and slide the hanger ball
over the downrod. Position the pin through the two
holes in the downrod and align the hanger ball so
the pin is captured in the groove in the top of the
hanger ball. Pull the hanger ball up tight against
the pin and securely tighten the setscrew in the
hanger ball. A loose setscrew could create fan
wobble.
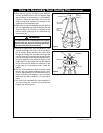
16.The fan comes with blue, black and white leads
that are 80” long. Before installing the fan, mea-
sure up approximately 6 to 9-inches above top of
hanger ball/downrod assembly. Cut off excess
leads and strip back insulation 1/2” from end of
leads.
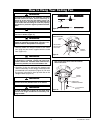
17.You have now completed the initial assembly of
your new ceiling fan. You can now proceed with
hanging and wiring your fan.
DECORATIVE
ROD
ASSEMBLY
DECORATIVE
ROD SCREW
DOWNROD
ROD
SUPPORT
ASSEMBLY
Figure 9
DOWNROD
CEILING
COVER
PIN
HANGERBALL
SETSCREW
Figure 10
It is critical that the pin in the hanger ball is properly
installed and the setscrew securely tightened.
Failure to verify that the pin and setscrew are proper-
ly installed could result in the fan falling.
WARNING
!