MAINTENANCE
PAGE 17
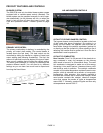
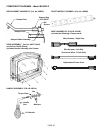
CLEANING BLOWERS
The blowers require inspection and cleaning annually to
remove lint, dust, etc. If there are pets in the dwelling,
the blowers should be cleaned at least twice a year To
access, remove blower covers (remove the two ¼” hex
head screws on each panel), then inspect propellers
(replace if cracked or broken) and vacuum out lint, dust,
and debris.
CATALYTIC COMBUSTOR
This appliance has been designed with a catalytic com-
bustor, which will improve its overall performance. Re-
moving the combustor assembly for cleaning and rein-
stallation is simple and convenient. Cleaning the com-
bustor helps reduce buildup of ash and retarding chemi-
cals. To clean the combustor, a soft brush, vacuum
cleaner, or pipe cleaner may be used.
Cleaning the combustor once a year, preferably when
your flue system is serviced, is sufficient for most users.
Reinstall the combustor according to the following in-
structions.
The catalytic activity and effectiveness of a two to three
year old combustor can be improved by following this
Major Cleaning Procedure - Soak the combustor in a
hot cleaning solution of a 50/50 mixture of white vinegar
and distilled water for 30 minutes. Then rinse by soak-
ing in hot distilled water. After 15 minutes, remove the
combustor from the rinse water and gently shake out
excess water. It is unlikely that you will notice a visible
difference in the combustor after this cleaning proce-
dure. The combustor unit is fragile in comparison to the
rest of the stove, so handle with care.
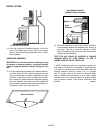
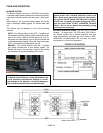
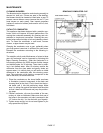
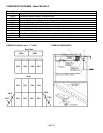
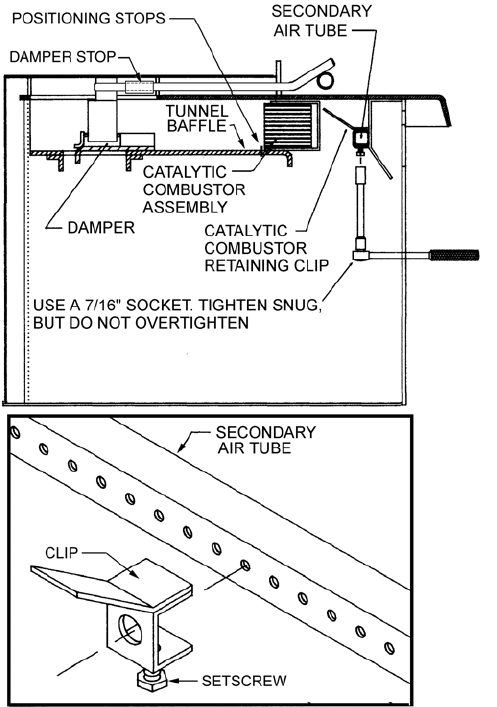
1. Place the combustor on the tunnel baffle as shown
in illustration (ceramic honeycomb to the back and
louvered slots to the front). Push it back into the tun-
nel baffle until it hits the positioning stops. Make
sure it is sitting flat against the bottom and the sides
so that it does not tilt forward and jump the position-
ing stops.
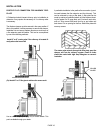
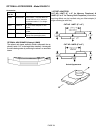
2. Position combustor clip over the middle of the sec-
ondary air tube as illustrated. Make sure that one of
the holes in the secondary air tube is centered in the
1/2" hole on the clip. You can feel with your fingertip.
3. Tighten screw snugly, but do not over-tighten or you
may spread the clip apart.
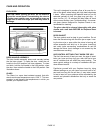
REMOVING COMBUSTOR CLIP


