installation Step 5
Hang the Opener
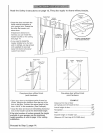
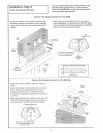
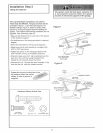
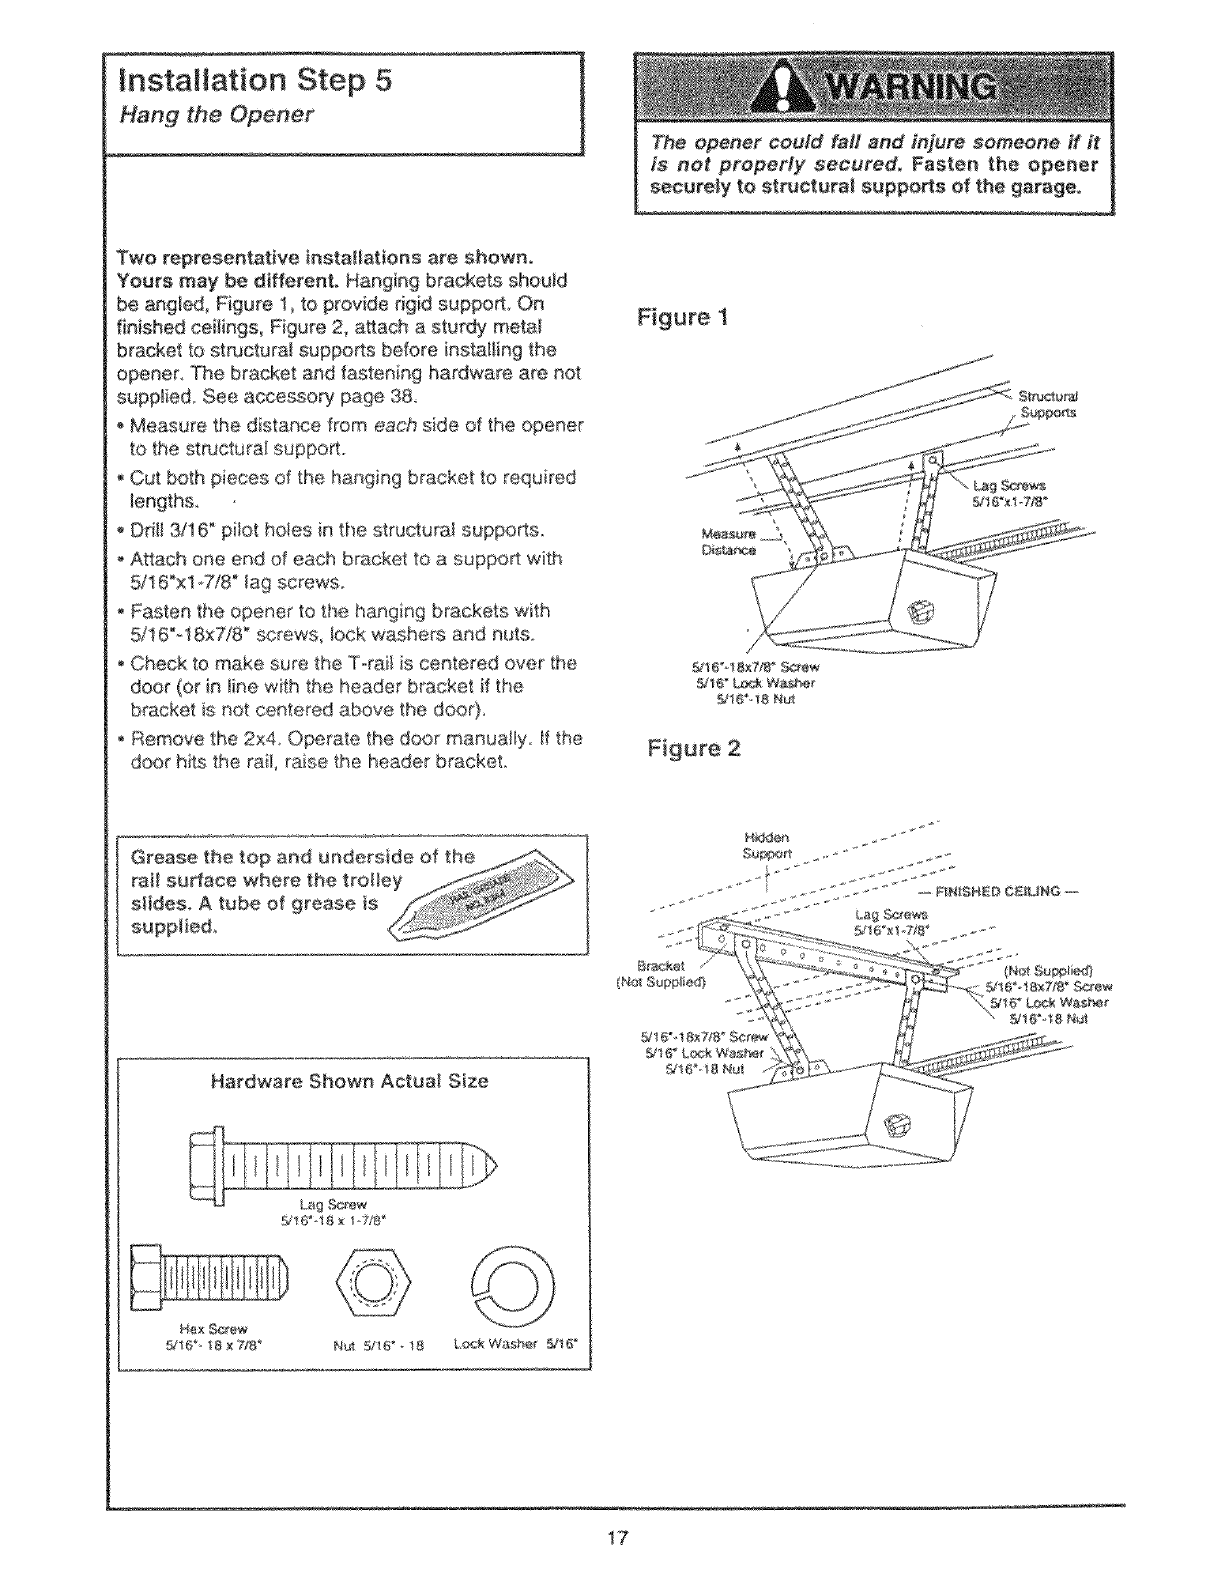
Two represen_gve installations are showo.
Yours may be different, Hanging brackets should
be &qgted, Figure 1, to provide rigid support On
finished ceilings, Figure 2, a_ach a sturdy metat
bracket to st_Jctural supports before installing the
opener. The bracket and fastening hardware are not
supplied. See accessory page 38.
Measure the distance from each side of the opener
to the strdctura! support°
Cut both pieces of the hanging bracket to requ red
DdH3/16" pilot h@es in the structural supports
Attach one end of each bracket to a support with
5/16"xl _.7/8_lag screws.
,, Fasten the opener to _he hanging brackets with
5/t 6_18x7/8" screws, _ockwashers and nuts.
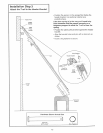
Check to make sure the Torai/is centered over the
door (or in _inewith the header bracket if the
bracket is not centered above the doo0_
Remove the 2x4 Operate the d(x_r manuaHyo _fthe
door hits the rai_, raise the header bracket
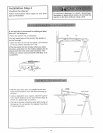
Figure 1
_'I 6%18x7/8 __e'w
Hardware Shown Actua_ Size
Lag Screw
Hex Screw
@'16 18×778 _ Nut _#16"_18 t,.6_kWAshef _i6"
17


