MODEL 0 to 2,000’ 4,000’ 6,000’ 8,000’ -
NO. 2,000’ 4,000’ 6,000’ 8,000’ 10,000’
NATURAL GAS
HEDV403 45 47 48 49 50
L.P. GAS
HEDV404 55 55 56 56 57
PROPER BURNER FLAME
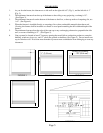
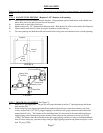
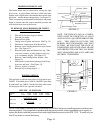
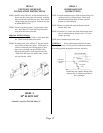
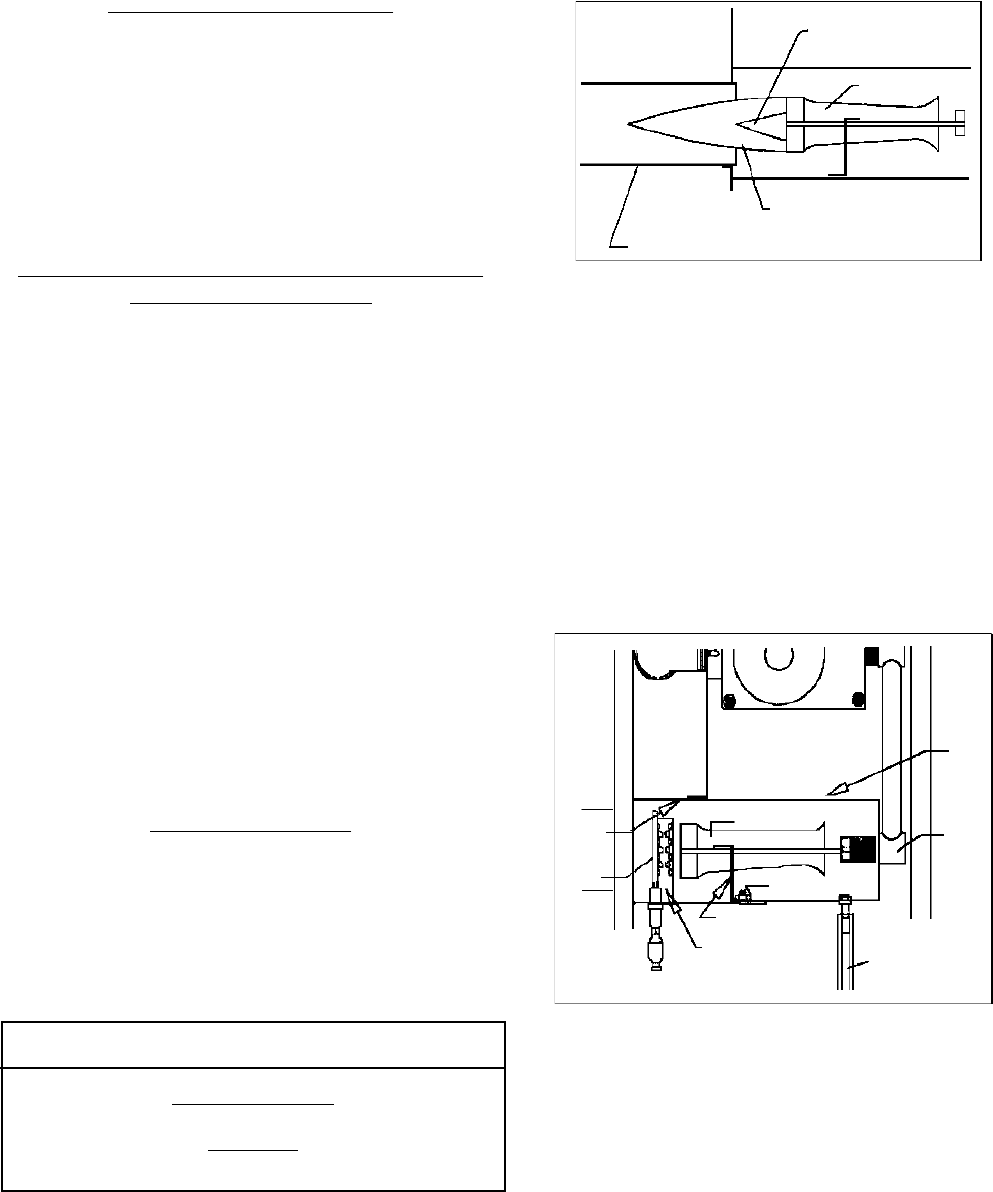
The burner flame may be observed by raising the sight
glass cover. A proper flame will have a dark blue inner
mantle, with a lighter blue outer mantle that extends from
the burner into the heat exchanger tube, (see Figure 12).
There is no primary air adjustment on the burner, and proper
flame is assured since the correct manifold pressure and
orificing has been done at the factory.
TO REMOVE MAIN BURNER FOR INSPEC-
TION AND CLEANING
1. Turn off all electrical supply to heater.
2. Turn off gas supply.
3. Remove front panel.
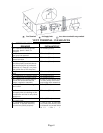
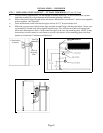
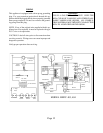
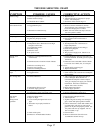
4. Unplug wire to ignitor and sensor. (See Fig. 13.)
5. Disconnect vacuum hose from burner box.
6. Remove screws holding burner box top to burner
box. (See Figure 13.)
7. Remove burner plate and burner box top. Take
care not to contact, or strain ignitor in any way
as it is extremely fragile. (See Figure 13.)
8. Remove 2 nuts holding burner bracket. (See
Figure 13).
9. Slide burners toward heat exchanger and lift up
from rear and back. (See Figure 13).
10. Clean or replace as needed.
11. Reinstall by reversing Steps 9 - 1.
BURNER ORIFICE
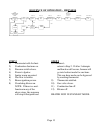
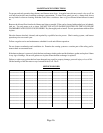
This appliance is orificed at the factory for elevations up to
2,000 ft. If installed above 2,000 ft., the BTU input must
be reduced 4% per 1,000 ft. See the following orifice chart
for the proper orifice for a specific elevation.
SPECIFIC ELEVATIONS
Page 11
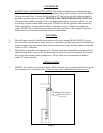
NOTE: THE FURNACE AND ALL COMPO-
NENTS MUST BE INSPECTED AT LEAST
ANNUALLY BY A QUALIFIED SERVICE PER-
SON. THIS SHOULD INCLUDE THE
BURNER, HEAT EXCHANGER, AND VENT
SYSTEM. BE SURE THAT THE FLOW OF
COMBUSTION AND VENTILATION AIR ARE
NOT OBSTRUCTED AND THAT ALL HOSES
ARE UNDAMAGED, AND ALL CLAMPS ARE
SECURELY TIGHTENTED.
Primary Flame
Burner
Secondary Flame
Heat Exchanger Tube
FIGURE 12
Valve
Burner
Box
Top
Mani-
fold
Burner
Burner
Box
Plate
Sensor
Nut
Burner Bracket
Ignitor
Vacuum
Hose
FIGURE 13
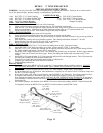
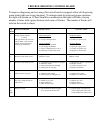
NOTE: If this heater is installed above an elevation of 8,000 feet, the factory installed pressure switch may not
function properly. If you experience a problem with the pressure switch, contact a qualified service agency to
replace the factory installed pressure switch with a high altitude pressure switch P/N 72521. To order see your
local Cozy dealer or contact the factory.


