25
Resolute Acclaim Woodburning Stove
2000893
Repair Air Leaks to Prevent Overheating
and Excessive Fuel Consumption
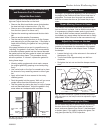
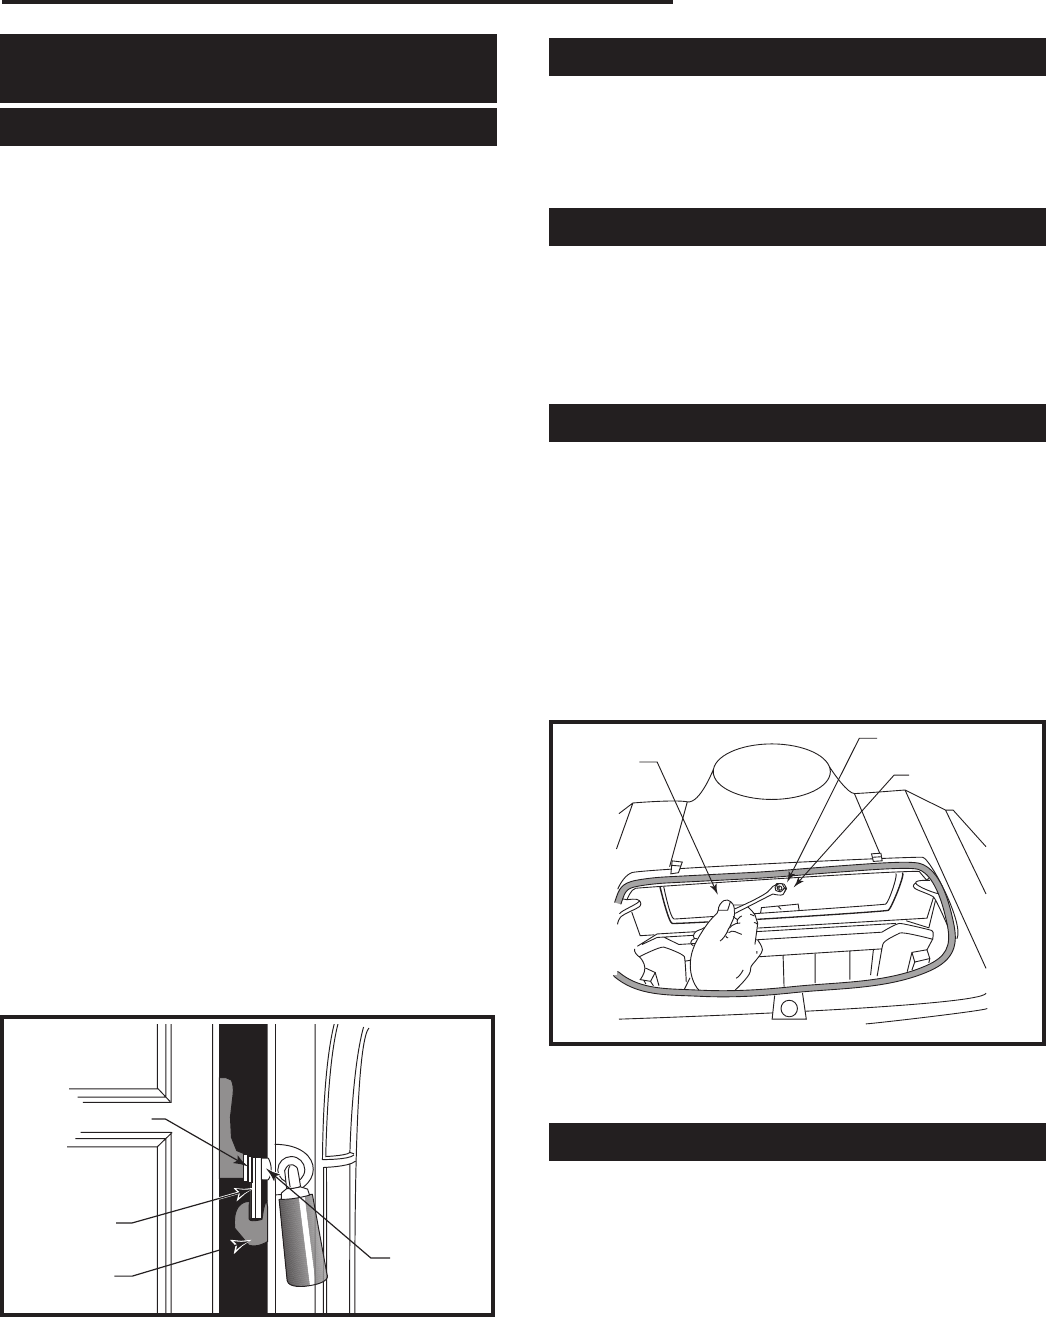
Adjust the Door Latch
The door gasket will compress after use. To restore a
tight seal, adjust the tension on the latch:
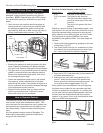
• Remove the Allen head button screw that attaches
the door latch tab to the stove front. (Fig. 34)
• Remove one of the washers that separates the tab
from the front (save it for future use.)
• Replace the remaining washers and the door latch
tab.
• Remove another washer if necessary.
• Test the seal by closing the door on a slip of paper
and attempting to pull the paper free. If the paper is
freed without tearing, the gasket isn’t snug enough
at that spot.
If the paper indicates a low spot in a specific area, try
“adjusting” the gasket in that area. Pack more cement
or a smaller diameter gasket into the channel beneath
the gasket so that the main gasket is raised and makes
contact with the door frame. This procedure should
solve the problem. If it doesn’t, replace the gasket fol-
lowing these steps:
• Wearing safety goggles and a dust mask, remove
the original gasket by grasping an end and pulling
firmly.
• Use a wire brush or the tip of a screwdriver to clean
the channel of any remaining cement or bits of gas-
ket.
• Apply a thin bead of stove cement in the newly-
cleaned groove.
• Pack the gasket into the groove. Wait until you are a
couple inches from the end before you cut it.
• Test the gasket by closing the door on a slip of paper
such as described above. Adjust the gasket in any
areas where an inadequate seal is evident.
Adjust the Door
Although it is unlikely that adjusting it will be necessary,
the height of the Resolute Acclaim’s front load door is
adjustable. The lower door hinge pin has a shoulder
that lifts or lowers the door as you screw the pin up or
down.
Repair Missing Cement in Seams
The cement in the stove seams may deteriorate over
time and fall out in places. Just as with the stove doors,
it is necessary to keep the seam seals in good condi-
tion. Spot-fix with furnace cement (available from your
local dealer) any areas where the cement seal is visibly
deteriorated. Allow 24 hours for the new cement to dry.
Adjust the Damper as Needed
The tension of the Resolute Acclaim’s torsion bar is ad-
justable to compensate for compression of the gasket
that seals the damper to the damper frame. To adjust
the damper:
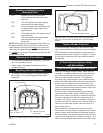
• Loosen the lock nut on the set screw in the center of
the damper. (Fig. 35)
• Turn the set screw approximately one half-turn
clockwise.
• Re-tighten the lock nut and test the damper mecha-
nism.
Avoid Damaging the Glass
Do not abuse the glass in the front door by slamming
the door shut or by striking the glass with a piece of
wood, and never operate your stove if it has damaged
or broken glass. If you need to replace the glass, use
only glass provided by CFM Corporation.
ST618
Adjust door latch
1/01
Door Latch
Tab
Rotating
Cam
Washers
Allen Head
Button
Screw
ST618
Fig. 34 The front door seal can be adjusted simply by adding
or removing washers.
ST619
Damper adjustment
1/01
Damper
Lock Nut
Set Screw
ST619
Fig. 35 When the damper’s gasket becomes compressed
after prolonged use, the damper should be adjusted to regain
a tight seal.


