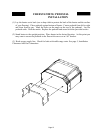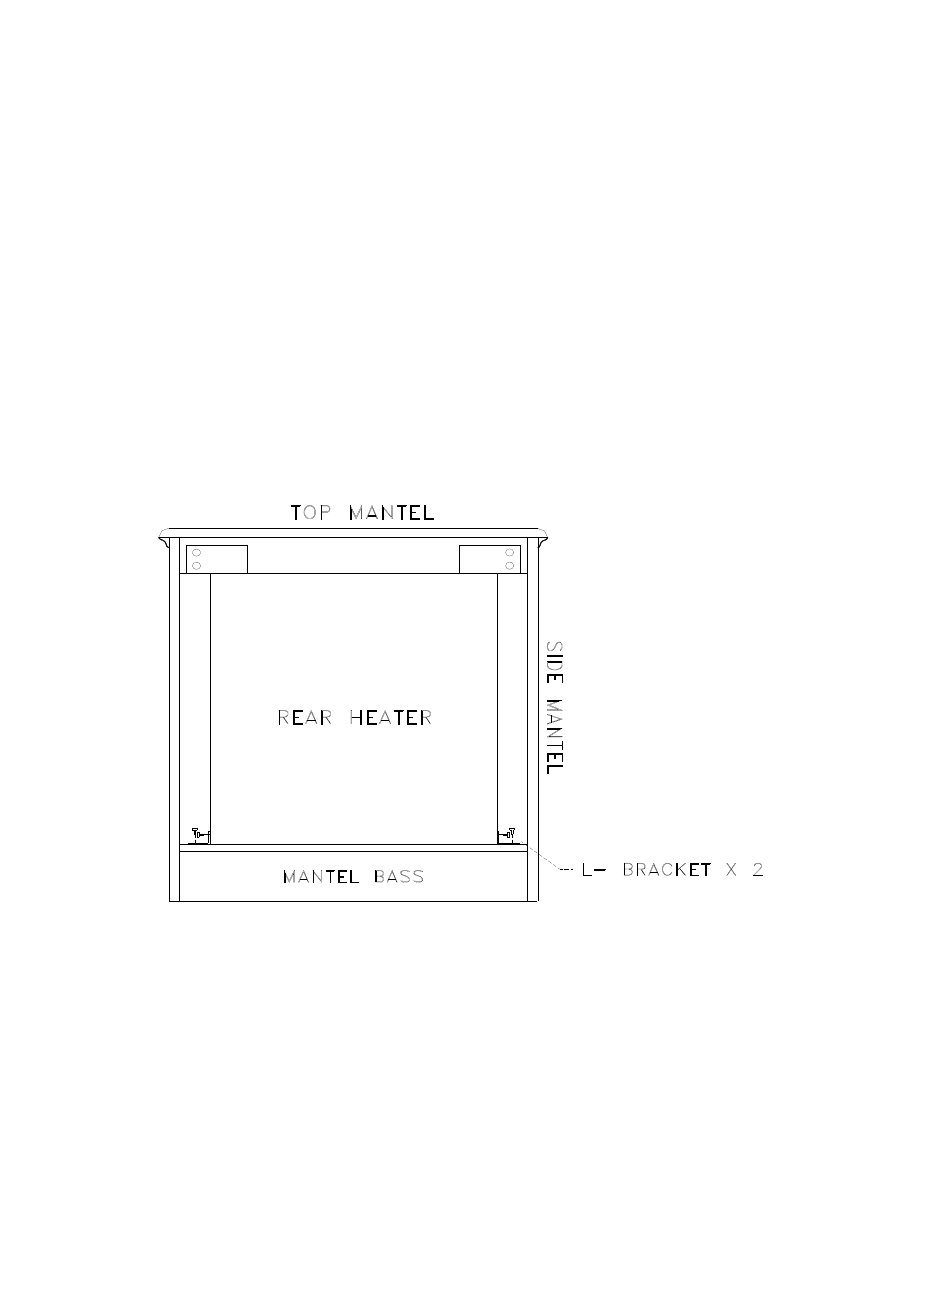
STEP 5: After mantel has been assembled, take metal strips out of box supplied with mantel.
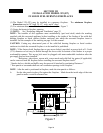
Position the side strips on each side of your 329 with a maximum of 9 3/4" from back of stove
to the edge of your metal strip. Attach with self tapping screws.
STEP 6: Take the top strip and screw it to the top of your 329 overlapping your side panels on
it.
STEP 7: Place a cloth or blanket over the front portions of mantel as not to scar the wooden
part of the mantel.
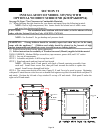
STEP 8: Take fireplace and slide it into the opening of the mantel from the front side. Slide it
in far enough that the edge of the side and the top panels snug up against the front side of your
mantel. Center up.
STEP 9: Remove cloth or blanket from underneath stove.
STEP 10: Take the two metal “ell” brackets with the screws provided and anchor the back of
the fireplace to the mantel.
STEP 11: Place top on to the mantel, flush with the back and equal on each end. Secure both
ends and middle with screws.
Installation and repairs should be performed by a qualified service person. The appliance
should be inspected before use and at least annually by a professional service person.
More frequent cleaning may be required due to excessive lint from carpeting, bedding
material, etc. It is imperative that control compartments, burners and circulating air pas-
sageways of the appliance be kept clean.
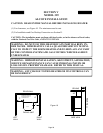
SURROUND (MANTEL) DIMENSIONS
Style: Wall
Standard Mantel; 49 1/2” Width, 18 1/2” Depth, 44” Height
Light Oak Mantel; 50” Width, 21 3/4” Depth, 43 1/2” Height
Style: Corner
Standard Mantel; 49 1/2” Width, 39” Depth (center)
Light Oak Mantel; 52 1/2” Width, 44 1/2” Depth (center)
Page 30


