1
5
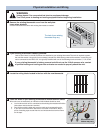
WARNING
Voltage hazard. Can cause electrical shock or equipment damage.
Turn off all power to heating and cooling equipment before beginning installation.
2
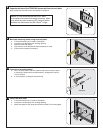
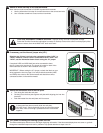
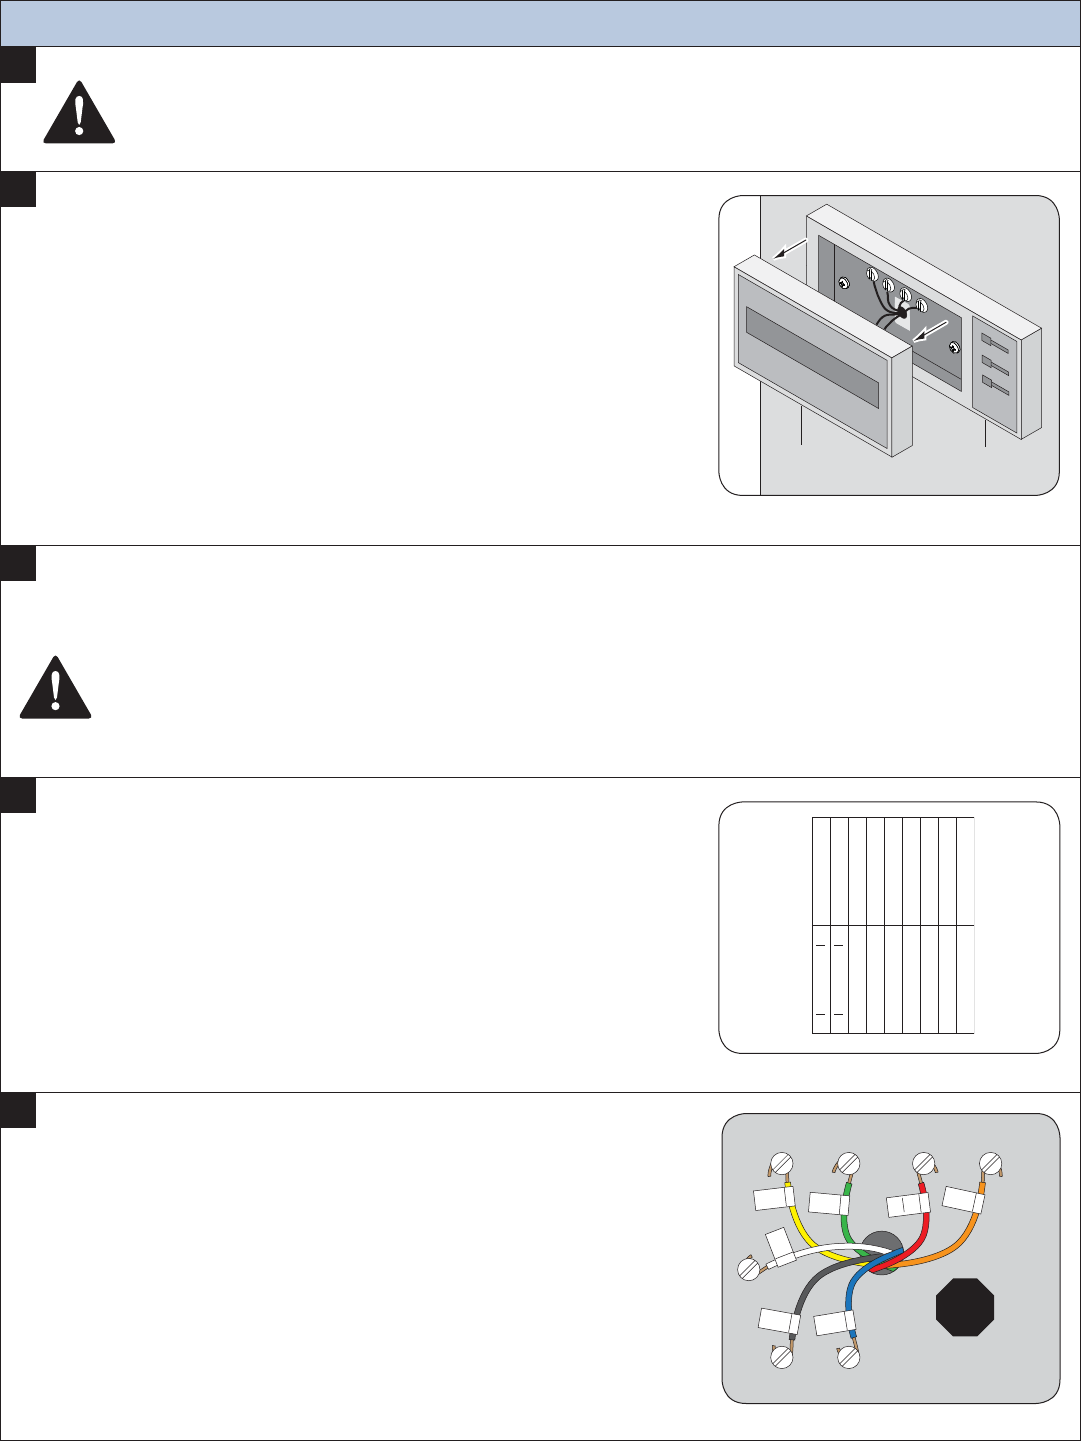
Remove the existing thermostat cover from the wall plate.
Leave wires attached.
Consult instructions that came with existing thermostat as needed.
Label the wires on your existing thermostat to match terminal names.
Wire colors are not necessarily an indicator of which labels should be used.
Look at where each wire is connected to the existing thermostat and fi nd the a.
letter shown next to that wire terminal.
Peel off the matching label and wrap it around each corresponding wire.b.
If you have a terminal with a letter that is not shown on the label, wrap a c.
piece of masking tape around that wire and write down that terminal name
on the tape.
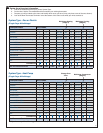
BCEFGOLY1Y2
Rc
R
Rh
R
X2 T W1W2W3 X Y
P516-001 Rev. 03/09-a
BCEFGOLY1Y2
Rc
R
Rh
R
X2TW1W2W3XY
4
Locate the wiring labels located in the box with the new thermostat.
Y
Y G
EC
RO
G
Rc
R
O
C
Wire colors and
letters may vary
!
W2
W2
E
Wall plate
Thermostat
cover
3
The look of your existing
thermostat may vary
Physical Installation and Wiring
2
Look to see if there is a 24 Volt Common wire attached to your existing thermostat. That wire is required to power
the new thermostat. It is typically (but not always) colored blue. With battery powered thermostats, it most likely will
not be connected to the HVAC unit. It is typically identifi ed with one of the following terminal names: C, X, B, COM
If your existing thermostat is battery powered and did not use the 24 Volt common wire, contact
a qualifi ed heating and cooling service contractor as needed to properly attach the wire.
If your existing thermostat is battery powered:


