


55
4
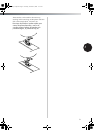
Sewing Buttons
Costura de botones
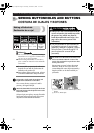
1
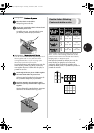
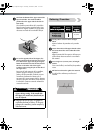
Measure the distance between the
buttonholes and set the pattern selection dial
to the Zigzag Stitch, and set the width you
want.
Mida la distancia entre los ojales y ajuste el
selector de puntadas en la puntada en zig-zag
para la anchura que desee.
2
Remove the power supply plug from the
outlet.
Quite el enchufe de la toma de corriente.
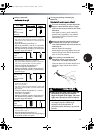
3
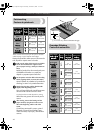
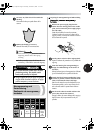
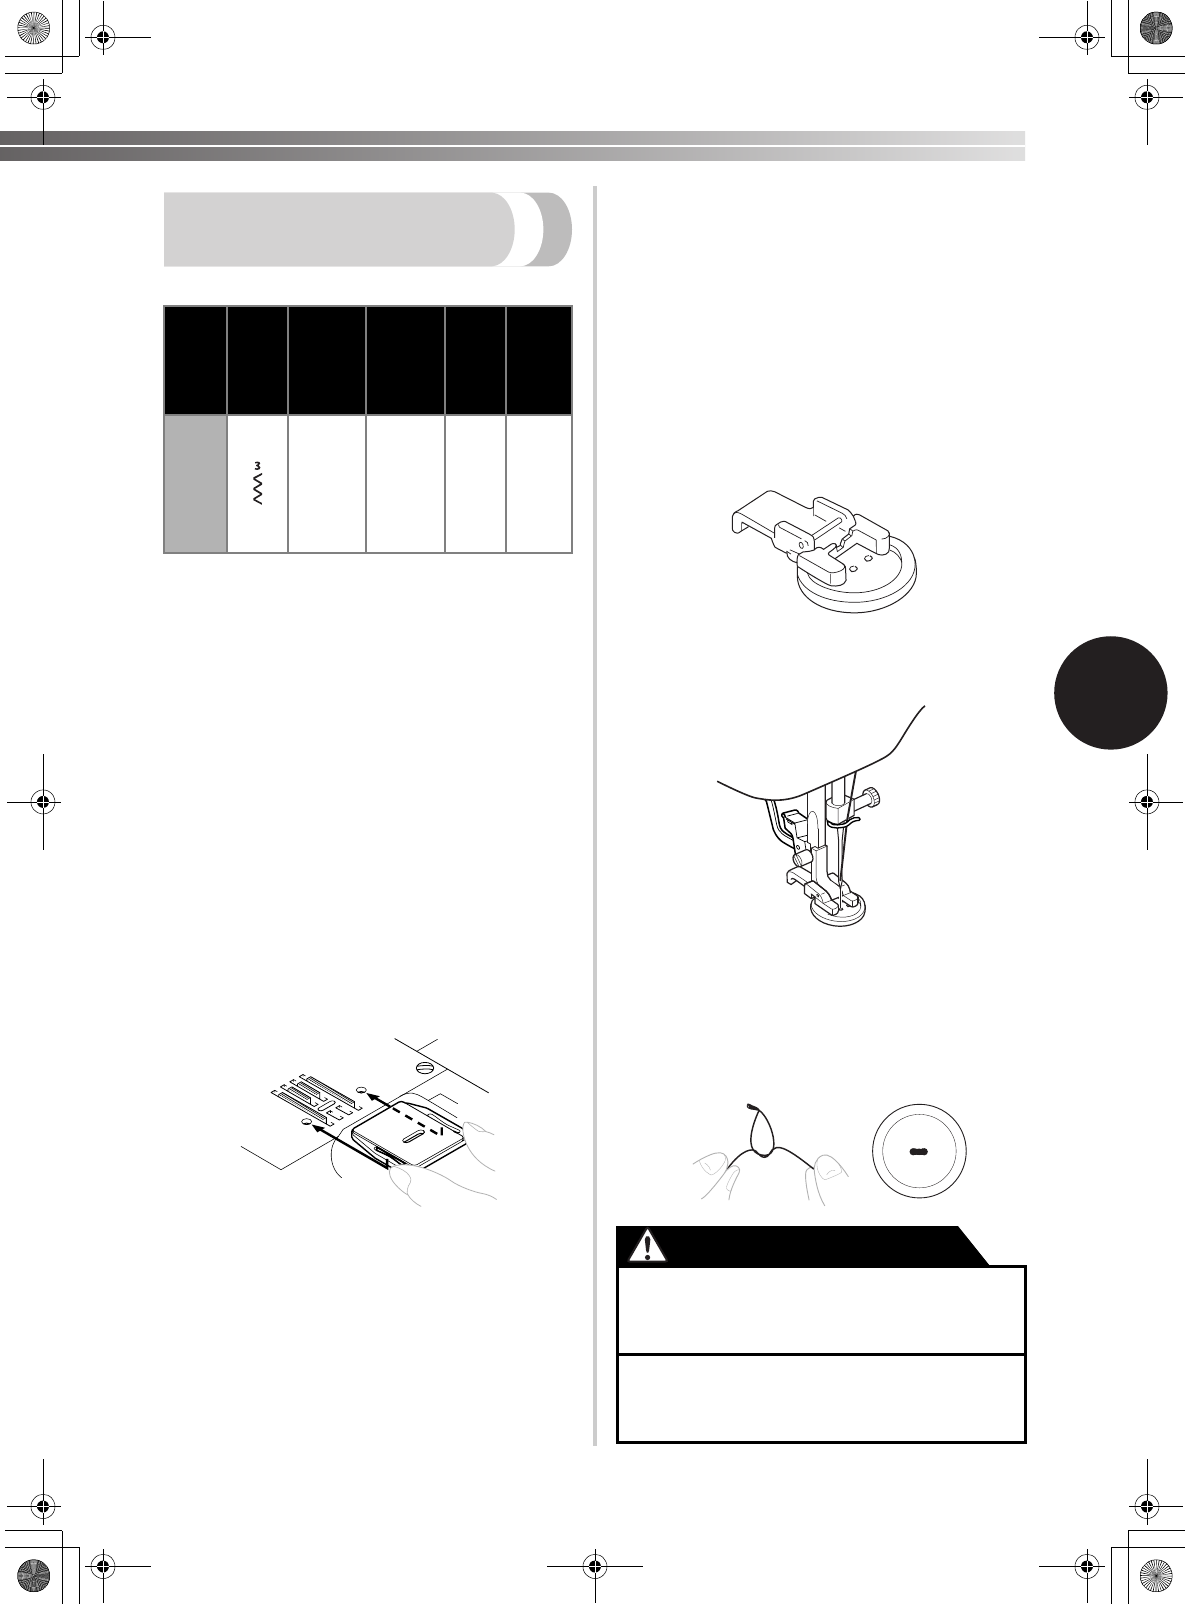
Change the foot to the button sewing foot.
Quite el pie que hay colocado y ponga el pie
especial para botones.
4
Place the darning plate on the needle plate.
Coloque la placa de zurcir en la placa de la
aguja.
5
Connect the power supply plug into the wall
outlet.
Conecte el enchufe en una toma de corriente de
la pared.
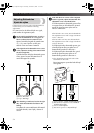
6
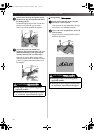
Put a button between the foot and the fabric and
make sure that the needle enters the holes
without hitting the button. If it hits, see step
1
.
Coloque un botón entre el pie y la tela, y
asegúrese de que la aguja entra en los orificios
sin golpear el botón. Si golpeara, consulte el
paso
1
.
7
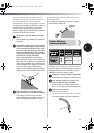
At a slow speed, sew about 10 stitches.
Cosa unas 10 puntadas a una velocidad baja.
8
Remove the material from the machine. Cut
the upper and lower threads and tie both
threads at the back of the material.
Retire el material de la máquina. Corte los hilos
superior e inferior, y haga un nudo con ambos
hilos en la parte trasera del material.
Stitch
Name
Nombre
de la
puntada
Pattern
Dibujo
Length
[mm (inch)]
Longitud
[mm (pulg.)]
Width
[mm (inch)]
Anchura
[mm (pulg.)]
Foot
Pie
Other
Otro
Zigzag
Stitch
Puntada
de
zig-zag
F
(1/64)
Any
Cualquiera
Button
Sewing
Foot
Pie
especial
para
botones
Darning
Plate
Placa
de
zurcir
●
Make sure the needle does not hit the
button during sewing. The needle may
break and you may be injured.
●
Asegúrese de que la aguja no golpea el botón
durante la costura. La aguja podría romperse y
usted podría resultar lesionado.
CAUTION/PRECAUCIÓN
XL2600_US-Sp.book Page 55 Thursday, November 4, 2004 11:41 AM