15
Gas Conversion Instructions continued-
7. Replace the burner assembly, reconnect
all fittings and check for leaks. Refer to
“Gas Connections”, page 13.
8. Close and/or replace inner and outer doors.
9. To light pilot, follow the lighting instructions
provided on the water heater and in this installation
and operation instruction manual.
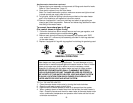
10. Remove “equipped for” card from cloth bag and attach to gas piping as close
to gas control as possible. Remove and discard tag attached to water inlet
fitting of the water heater.
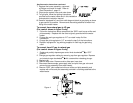
To convert from natural gas to LP gas
(For control shown in figure 3 only)
1. Follow the instructions above except add the “RED” main burner orifice and
pilot assembly. Replace with the ones originally provided with the water
heater.
2. Change the main gas regulator to “LP” as noted in step 2 of the
instructions.
3. Change the pilot regulator to “LP” as noted in step 3 of the instructions.
4. Replace “equipped for” tag with tag supplied in cloth bag for gas being
used.
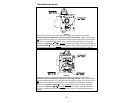
To convert from LP gas to natural gas
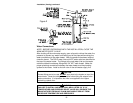
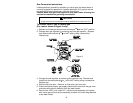
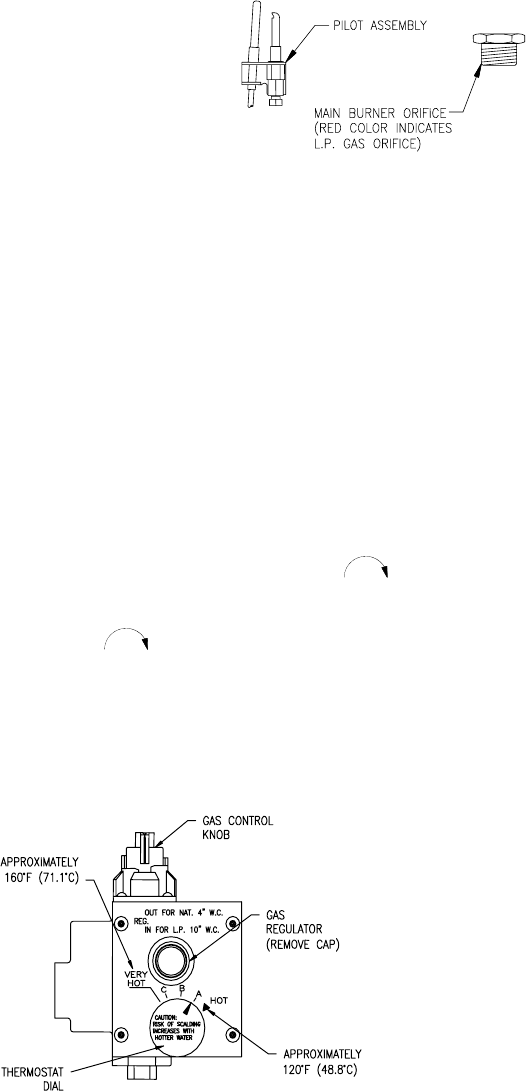
(For control shown in figure 4 only)
1. Rotate and partially depress gas control knob clockwise
to “OFF”
position.
2. Change gas regulator setting by removing cap from gas regulator. Depress
and rotate plunger clockwise
with a screwdriver releasing plunger.
3. Replace cap.
4. Remove outer door. Remove and/or slide open inner door.
5. Disconnect thermocouple, gas supply tube, and pilot from gas valve and
remove burner assembly from water heater.
6. Remove “RED” color coded main burner orifice and pilot assembly and
replace with orifice and pilot assembly provided in cloth bag attached to the
water heater.
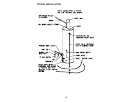
Figure 4


