


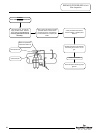
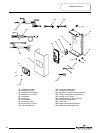


SERVICE PROCEDURE D24-VI
Anode Removal and Inspection
Step 1. Disconnect (unplug) water heater from electrical supply.
Step 2. Turn “OFF” water supply to water heater.
Step 3. Open a near by hot water faucet to relieve tank pressure.
Step 4. Connect hose to drain valve of water heater and route to an open drain. Open
drain valve and drain a minimum of 5 gallons of water from the water heater.
Close drain valve and disconnect drain hose from water heater.
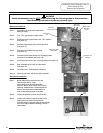
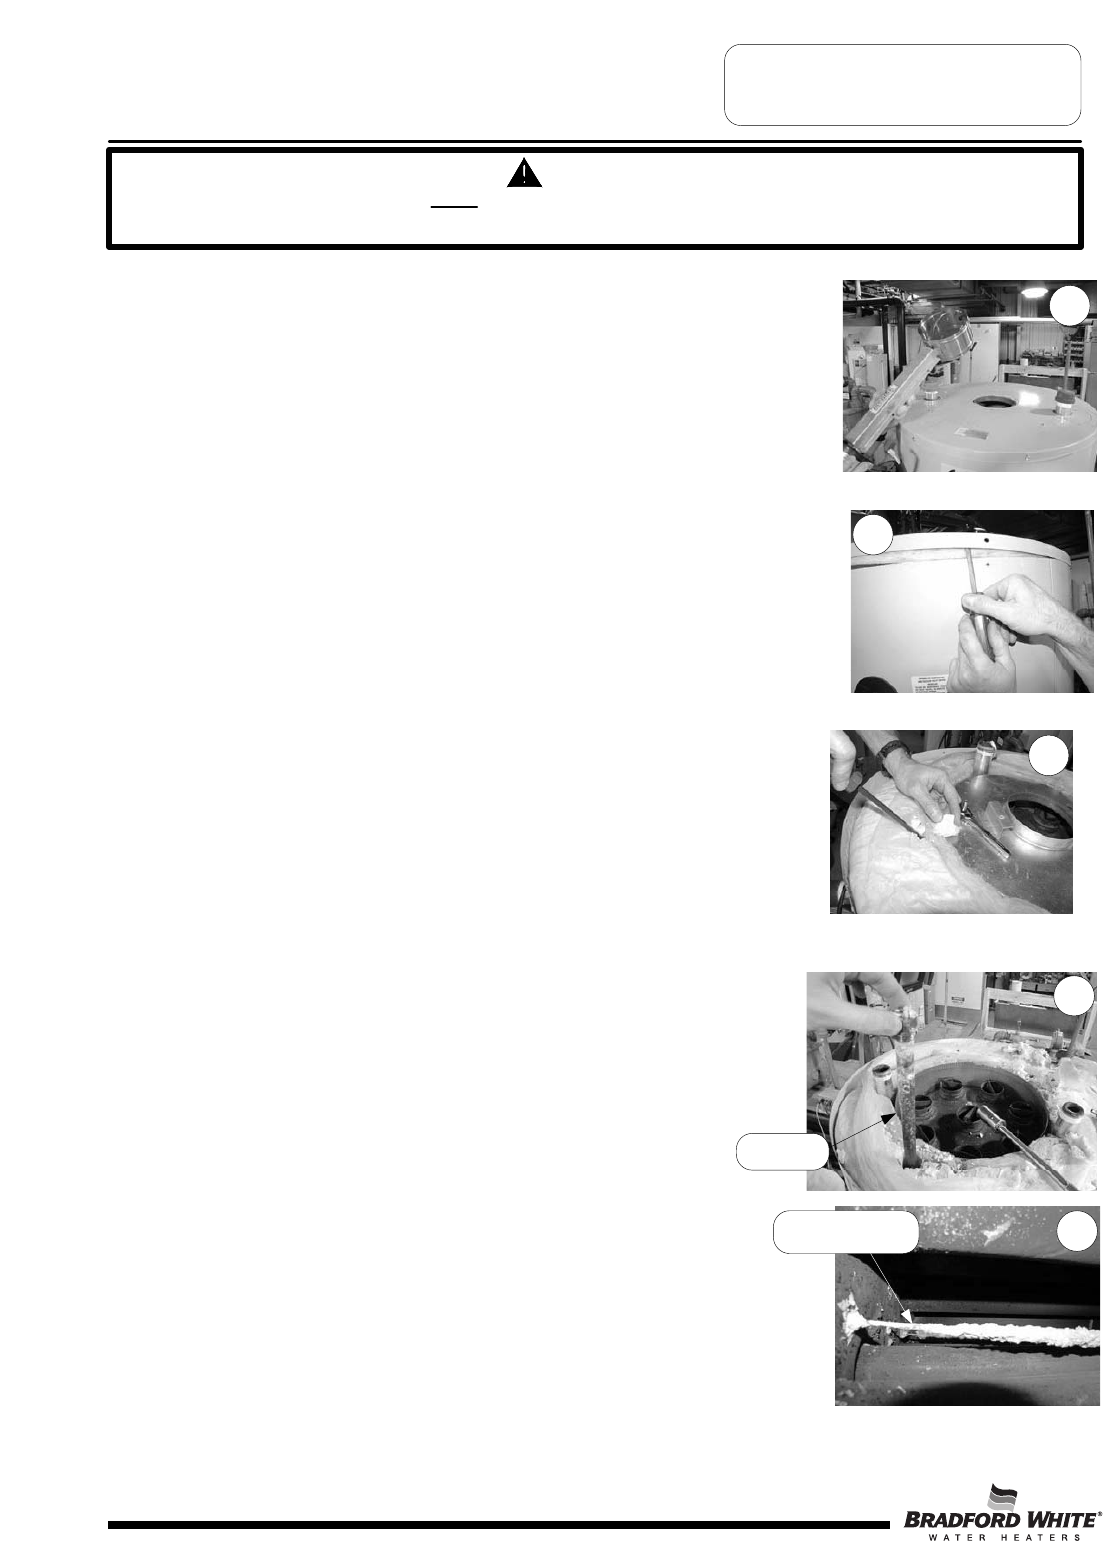
Step 5. Disconnect venting from draft diverter and remove draft diverter from top of
water heater.
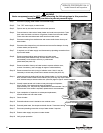
Step 6. Disconnect flue damper from wire harness and remove flue damper from top
of water heater (see photo 32).
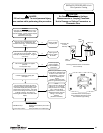
Step 7. If required, turn off water supply and disconnect top plumbing connection from
top of water heater.
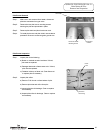
Step 8. Remove screws holding jacket head to top of water heater
and remove jacket head from top of water heater. Note, it may
be necessary to use a screw driver to pry underneath
jacket head (see photo 33).
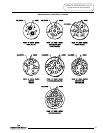
Step 9. Remove insulation from top of water heater to expose collector cover,
remove if necessary. (see next page for approx. anode locations)
Step 10. Remove screws from side (or top) of collector cover. Note, it may be
necessary to chisel away some foam to access screws (see photo 34).
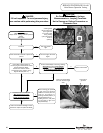
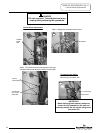
Step 11. Locate and remove anode rods from top of water heater (1-1/16 hex socket).
Note, anodes located outside of the collector (see photo 35) may require foam
to be chiseled away to access anode rods. (see next page for approx. anode locations)
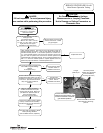
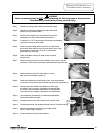
Step 12. Visually inspect anode rod. Anode rod may show signs of depletion;
this is normal. If the anode shows signs of depletion
(approximately 5/8", see photo 36), replacement is recommended. If any of
the steel core of the anode is exposed, replacement is recommended.
Step 13. Upon completion of inspection or subsequent replacement,
reinstall anode rods into water heater.
Step 14. Check for leaks.
Step 15. Reinstall collector cover & insulation over collector cover.
Step 16. Reinstall jacket head, flue damper and draft diverter. Reconnect venting.
Step 17. Reconnect plumbing connection to top of water heater if required.
Step 18. Restore water supply and power to water heater.
Step 19. Verify proper operation.
W
ARNING
Heater components may be HOT when performing the following steps in this procedure.
Take necessary precaution to prevent personal injury.
Page 36
33
32
34
35
Anode
36
Replace Anode
36