11.1.8 Completion of the Installation
Check that all the gas and water connections have been
tightened.
Lower the base plate/control panel. Refer to Fig. 17.
The permanent mains and switched live supply to the boiler
must come from the system junction box. Refer to Fig.11. A 4
core cable is recommended.
Feed the 4 core cable and the pump cables through the bracket
and secure in the cable clamp. Refer to Fig. 17.
Fit all the supply and pump wires to the 5 way plug before fitting
the plug to the socket on the board. This will avoid stress to the
board when using a screwdriver. Refer to Fig.11. for the
connections.
Check that the cables cannot touch the inner casing.
Test for gas soundness as described in BS6891.
If the appliance is not commissioned immediately, refit the
combustion cover, inner casing cover, base/controls assembly
and the casing. Re-connect the earth connection at the base of
the casing. Check that the gas and electricity services have been
turned off.
REFER NOW TO SECTION 12 - COMMISSIONING THE
APPLIANCE
11.2 Installation of the Boiler with a
Telescopic Horizontal Flue Kit
11.2.1 Unpacking the Boiler
Check the contents against the packing list.
Remove the wall mounting template, the mounting plate
assembly and the flue spigot and restrictors.
The flue spigot is positioned within the boiler carton and not in
the accessory pack.
11.2.2 Site Preparation
Check that the correct position for the appliance has been chosen
and that the wall is sound, flat and will support the weight of the
appliance. Refer to Sections 4 & 5 and Tables 4 and 8.
11.2.3 Fixing Holes and Flue Opening
Hold the template to the wall. Check that the template is level.
Mark the position of the fixing holes and the flue opening. Refer to Fig 13.
Mark the position of the bottom fixing point for a screw or
optional security bolt.
Drill the 5 fixing holes 60mm deep for the No.12 size plugs.
11.2.4 Boiler Preparation
(i) Remove the appliance casing by releasing the screw at
the centre base. Disconnect the earth connection at the base
and lift off.
(ii) Release the four screws and remove the inner casing cover.
(iii) Release the two wing-nuts and remove the combustion
chamber front panel. The cover is located into notches at
the base of the side plates. Leave the stainless steel baffles
in place.
(iv) Disconnect the fan electrical terminals and the sensing
tube from the junction pieces. Slide the flue hood/fan
assembly out of the boiler.
(v) Remove the blanking plate from the top of the inner
casing and refit onto the rear flue opening ensuring a good
seal.
(vi) From the literature pack take the self adhesive gasket
and stick around the top flue opening on the outside of
the casing ensuring that the fixing holes are not blocked
(see Fig. 19).
(vii) Fix the spigot and the appropriate restrictor (if the flue is
less than 1m in length) to the top of the inner casing. Refer
to Fig. 19.
The fixing screw hole on the spigot must be pointing to
the front.
(viii) The boiler is supplied for flow and return connections at
the top. If a bottom connection is required then pull out
the clips, remove and invert the pipes. Refer to Fig. 1.
NOTE: When changing the connections the pipe functions are
reversed -
Top flow becomes the bottom return
Top return becomes bottom flow
18
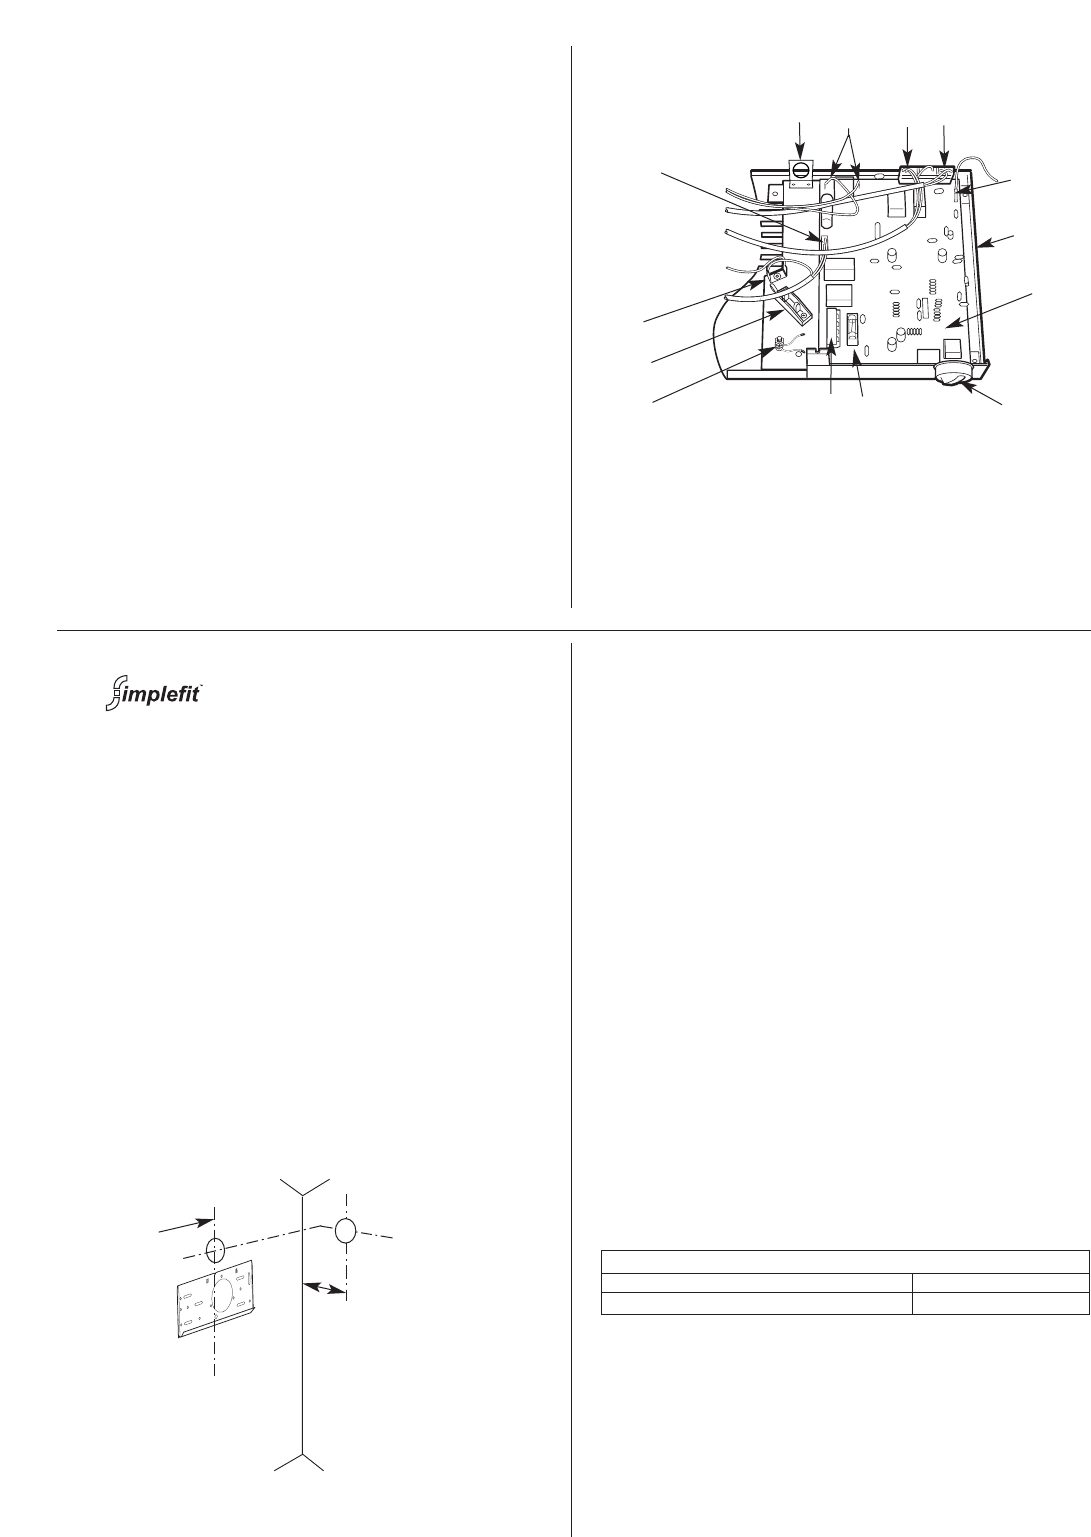
Fig.17 . Mains electricity and controls
connections.
1
1. Base plate
2. Control board
3. Control knob
4. Fuse 4A
5. External control connector block
6. Earth post
7. Cable clamp
8. Internal earth connection
9. Gas valve connection
9. Gas valve connection
10. Mains lead bracket
11. Spark electrode connection
12. Air pressure switch,
temperature sensor,
overheat thermostat
connection
13. Fan connection
14. Flame sense conection
2
3
4
5
6
7
8
9
11
12 13
10
14
IMPORTANT: Top Exit Restrictors
9/14CBi and 14/19CBi 19/24CBi
Ø72mm Ø79mm
152mm
Fig. 18. Fixing the wall mounting plate.
Centre of boiler


