


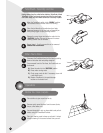
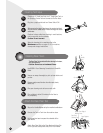

SmartTemp Ready Light Does Not Illuminate.
Possible Causes Remedies
The Power Switch is not turned ON. Turn the Power Switch ON.
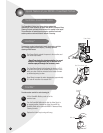
Reduced Spray OR No Spray.
Possible Causes Remedies
Bladder may be empty. Refill Bladder with clean hand hot tap water.
SmartMix Bottle may be empty. Fill with any BISSELL Advanced Deep Cleaning Formula for
cleaning or water if rinsing.
The Filter may be clogged. Clean out Flow Indicator Filter, page 16.
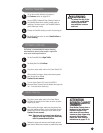
Tanks may not be seated properly. Turn Power Switch OFF; remove & reseat tanks.
Inspect for presence of seals.
Pump may have lost prime. Turn Power Switch OFF; after 1 minute turn ON
and depress trigger.
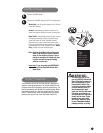
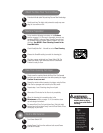
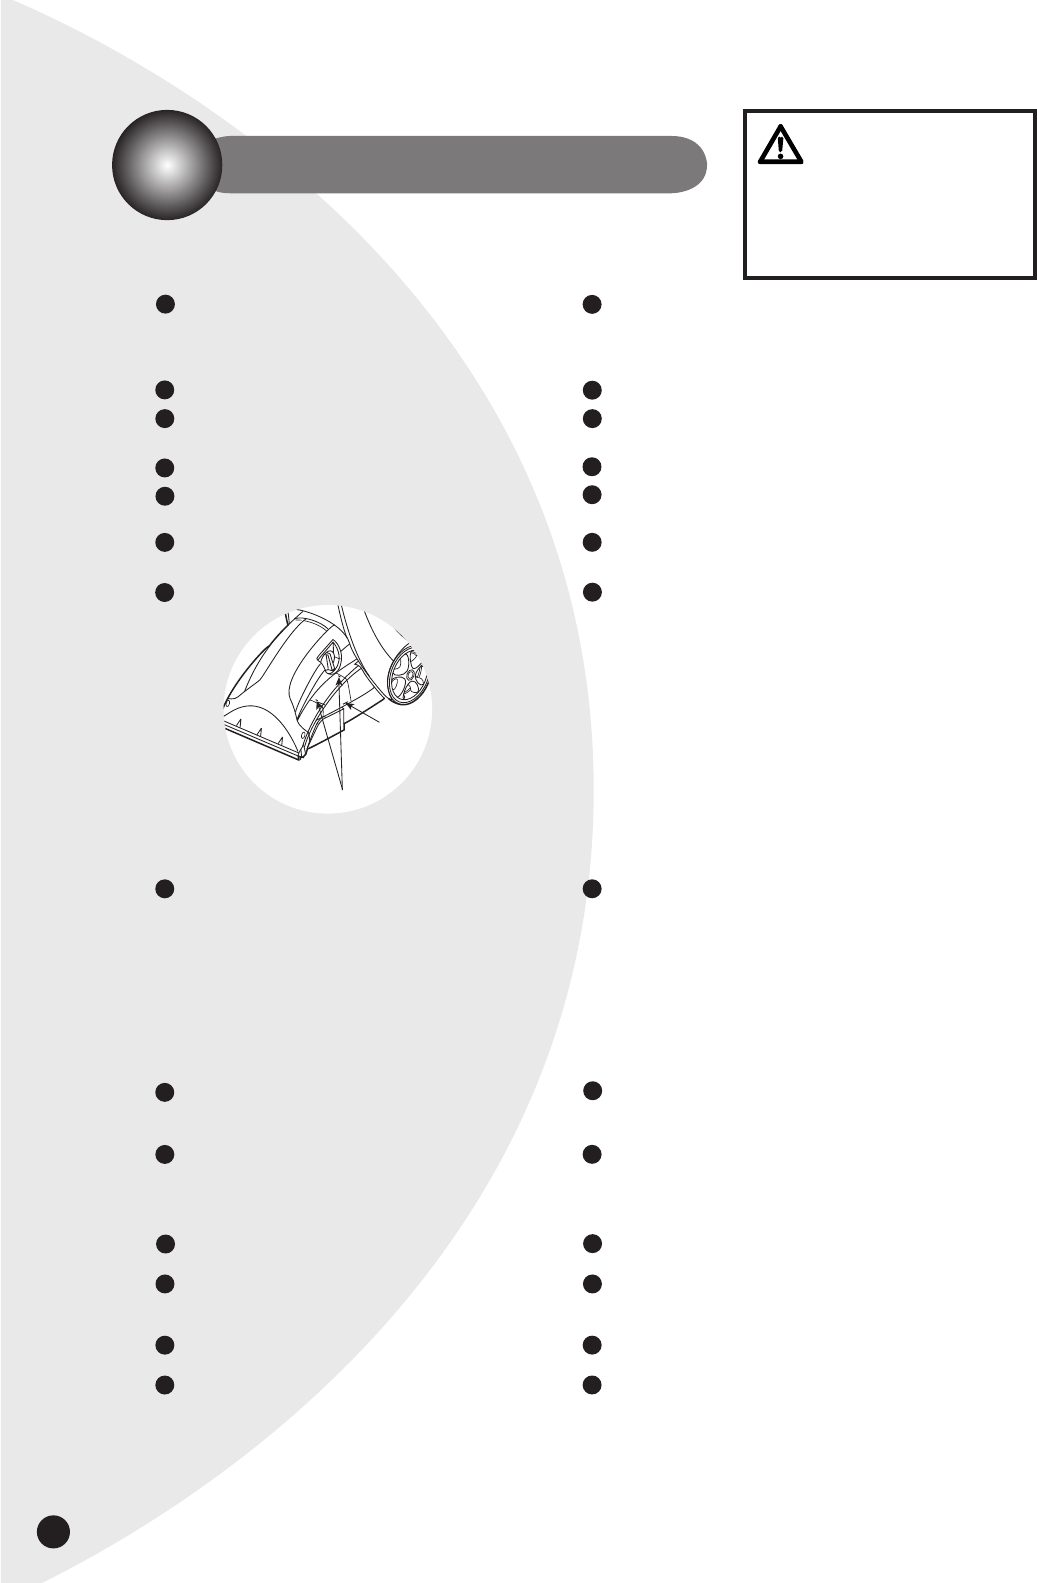
The Pump Belt may be broken. Turn Power Switch OFF and unplug from the outlet. To
check if a Pump Belt has broken, you will need a flat
head screwdriver. Insert the blade end into the lower
slot of the Belt Access Door to release the lower snap. If
necessary, insert the blade end into the upper slot to
release the upper snap. Examine the belt for breakage.
You should be able to see the Pump Belt looped around
the motor shaft. If it is broken or missing, please refer to
Replacement Parts on page 19 before calling BISSELL
Consumer Services. Complete installation instructions
will accompany the replacement Belt.
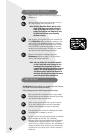
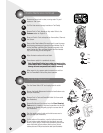
DirtLifter PowerBrush Does Not Turn.
Possible Causes Remedies
The Brush Belt or Pump Belt is off or broken. Turn Power Switch OFF and unplug from the outlet. To
check if a Pump Belt has broken, you will need a flat
head screwdriver. Insert the blade end into the lower
slot of the Belt Access Door to release the lower snap.
If necessary, insert the blade end into the upper slot to
release the upper snap. Examine the belt for breakage.
If broken refer to pages 16-17.
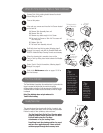
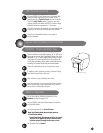
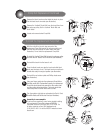
Cleaner Not Picking Up Solution
Possible Causes Remedies
ReadyTools Dial may be at the Set ReadyTools Dial to either Tools/PreTreat
wrong setting for the cleaning job. or Floor Cleaning.
Nozzle Window may not be properly attached. Press down firmly on the black oval gasket at the top
window to make sure the two tabs on the back of the
Nozzle Window are snapped into the mating slots in the
main housing.
Tank-in-Tank lid is not installed Re-install lid; refer to the Features section.
Tank-in-Tank is not properly seated. Tank-In-Tank must be firmly seated to function; remove
and reseat Tank-in-Tank.
Poor tool position (Hand held attachments only). Adjust angle; apply more downward pressure.
Tank-in-Tank has picked up maximum dirty water. Empty Tank-in-Tank, refer to the Features section.
18
Troubleshooting
WARNING:
To reduce the risk of
fire, electric shock or
injury unplug from outlet
before servicing.
Insert Screwdriver
Blade Here
Lift Here
1
2
3
1
2
3
4
5
6
4
5
6
1
3
4
5
1
3
4
5
2
2
1
1
6
6
1
1