28
Maintenance and Service
Annual Maintenance
(The following should be performed by a qualifi ed
service technician only.)
Burner:
Run the burner and perform a complete combustion
test using the proper instruments before
proceeding. If necessary refer to the section labeled
Start the Burner. Record the results for reference.
Inspect and clean all dirt accumulation from the
gas train, burner exterior, burner air damper, and
surrounding area.
Remove the blower motor and clean any
accumulated matter from the blower wheel and
motor end bell.
Clean all fl ue passages and fl ue pipe. Replace
corroded or damaged pipes.
Check wheel for damage and the hub setscrew for
tightness. If the blower wheel must be removed
from the motor shaft, insure that clearance
1.
2.
3.
4.
5.
specifi cations are maintained (blower wheel hub to
motor clearance should be .020”).
Clean the inside surfaces of the burner housing
scroll and especially the air intake area and airfl ow
proving switch suction tube.
If the blower motor does not have permanently
lubricated bearings, oil the motor. Clear any debris
from the air vents on the motor body.
Clean the ignition transformer, baseplate, and
terminal bushings. Inspect the ignition leads for
signs of deterioration and loose terminals.
If the burner fl ame detection is a UV scanner,
inspect the mounting and clean the lens
according to the component manufacturer’s
recommendations.
Remove the gas gun assembly and clean the entire
unit, paying special attention to the air diffuser and
spuds.
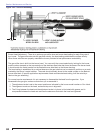
Inspect the fl ame rod (if used) for oxidation or
distortion. Clean all surfaces, set the probe position,
and insure that the fl ame rod is securely fastened.
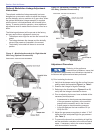
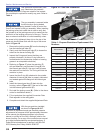
Refer to Figures 15A, and 15B.
Inspect the ignition electrode for any damage.
Clean all surfaces, set the proper electrode gap,
and make sure it is securely fastened.
Clean the inside of the air tube and inspect the
combustion end for any deterioration. Referring
to Figure 2, check the recess dimension from
refractory.
Inspect gas tube O-ring condition and replace if
damaged. Install gas gun assembly back into the
burner and use the jacking screw to tighten the
gas gun securely in place. (Automotive chassis or
bearing grease is suitable for o-ring lubrication.)
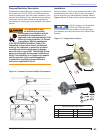
Inspect the condition of the appliance mounting
plate and burner mounting fl ange gaskets and
replace any damaged materials. See Figure 6.
Inspect all burner control wiring and the burner
control panel for damaged insulation and loose
terminals/connections.
Verify that the source voltage to the burner and
control panel is within 10% of the burner rating as
listed on the nameplate. (Figure 1)
Appliance
(Follow appliance manufacturer’s service
procedures. The following steps are emphasized
because they relate to burner operation)
Check the condition of the combustion chamber
refractory, the front-plate insulation, and all gaskets
and seals. Repair or replace as necessary
Insure that the fl ue passages, fl ue vent pipes, and
chimney fl ues are clean and unobstructed.
6.
7.
8.
9.
10.
11.
12.
13.
14.
15.
16.
17.
1.
2.
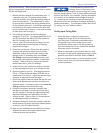
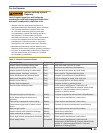
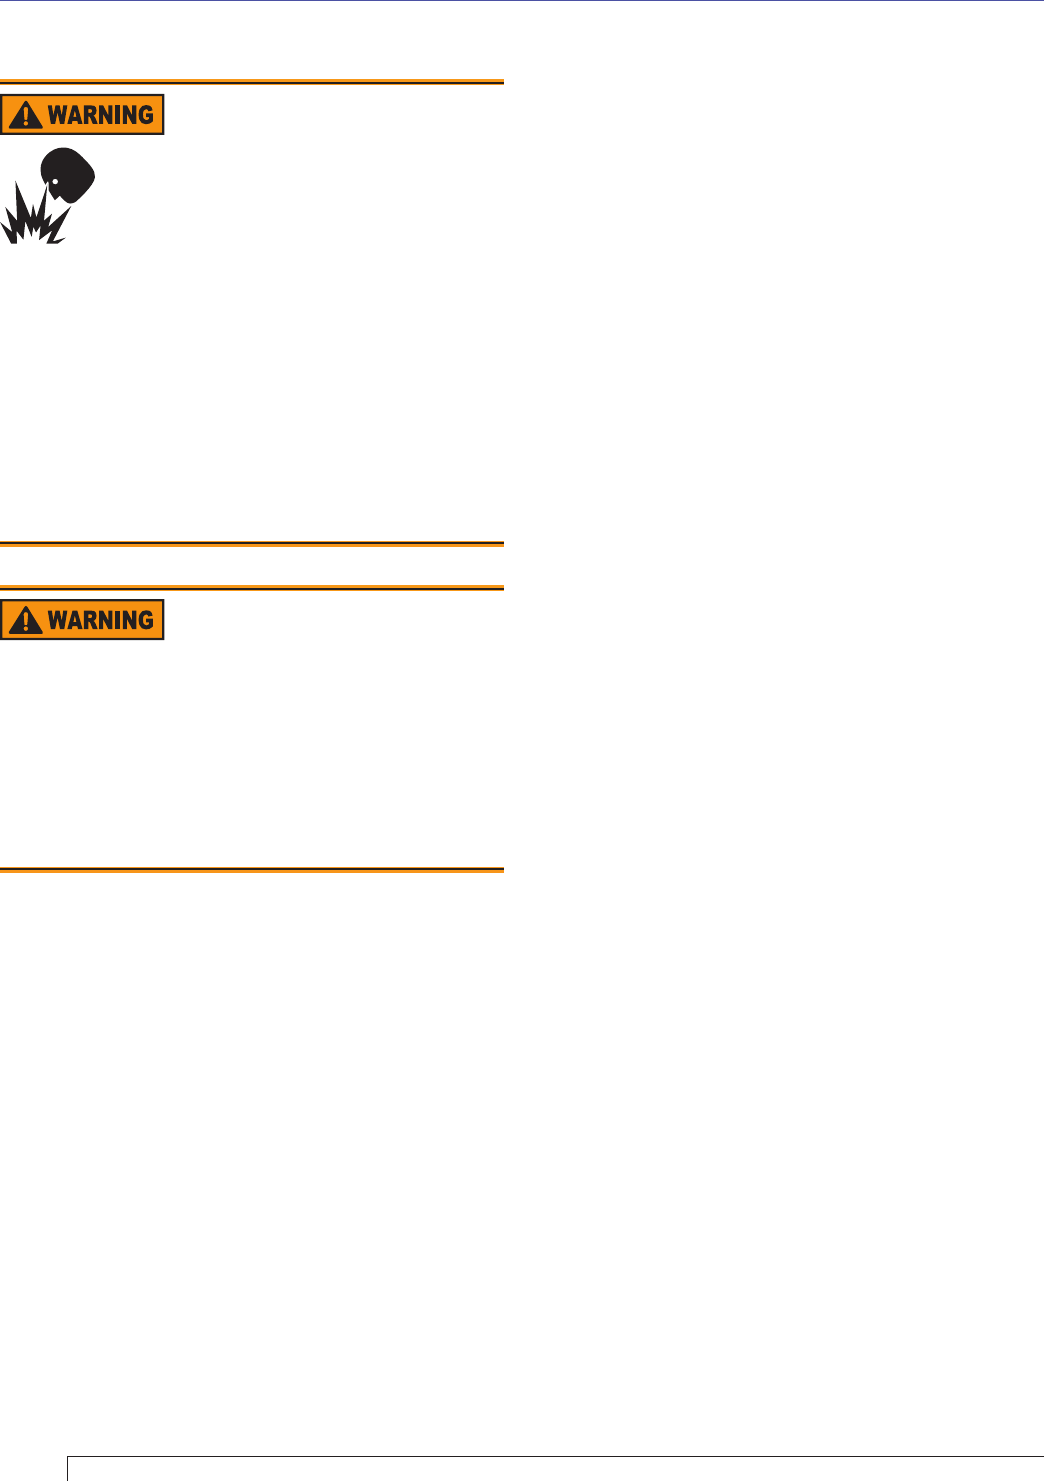
Annual Professional
Service Required
Tampering with or making incorrect
adjustments could lead to equipment
malfunction and result in asphyxiation,
explosion or fi re.
Do not tamper with the burner or controls or make
any adjustments unless you are a trained and
qualifi ed service technician.
To ensure continued reliable operation, a qualifi ed
service technician must service this burner annually.
More frequent service intervals may be required in
dusty or adverse environments.
Operation and adjustment of the burner requires
technical training and skillful use of combustion test
instruments and other test equipment.
y
y
y
y
Turn Off Electric and Gas
Supply Before Servicing
Failure to turn off electric and gas supply could
result in electrical shock, gas leakage, explosion, or
fi re hazards.
Turn main gas valves and electric power off before
performing any maintenance.
If a maintenance procedure requires electrical
power, use extreme caution.
y
y
Section: Maintenance and Service


