21
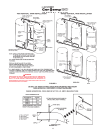
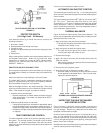
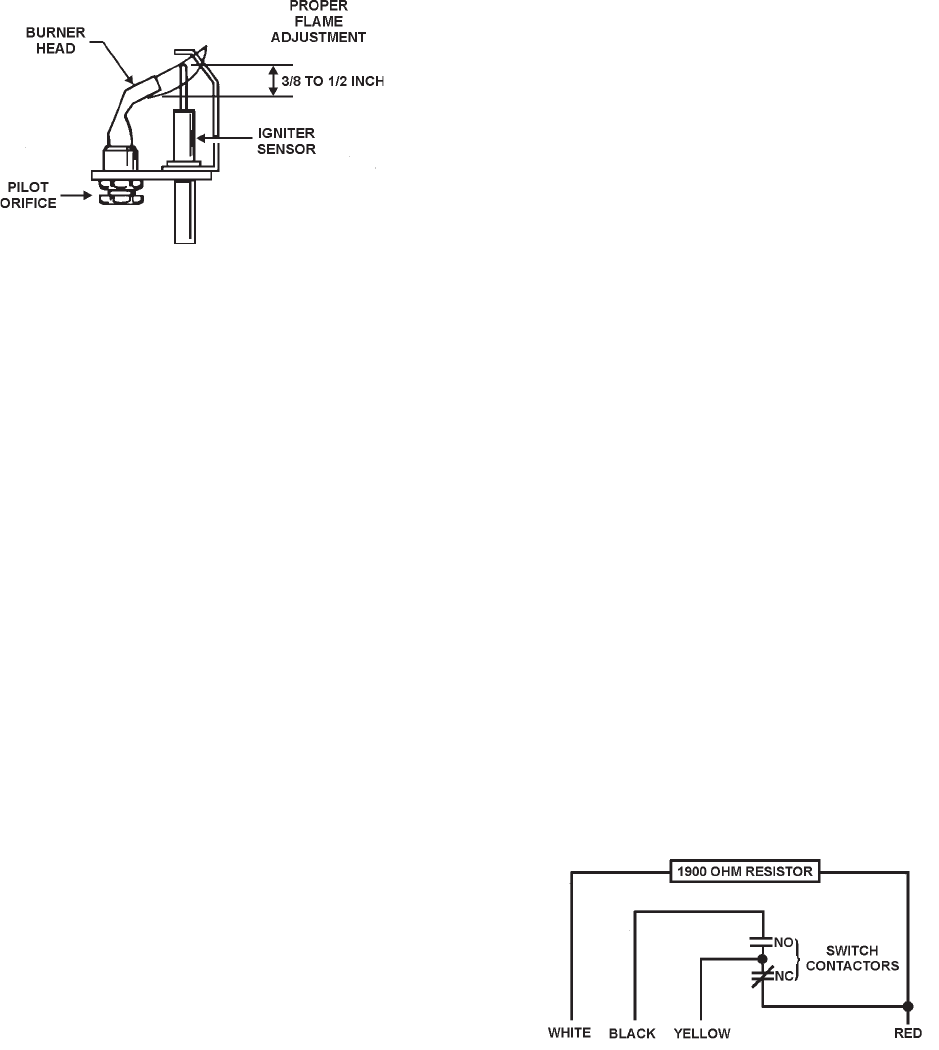
PILOT BURNER USED ON I.I.D. SYSTEMS
FIGURE 15
PROTECTOR SWITCH
(Coil High Limit - All Heaters)
If the protector switch, fig 2, should shut off unit, check for the
following conditions:
1. No water in heater.
2. Restricted water flow through the heater.
3. Excessive liming.
4. Improper wiring (automatic gas shutoff control acting as primary
control).
5. Pump failure.
After correcting failure condition, remove the protector switch cover
and depress reset button. Button will not reset until water
temperature in heater coil is down to 200
0
F. Restart heater,
following the “OPERATING INSTRUCTIONS FOR I.I.D.
MODELS” , PAGE 18.
PROTECTOR SWITCH CONTINUITY TEST
Do not depress the protector switch reset button prior to testing.
The leads from the switch are removed at the point farthest from
the switch.
Attach the leads from a test flashlight to the switch leads.
The Model N22T test kit (combination flashlight and continuity
tester) is manufactured by the Ray-O-Vac Company, Madison,
WI and available through your local suppliers.
With the flashlight turned on, the lamp should light. If the lamp
lights, the protector switch circuit is closed and in proper working
order. If the lamp does not light, the reasons could be:
1. Protector switch contacts open.
• Depress reset button on switch (switch cannot be reset until
water temperature in the heater coil drops below 200
0
F).
Lamp should light.
2. Defective protector switch or bad leads.
• If lamp does not light when reset button is depressed, attach
the test flashlight leads to the protector switch terminals. If
lamp does not light, switch is defective and must be replaced.
• If lamp does not light, the leads are bad and must be repaired
or replaced.
TANK TEMPERATURE CONTROL
The tank temperature control is the primary operating control of
the system. The sensing element is mounted on the hot water
storage tank. A change of temperature lower than the control
setting will cause the element to activate the electrical switch and
start the heater.
If control is out of calibration, replace control.
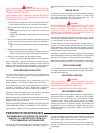
AUTOMATIC GAS SHUTOFF CONTROL
The automatic gas shutoff control, fig. 1, is an automatic device
which is wired in series with the gas valve and intermittent ignition
control module.
The control settings are fixed at 195
0
F (90.5°C) cut-out and 190
0
F
(87.7°C) cut-in. Reduced water flow due to lime scale
accumulation is one cause of frequent automatic gas shutoff
control operations. Refer to “PREVENTIVE MAINTENANCE”
section for deliming instructions. If this non-adjustable control is
out of calibration, replace control.
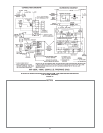
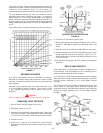
THERMAL BALANCER
Figure 16 shows the internal wiring of the thermal balancer. The
device may be tested after disconnecting the four leads from their
respective terminals on the unit.
1. Apply a test light to the yellow and red leads:
• The lamp should light as the contact in this circuit is normally
closed when the resistor is cool.
2. Apply the light to the black and yellow leads.
• The lamp should not light as the contact in this circuit is
normally open when the resistor is cool.
3. Remove the test light.
4. Apply 120 volts to the white and red leads which power the
1900 ohm resistor.
• After warming period, the contacts of the thermal balancer
should change position.
5. Remove the 120 volt power source.
6. Apply the test light as described in steps 1 and 2.
• While the resistor is still warm, the lamp indications should
be the opposite as described above. If this is not the case,
replace the thermal balancer.
THERMAL BALANCER SCHEMATIC DIAGRAM
FIGURE 16
INSPECTING THE HEAT EXCHANGER
AND VENTING SYSTEM
Every 6 months, inspect the venting system (including the
chimney) for blockages which will retard free draft and points of
flue gas leakage. Remove any obstructions and replace any
damaged or deteriorated vent pipe.
Check the heat exchanger to be sure it is not blocked by dirt or
soot. It is not sufficient to only look through the flue outlet with
the draft hood removed. Examination should also be made using
a mirror and light through the burner opening, viewing the entire
bottom area of the exchanger.
Qualified servicers should follow this procedure when the heater’s
external heating surfaces need cleaning.


