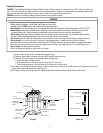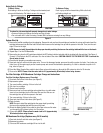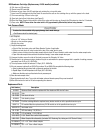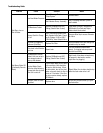
To reduce the risk associated with property damage due to water leakage:
• Before starting installation, shut off main water supply and drain pipes.
• Installation and Use MUST comply with all state and local plumbing codes.
•Do not install on hot water supply lines. The maximum operating water temperature of this filter system is 100°F (37.8°C).
•Do not install if water pressure exceeds 100 psi (690 kPa). If your water pressure exceeds 80 psi (552 kPa) you must
install
a pressure limiting valve. Contact a plumbing professional if you are uncertain how to check your water pressure.
•Do not install where water hammer conditions may occur. If water hammer conditions exist, you must install a water hammer
arrester. Contact a plumbing professional if you are uncertain how to check for this condition.
• Do not use a torch or other high temperature sources near filter system, cartridges, plastic fittings or plastic plumbing.
• Do not install unit if collet is missing. Contact your Sales Representative if collets are missing from any fittings.
• On plastic fittings, never use pipe sealant or pipe dope. Use PTFE thread tape only, pipe dope properties may deteriorate plastic.
• Take care when using pliers or pipe wrenches to tighten plastic fittings, as damage may occur if overtightening occurs.
•Do not install in direct sunlight or outdoors.
• Ensure all tubing and fittings are secure and free of leaks.
CAUTION
Plumbing Connections
CAUTION : The FlashGard-HP Reverse Osmosis Water Filtration System requires a minimum 60 psi (413.7 kPa) inlet water pres-
sure. To ensure adequate inlet water pressure, it is recommended that the system be plumbed after the beverage booster pump
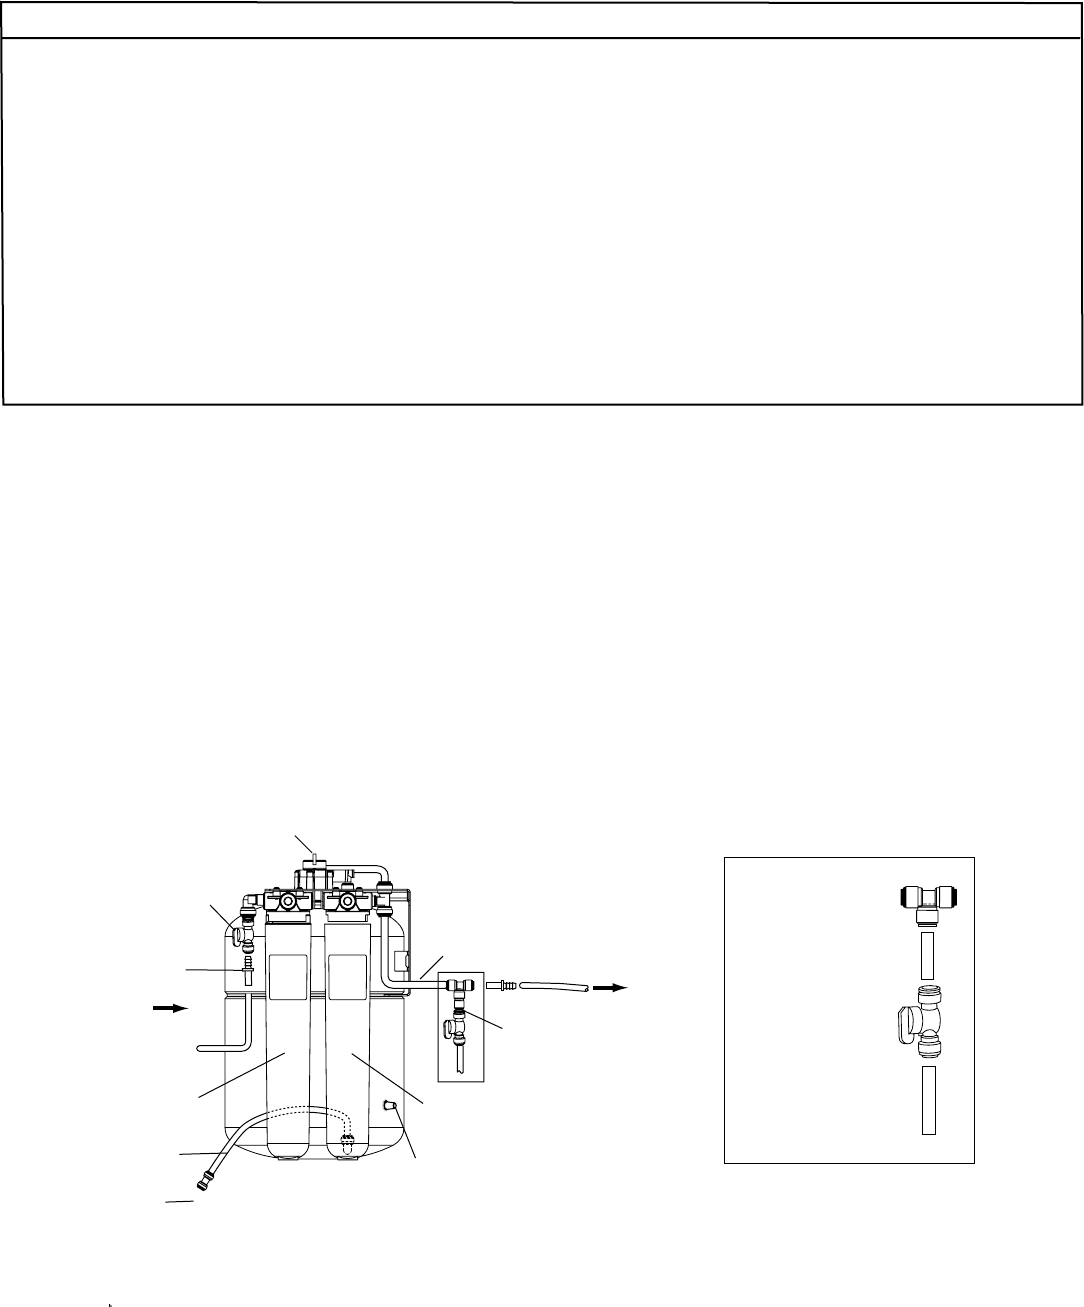
but before the beverage water filtration system. Refer to Figure 2 for proper tubing connections.
CAUTION: Use care in routing the tubing to ensure that there are no bends or kinks.
1) Shut off water supply and/or beverage water booster pump.
2) Route the water supply or booster pump to the RO system’s inlet water valve.
3) Assemble the water sample valve assembly (Refer to Figure 2A).
a.
b.
c.
Push small piece of tubing into tee.
Push opposite end of the small piece of tubing into 1/4” ball valve.
Push remaining section of the blue tube into the other end of the ball valve.
4) Cut a piece of the 3/8” blue tubing (included). Connect one end to the outlet tee on the RO system and the other end to one side
of the Water Sample Valve Assembly (See Figure 2).
5) Run length of tubing from the other end of the Water Sample Valve Assembly to the inlet of the steamer. See Figure 2.
Figure 2 Figure 2A
3/8” Reducing Tee
1/4” Ball Valve
Small Piece of 1/4” Blue Tubing
Remaining Piece of Tubing
To Steamer
Tank Shut-Off Valve
1/4 x1/4
Stem x Barb Adapter
Feedwater from
Beverage Booster
System
3/8” Blue Tubing
Inlet Water Valve
Schrader Air Valve
Water Sample
Valve Assembly
(See Figure 2A)
Reverse Osmosis (RO) Membrane
P/N 55987-15
Prefilter Cartridge
P/N 55706-08
1/4” Red Tubing
(To Drain)
SFC Tubing
5


