3-2
Getting Started With Switch Configuration
Using the Console Setup Screen
Getting Started With Switch
Configuration
Note By default, the switch is configured to acquire an IP address configuration
from a DHCP or Bootp server. To use DHCP/Bootp instead of the manual
method described in this chapter, see “DHCP/Bootp Operation” in the
Management and Configuration Guide, which is on the ProCurve Web site
at www.procurve.com/manuals.
Using the Console Setup Screen
The quickest and easiest way to minimally configure the switch for
management and password protection in your network is to use a direct
console connection to the switch, start a console session, and access the
Switch Setup screen.
1. Using the method described in the preceding section, connect a terminal
device to the switch and display the switch console command (CLI)
prompt (the default display).
The CLI prompt appears displaying the switch model number:
ProCurve 6600-24G Switch#
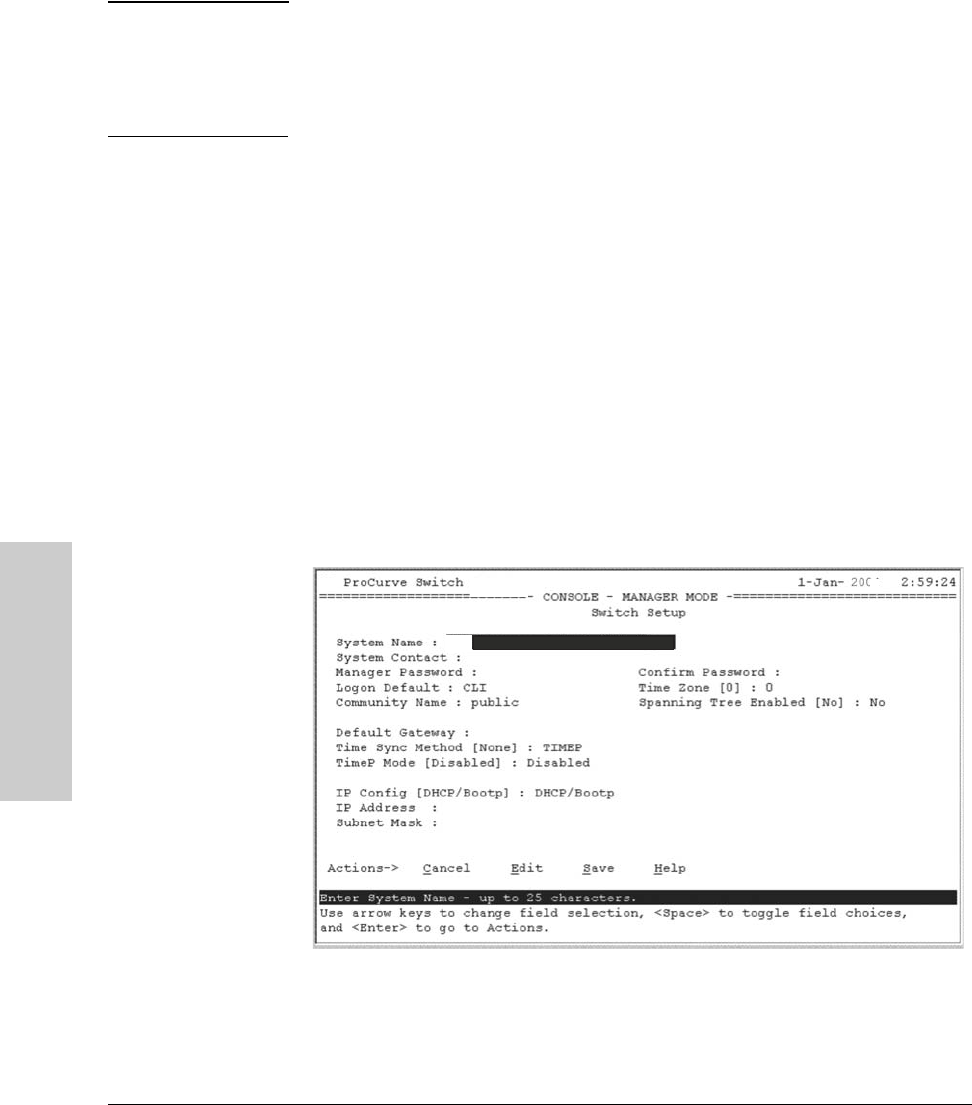
2. At the prompt, enter the setup command to display the Switch Setup
screen. The following illustration shows the Setup screen with the default
settings.
3. Use the
[Tab] key to select the Manager Password field and enter a manager
password of up to 16 characters.
6600-2
4G
5
8
6600-2
4G
ProCurve Switch


