9|P a g e
INSTALLATION
INSTRUCTIONS
The air conditioner should be placed on a hard and level surface strong enough to support the
unit. The unit has casters and it should only be rolled on smooth, flat surfaces. Use caution
when rolling on carpet surfaces. Do not attempt to roll the unit over objects. Never place any
obstacles around the air inlet or outlet and allow at least 20 inch of clearance for efficient air-
conditioning.
Cool or Auto Mode
Install Hose
Dehumidify or Fan Mode
Remove Hose
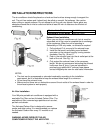
Exhaust Hose Installation
When you use this air conditioner unit, hot air must be
exhausted out of the room to complete the air exchange
of the condenser. When the unit is operating in
Dehumidify or FAN only mode, no exhaust is required.
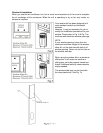
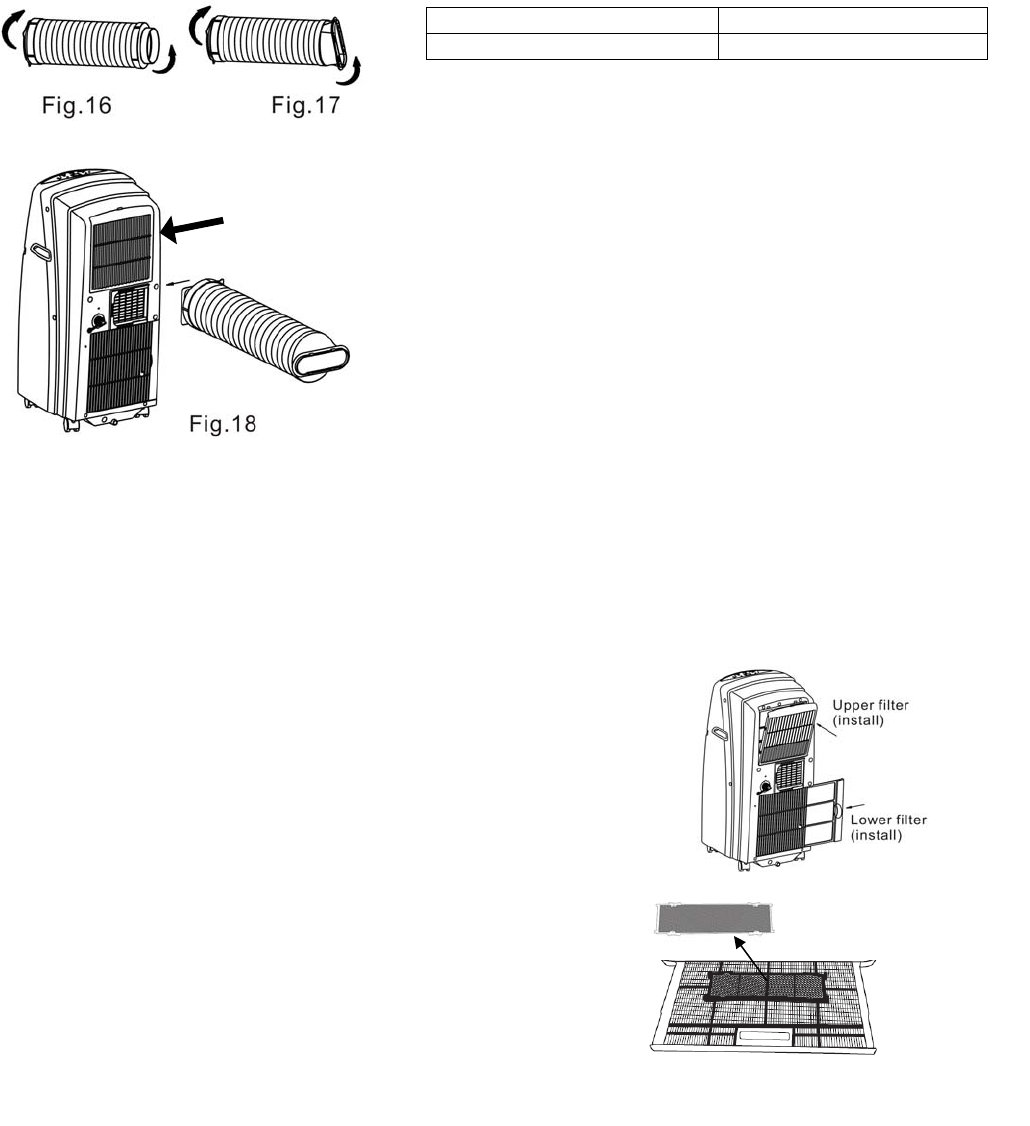
1. Pull out about 6” of one end of the exhaust hose.
2. Install the flat mouth and sliding round exhaust
connector on the exhaust hose by turning counter-
clockwise. See Fig. 16 and 17
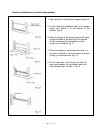
3. Push in the exhaust hose into the air outlet port at the
back of the unit. See Fig. 18
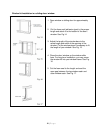
4. Only extend the exhaust hose to the necessary
length. We do not recommend extending the exhaust
hose more than 8' long. If you are interested in
purchasing an additional 4’ exhaust hose please
contact info@whynter.com for retail sales information.
NOTES:
The duct can be compressed or extended moderately according to the installation
requirement, but it is desirable to keep the exhaust hose length to a minimum.
Do not bend the exhaust hose
Make sure that there are no obstructions around the air outlet of the exhaust hose in order for
the exhaust system to work properly
Air filter Installation
Your Whynter portable air conditioner is equipped with a
washable Pre-Filter and an Activated Carbon Filter. The
washable air filter removes large particles such as dust,
pet hair and dander.
The Activated Carbon filter is designed to remove
smoke and other odors. It is recommended you replace
the Activated Carbon filter every 2-3 months or as
needed.
WARNING: NEVER OPERATE THE AIR
CONDITIONER WITHOUT THE AIR FILTER


