2
N
P2
F2
L1
R
W
Y
G
LO
HI
L2
P2
F2
P1
120V
120V
120V
240V
240V
240V
Fan
connections
Pump
connections
Line
connections
Low voltage
transformer
Pump relay
Fan
speed
relay
Low voltage
thermostat
connections
Fan timer
relay
8A18Z-2
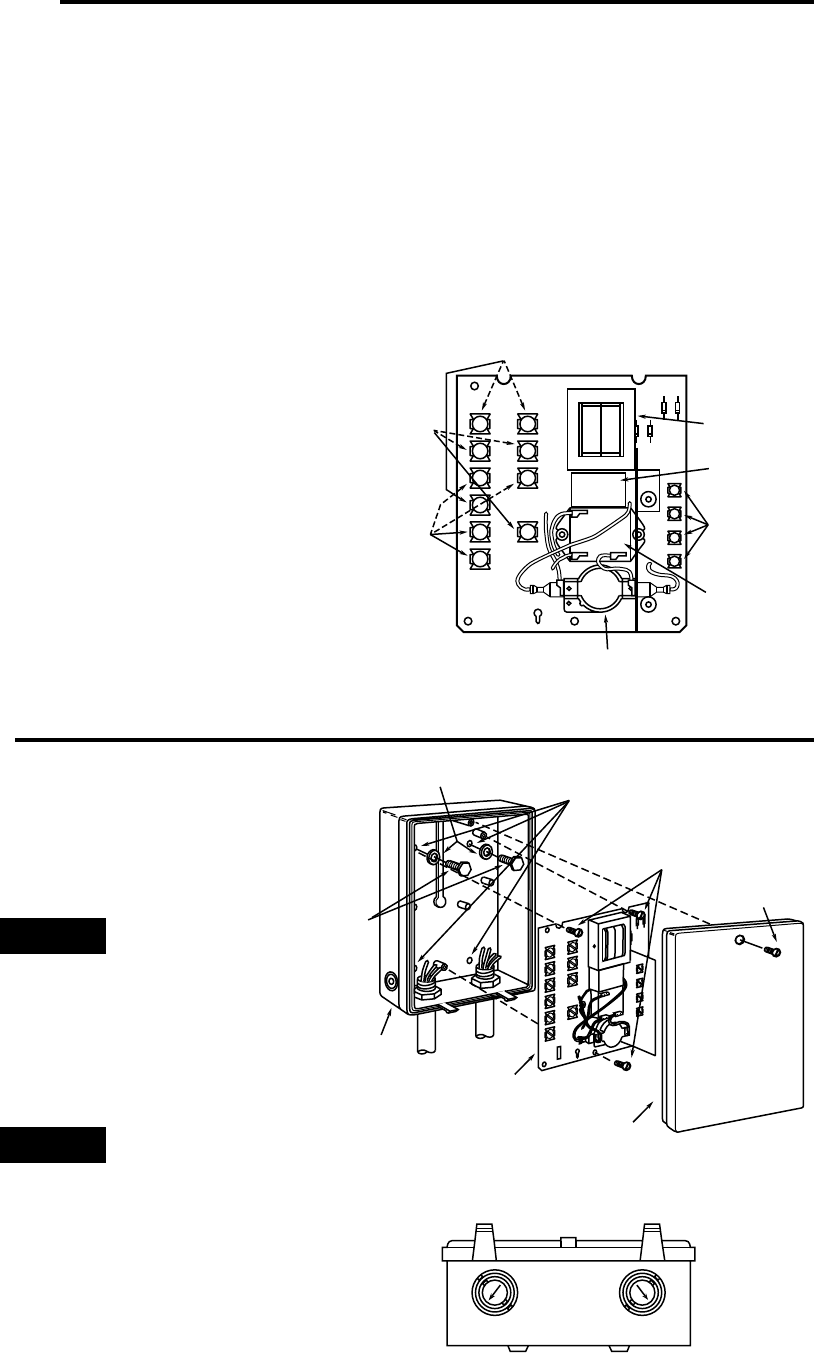
Figure 1. Panel assembly
SPECIFICATIONS
The 8A18Z-2 Evaporative Cooler Control consists of
three relays and a low voltage transformer with dual
voltage primary. The pump relay is automatically oper-
ated, which allows the cooler pads to become wet before
the fan starts. This will eliminate the fan from blowing dust,
warm air, and odor on initial start-up. The fan relay
controls operation of the fan without the pump when the
thermostat subbase is in the vent position, and controls
operation of both fan and pump when the thermostat
subbase is in the cool position.
INSTALLATION
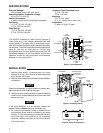
1. Remove cover screw. To remove cover, pull cover
outward at the top, then lift cover off the locating tabs
at the bottom of the case.
2. Remove panel assembly from case and discard pack-
ing material.
Place panel assembly in a safe location to prevent dam-
age to the panel while installing the case.
3. Determine which knockouts will be used for electrical
conduits, then remove electrical knockouts from case
before mounting.
If the larger knockout is to be removed, remove the
smaller knockout before removing the larger one.
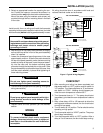
4. To remove the knockouts, place a screwdriver on
the knockout at the location indicated by the arrow
(see fig. 3). Tap the screwdriver to pop the knockout
out of the case. If the knockout is not completely
removed, carefully use pliers to twist the knockout
until it comes out.
Electrical Ratings:
Input Voltage: 120 or 240 VAC, 60 Hz.
Operating Ambient Temperature Range:
40 to 150°F (5 to 65°C)
Power Consumption:
6 Watts nominal with all three relays energized
Fan Rating:
12 FLA., 72 LRA; 120 VAC
6 FLA., 36 LRA; 240 VAC
Pump Rating:
10 FLA., 60 LRA: 120 VAC
5 FLA., 30 LRA; 240 VAC
Combined Total Connected Load:
16 FLA., 120 VAC
8 FLA., 240 VAC
Mounting:
Four
9
⁄32” Dia. holes
(2
1
⁄2” x 5” center line to center line)
Dimensions:
6” wide x 8” high x 3” deep
NOTE
NOTE
Case
Panel
Cover
Flat washers
Bolts
Mounting holes
for four bolts
and washers
Panel mounting
screws
Cover
screw
Figure 2. Installing control
Figure 3. Electrical knockouts


