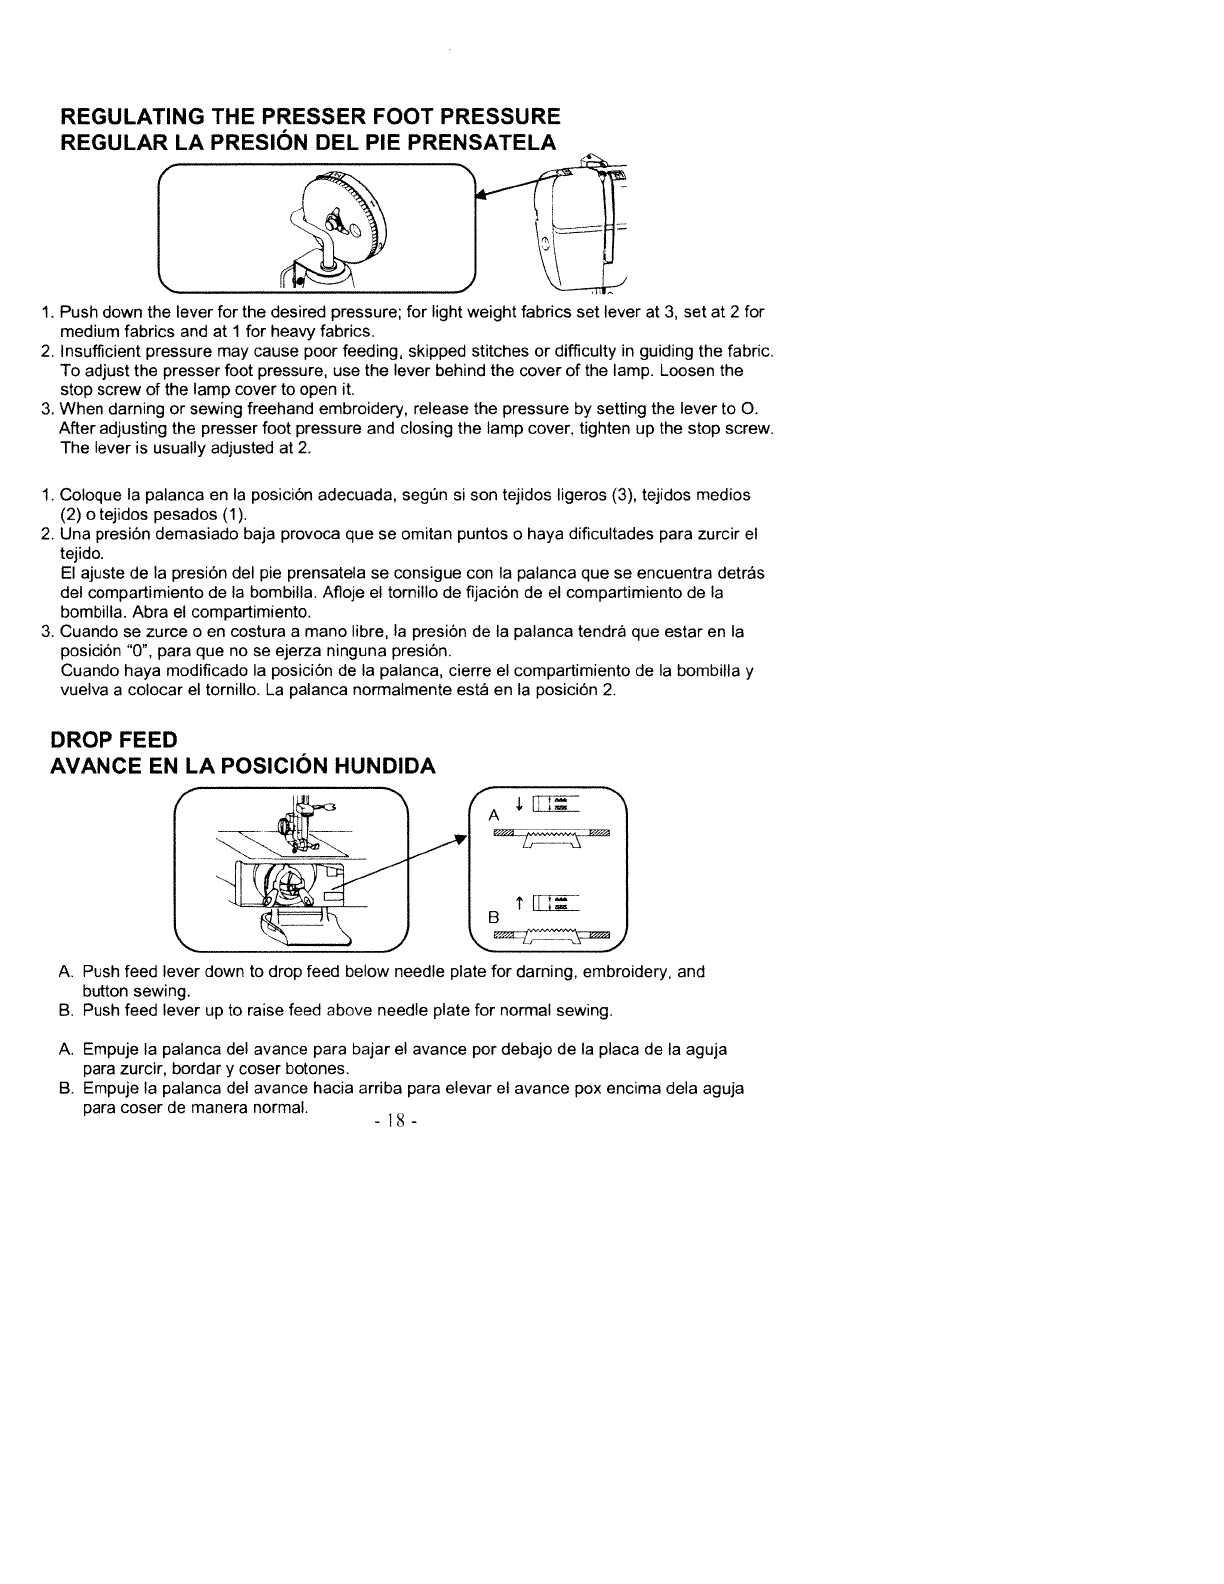
REGULATING
THE
PRESSER
FOOT
PRESSURE
REGULAR
LA
PRESION
DEL
PIE
PRENSATELA
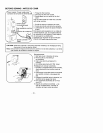
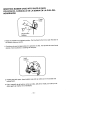
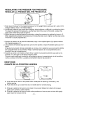
1.
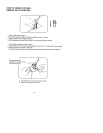
Push
down
the
lever
for
the
desired
pressure;
for
light
weight
fabrics
set
lever
at
3,
set
at
2 for
medium
fabrics and
at
1
for
heavy
fabrics.
2.
Insufficient
pressure
may
cause
poor
feeding, skipped
stitches
or
difficulty
in
guiding
the
fabric.
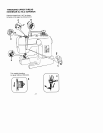
To
adjust
the
presser
foot
pressure,
use
the
lever
behind
the
cover
of
the
lamp.
Loosen
the
stop
screw
of
the
lamp
cover
to
open
it.
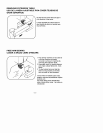
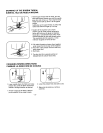
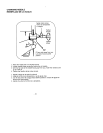
3.
When
darning
or
sewing
freehand
embroidery,
release
the
pressure
by
setting
the
lever
to
0.
After
adjusting the
presser
foot
pressure
and
closing
the
lamp
cover,
tighten
up
the
stop
screw.
The lever
is
usually
adjusted
at
2.
1.
Coloque
Ia
palanca
en
a
posición
adecuada,
segün
si
son
tejidos
ligeros
(3),
tejidos
medios
(2)0
tejidos
pesados
(1).
2.
Una
presión
demasiado
baja
provoca
que
se
omitan
puntos
o
haya
dificultades
para
zurcir
el
tejido.
El
ajuste
de
a
presiôn
del
pie
prensatela
se
consigue
con
Ia
palanca
que
se
encuentra
detrãs
del
compartimiento
de
Ia
bombilla.
Afloje
el
tomillo
de
fijación
de
el
compartimiento
de
Ia
bombilla.
Abra
el
compartimiento.
3.
Cuando
se
zurce
o
en
costura
a
mano
libre,
Ia
presión
de
Ia
palanca
tendrã
que
estar
en
Ia
posiciOn
‘0”,
para
que
nose
ejerza
ninguna presiôn.
Cuando
haya
modificado
Ia
posiciôn
de
Ia
palanca,
cierre
el
compartimiento
de
Ia
bombilla
y
vuelva
a
colocar
el
tornillo.
La
palanca
normalmente
está
en
Ia
posiciôn
2.
DROP
FEED
AVANCE
EN
LA
POSICION
HUNDIDA
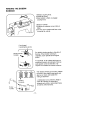
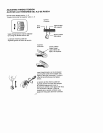
A.
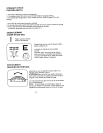
Push
feed
lever
down
to
drop
feed
below
needle
plate
for
darning,
embroidery,
and
button
sewing.
B.
Push
feed
lever
up
to
raise
feed
above
needle
plate
for
normal
sewing.
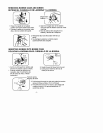
A.
Empuje
Ia
palanca
del
avance para
bajar
el
avance
por
debajo
de
Ia
placa
de
Ia
aguja
para
zurcir,
bordar
y
coser
botones.
B.
Empuje
Ia
palanca
del
avance
hacia
arriba
para
elevar
el
avance
pox
encima
dela
aguja
para
coser
de
manera
normal.
18-


