7
Install in window
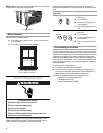
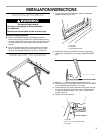
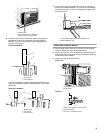
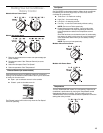
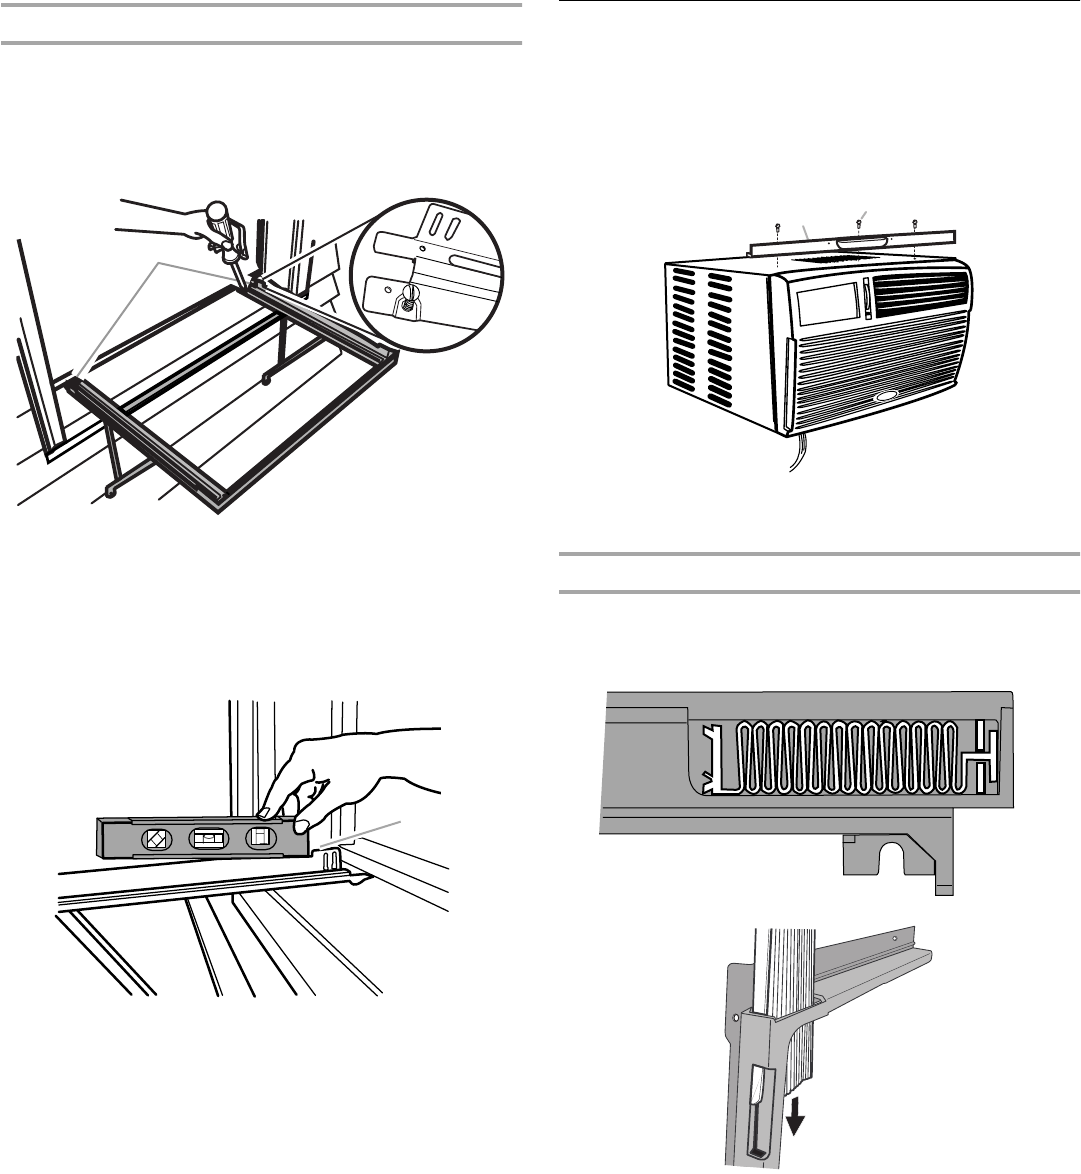
1. From inside, place SMART-MOUNT
™
tray, support legs facing
down, in the window. Match the holes in tray side with the
predrilled holes in windowsill.
2. Using 2 - #10 - 12 x 1¹⁄₂ in. slot-head wood screws, secure
the tray-frame assembly to the window.
NOTE: If the exterior of building can be damaged by support
legs, place a board between the wall and support legs.
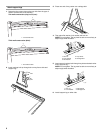
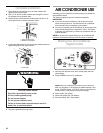
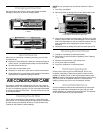
3. With tray center pushed away from the windowsill, place a
level on the angled edge of tray side. Check to be sure level is
against notch on tray side. Adjust SMART-MOUNT
™
tray until
bubble indicates level.
4. Tighten the hex nut just enough to hold tray center in place.
5. Repeat with other side.
6. Tighten hex nuts securely with ⁷⁄₁₆ in. wrench.
Prepare Air Conditioner for Installation
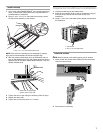
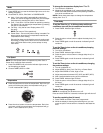
1. Locate provided bag of pan-head screws.
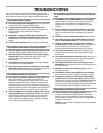
2. Place the top channel on top of the air conditioner, lining up
the holes in top channel with the holes on top of air
conditioner.
3. Using 3 - #10 x ³⁄₈ in. pan-head screws, attach top channel to
air conditioner.
Install side curtains
NOTE: Attach curtains to unit before placing unit in window.
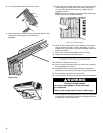
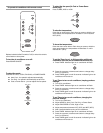
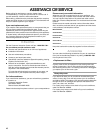
1. Insert curtain into curtain frame. Make sure the curtain end
locks into curtain frame.
2. Push curtain in all the way.
1. #10 - 12 x 1
¹⁄₂
in. slot-head wood screws
1. Place level on angled edge
against notch on tray side
1
1
1. Top channel
2. #10 x
³⁄₈
in. pan-head screw
1
2


