8
ENGLISH | Owner’s Guide
How To Use
1. Plug into a standard grounded wall outlet.
2. Press the POWER button to turn on the Heater.
3. Position the TVH 600 so the vortex beam of warm air is directed across the room unobstructed.
4. Using the touch screen, select the mode you wish to use, LOW heat, HIGH heat, or FAN ONLY.
5. Turn off after use.
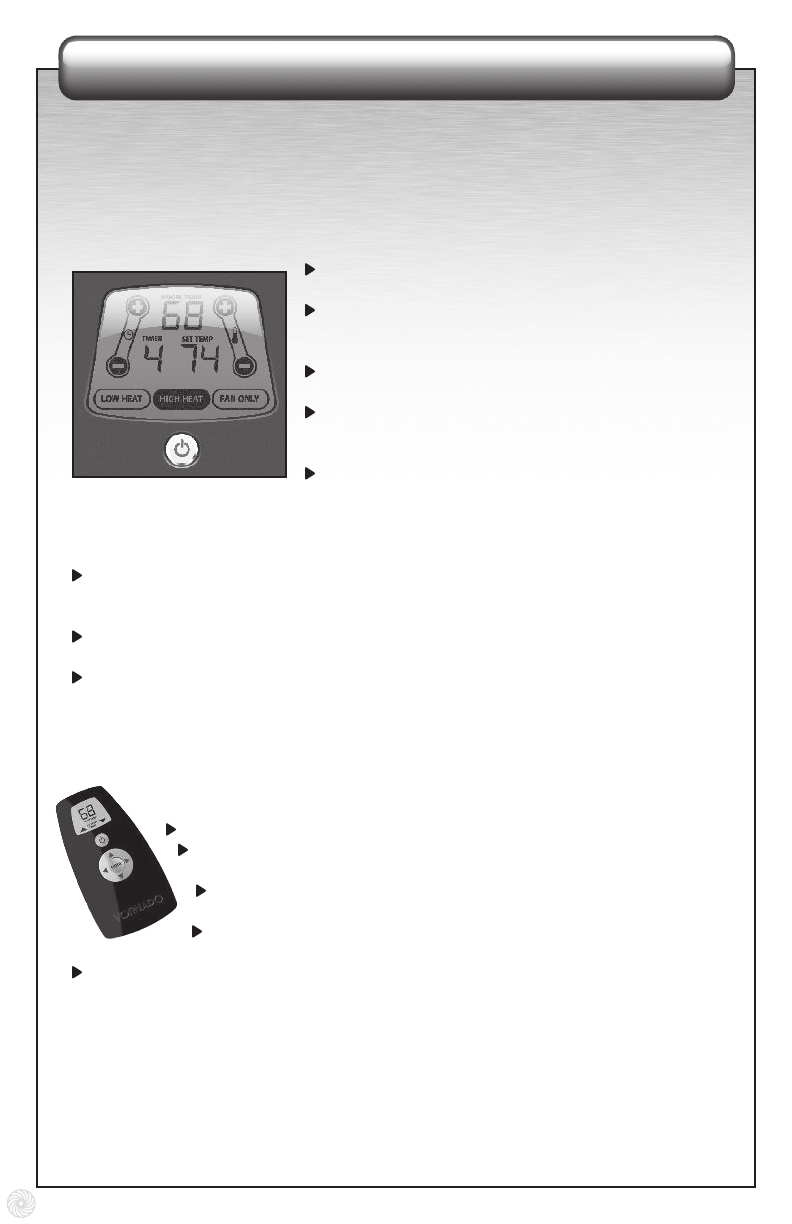
TVH 600 TOUCH SCREEN CONTROLS
POWER BUTTON Press to turn unit ON or OFF, red light
illuminates when power is ON.
HEAT MODE To select the heat level you desire, press
HIGH HEAT for up to 1500 watts, or LOW HEAT for up to
750 watts of maximum power.
FAN ONLY MODE Select FAN ONLY mode to operate
the heater with no heat.
SET TEMPERATURE To select the desired room
temperature, press the [+] or [–] to raise or lower the
temperature by one degree at a time.
ROOM TEMPERATURE The Touch Screen also indicates
room temperature. The temperature displayed is the approximate temperature at the location
of the Smart Remote. The base unit will always attempt to operate using the sensor information
from the Remote, if a signal cannot be obtained, the base unit will function on its own. (See
Smart Remote Temperature Sensor below.)
TIMER The timer function allows you to set the unit to automatically turn off in one-hour
intervals up to 9 hours. Press the [+] to add hours of operation, or the [–] to remove hours of
operation. The unit will completely shut off when the set time has expired.
SOUND When a setting is changed you will hear a “beep” to indicate that a setting has
been changed.
LCD DISPLAY Display window will be illuminated when adjustments are being made, and
the illumination will dim after adjustments are complete.
SMART REMOTE TEMPERATURE SENSOR
Fully control the TVH 600 with the Smart Remote. All adjustments made with the
Remote will be indicated with a “beep” from the unit to notify you that the change
has been received.
POWER Press the ON/OFF button to turn the unit ON or OFF.
HEAT MODE Press the HEAT UP or HEAT DOWN arrows to adjust heat
settings one degree at a time.
TIMER Press the TIMER UP or TIMER DOWN arrows to adjust timer by
one hour at a time.
MODE Press the center MODE button to select HIGH HEAT, LOW HEAT
or FAN ONLY.
BATTERY REPLACEMENT Screen will indicate when the batteries need to be replaced.
The Remote requires 2 AA batteries. To replace the batteries remove the cover located on
the bottom side of the remote. Note: The SMART REMOTE SENSOR sends frequent signals
to the base unit; this uses more power than ordinary remotes so more frequent battery
replacement will be required.
www.sylvane.com 1-800-934-9194


