38
saved file. Click “OK” and this Camera is adjusted according to the loaded data and then restarted.
Firmware Update: Update the device software. Click “Browse” and select the file for updating. A
confirmation dialogue will appear. Click “OK” to start. This Camera will reboot upon completion.
Upload language pack: Click “Browse” and select the file for updating, and then the present
language display of WEB User Interface could be changed. A confirmation dialogue will appear.
Click “OK”, then the update will be applied immediately. The default language is “English”.
Note:
When updating the firmware version, please use the file specific for the model. Otherwise, some
problems may occur. Unless the updating completed, please don’t turn off the power or disconnect the
network.
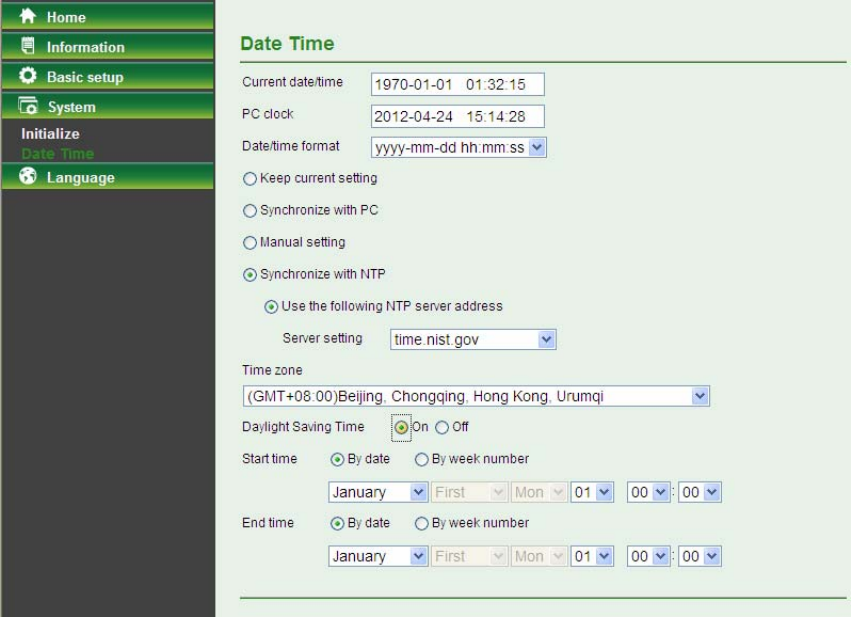
5.4.2 Date Time
The Date Time screen displays all options of time setting.
Current Date / Time: This displays the current date and time of this Camera.
PC Clock: This displays the date and time of the monitoring PC clock.
Date/Time Format: You can click the drop-down list to select different time display formats.
Keep current setting: Select this mode to keep the current date and time of this Camera.
Synchronize with PC: Select this mode to keep the date and time of this Camera is the same as
the monitoring PC.
Manual setting: Select this mode to adjust manually the date and time of this Camera.
Synchronize with NTP: Specify the NTP server name and the Refresh Interval to synchronize
the date and time of this Camera with those of the time server, known as the NTP server.
Note:
The NTP server (Network Time Protocol) is the time server which is an Internet standard protocol built on
the top of TCP / IP. This assures accurate synchronization to the millisecond of computer clock times in a
network of computers.


