


OPERATING INSTRUCTIONS
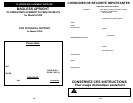
MESURES DE PRÉCAUTION
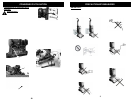
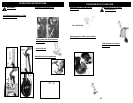
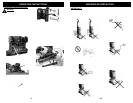
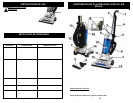
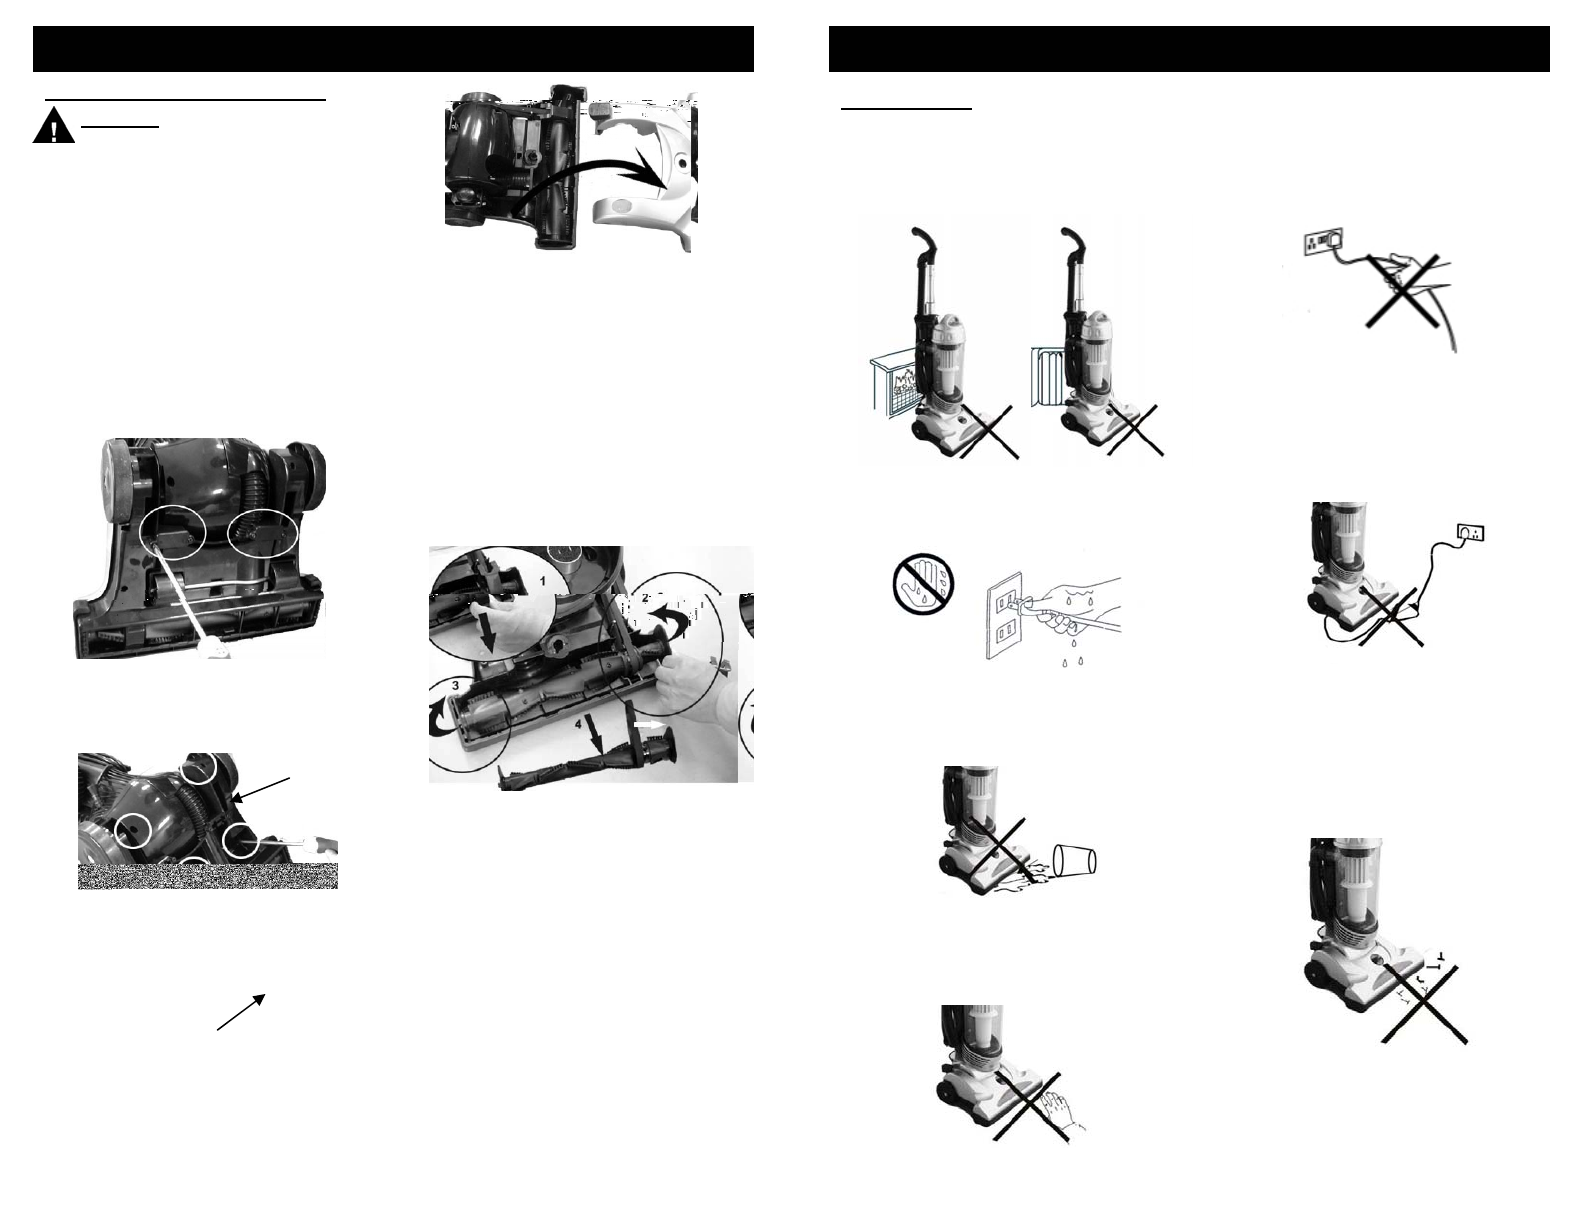
Cleaning & Changing the Belt
IMPORTANT : Si la trappe de succion ou le boyau se BLOQUENT, éteignez
l’aspirateur et retirez l’obstacle avant de redémarrer l’appareil.
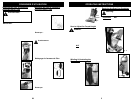
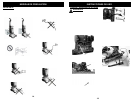
Fig. 24
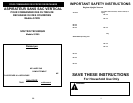
Warning: To reduce the risk of
electric shock, the power cord must
be disconnected before removing the
dust cup, HEPA-Type filter,changing the
filters or performing maintenance/trouble
shooting checks.
Occasionally the po wer nozzle drive
belt will require changing, the
frequency will depe nd upon the amount
of use your vacuum sees.
1. Turn the vacuum "Off" and unplug
from power supply.
2. Turn the vacuum upside down on a
flat level surface.
3. Using a Philips screw driver,
remove the four (4) screws that
attach the base plate to the lower
plate. (Fig. 22)
Fig. 22
1. N’approchez pas l’aspirateur
trop près des éléments
chauffants ou des radiateurs.
5. Lorsque vous retirez le cordon
d’alimentation de la pris e
murale, tirez sur la fiche et non
pas sur le cordon.
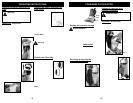
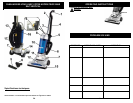
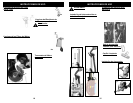
6. Remove the belt cover (Fig. 25, #1)
7. Lift the right side of the brush bar
first and then lift the left hand side.
(Fig. 25 #2 & #3)
8. Remove the brush bar from the
power head. (Fig. 25, #4)
9. Carefully remove any belt residue
that may exist in the belt area
before replacing with a ne w belt.
10.Remove the worn or broken belt
from the motor drive shaft.
11 Loop the new belt first over the
motor drive shaft and then over the
agitator pulley.
6. Ne ramassez aucun objet fumant
ou brûlant tels que les cigarettes,
allumettes ou cendres chaudes.
7. Évitez de faire passer l’aspirateur
sur le cordon d’alimentation.
2. Avant d’insérer la fiche d’alim entation
dans la prise murale, assurez- vous
que vos mains sont sèches.
Fig. 25
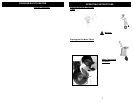
12. Insert the right side of the brush
bar in first by placing the end cap
down into the slot and then do the
same with the left side. Press
firmly to make sure that each end
is completely inserted.
13. Check to make sure that the belt is
centered on the agitator pulley and
that the brush bar turns.
14. Replace the belt cover.
15. Replace the power head cove r
and turn the unit over carefully.
16. Replace the lower plate, screwing
in all five (5) screws.
17. Replace the lower plate.
18. Once the lower plate is attached,
replace the base plate with the
four (4) screws.
4. After you have removed the base
plate, remove the remaining five (5)
screws from the lower plate using a
Philips screw driver. (Fig. 23)
8. N’utilisez pas l’aspirateur sans
sa coupelle ou sans ses filtres.
3. Avant de commencer à nettoyer,
assurez-vous de retirer tout gros objet
ou tout objet coupant pouvant l’écran
de filtrage de la coupelle.
9. Avant de commencer à nettoyer,
assurez-vous de retirer tout gros
objet ou tout objet coupant
pouvant endommager
l’aspirateur.
Base Plate
Lower Plate
Fig. 23
4. Tenez toutes les parties du corps,
les doigts, les cheveux et les
vêtements lâches éloignés des
ouvertures, du batteur rotatif et des
autres pièces mobiles.
5. With the unit still lying down, turn
the unit over and lift the power head
cover starting from the back of the
power head. (Fig. 24)
8 25