


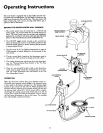

Operating Instructions (cont'd)
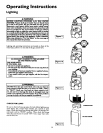
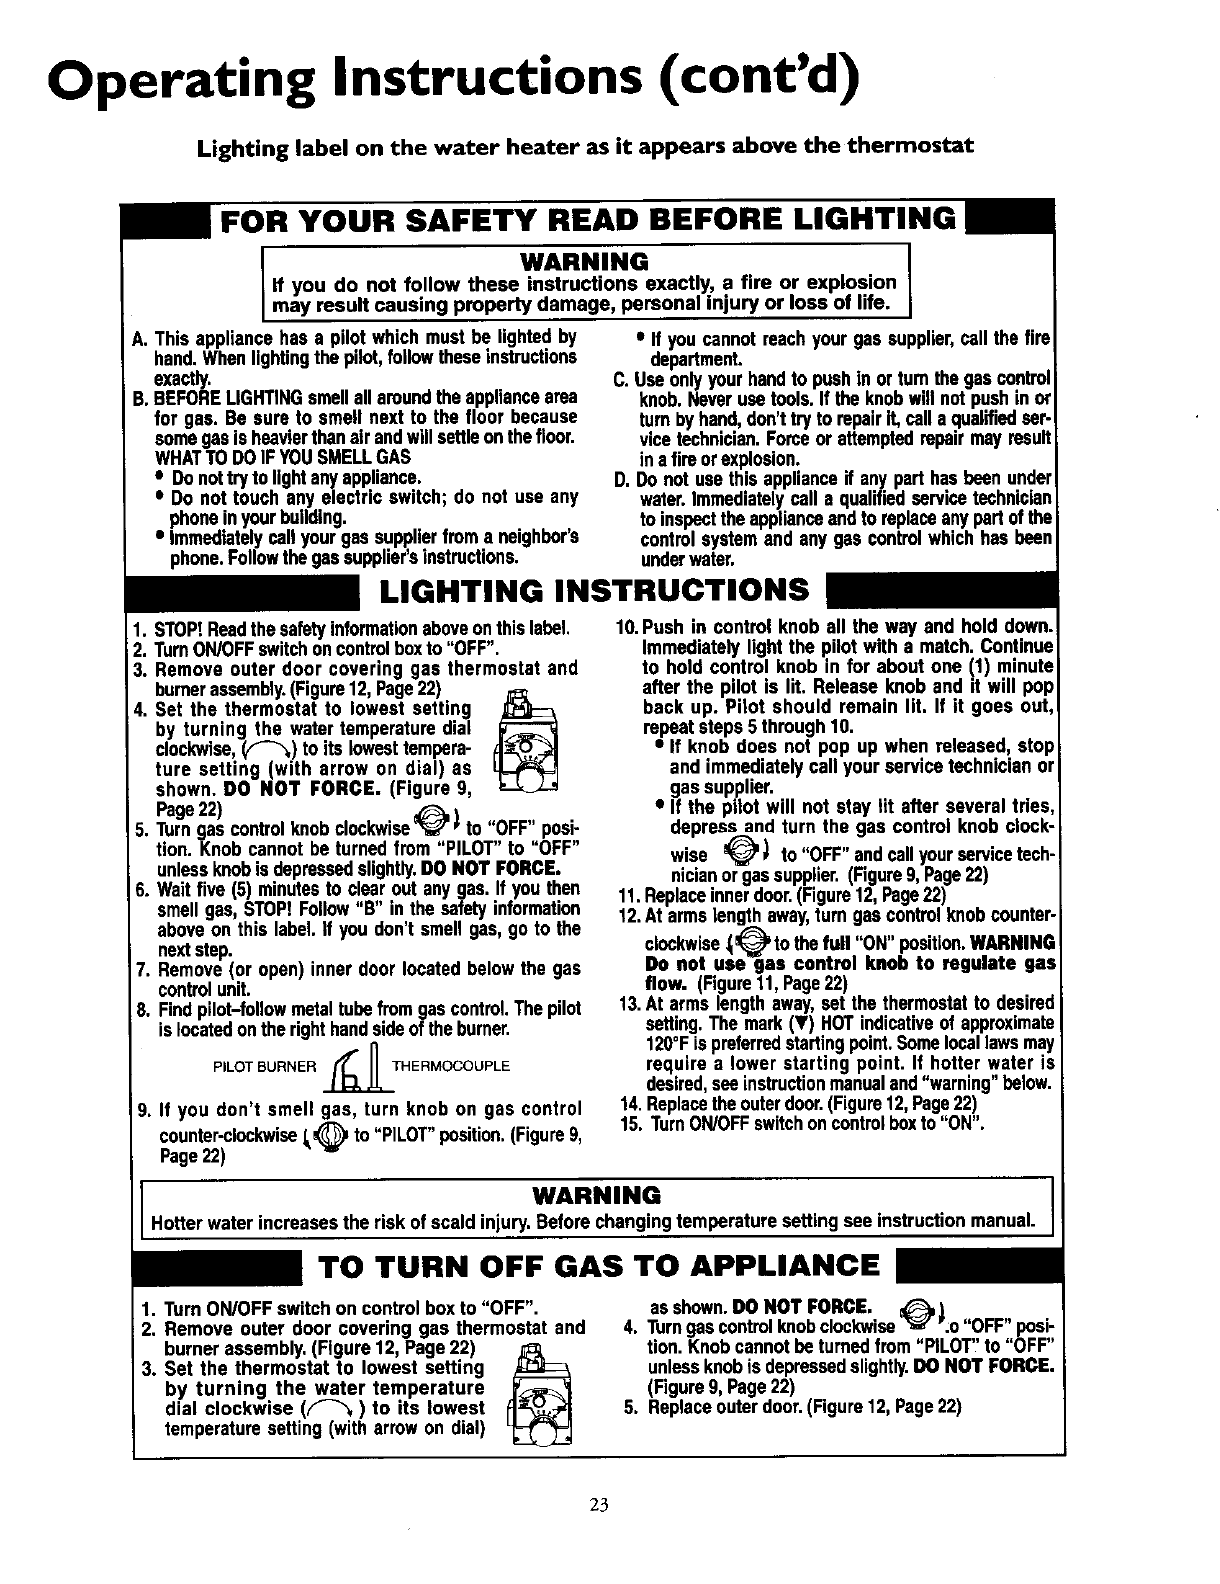
Lighting label on the water heater as it appears above the thermostat
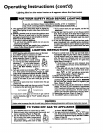
FOR YOUR SAFETY READ BEFORE LIGHTING
WARNING I
If you do not follow these instructions exactly, a fire or explosion
may result causing property damage, personal injury or loss of life.
A. Thisappfiancehas a pilot whichmustbe lightedby
hand.Whenlightingthe pilot,followtheseinstructions
exactly.
B. BEFORELIGHTINGsmellallaroundtheappfiancearea
for gas. Be sure to smell next to the floor because
somegasisheavierthanafrandwillsettleonthefloor.
WHATTODOIFYOUSMELLGAS
• Donottryto lightanyappliance.
• Do not touch anyelectric switch; donot use any
phoneinyourbuilding.
• immediatelycallyourgassupplierfroma neighbor's
phone.Followthegassupplier'sinstructions.
LIGHTING INSTRUCTIONS
1. STOP!Readthesafetyinformationaboveonthislabel.
2. TurnON/OFFswitchoncontrolboxto"OFF".
3. Remove outer door covering gas thermostat and
burnerassembly.(Figure12,Page22) r_:
4. Set the thermostat to lowest setting
by turning the watertemperaturedial
clockwise,(,f-'_) to itslowesttempera-
ture setting (with arrow on dial) as
shown. DO NOT FORCE. (Figure 9,
Page22)
5. Turngas controlknobclockwiseV ) to "OFF" posi-
tion. Knobcannotbe turnedfrom "PILOT" to "OFF"
unlessknobisdepressedslightly.DO NOT FORCE.
6. Waitfive (5) minutesto clearout anygas.Ifyou then
smellgas, STOP!Follow"B" inthe safetyinformation
aboveon this label.If you don'tsmellgas,go to the
nextstep.
7. Remove(or open)inner doorlocatedbelowthe gas
controlunit.
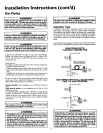
8. Findpilot-followmetaltubefromgascontrol.Thepilot
islocatedontherighthandsideoftheburner.
PILOT BURNER __THERMOCOUPLE
9. If you don't smell gas, turn knob on gas control
counter-clockwiseJ_@ to"PILOT"position.(Figure9,
Page22)
m
• If you cannot reachyourgassupplier,call the fire
department.
C. Useonlyyour handto pushin ortum thegascontrol
knob.Neverusetools.Iftheknobwillnotpushin or
turnbyhand,don'ttrytorepair it,call a qualifiedser-
vicetechnician.Forceor attemptedrepairmayresult
inafireorexplosion.
D. Do not usethisapplianceif anyparthasbeenunder
water.Immediatelycall a qualifiedservicetechnician
toinspecttheapplianceandto replaceanypartofthe
controlsystemand anygas controlwhichhasbeen
underwater.
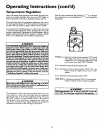
10.Push in control knob all the way and hold down.
Immediatelylight the pilot with a match.Continue
to hold control knob in for about one (1) minute
after the pilot is lit. Release knob and it will pop
back up. Pilot should remain lit. If it goes out,
repeatsteps5through10.
• If knob does not pop up when released, stop
and immediatelycallyourservicetechnicianor
gassupplier.
• If the pilot will not stay lit after several tries,
depres_ and turn the gas control knobclock-
wise _'_ to "OFF"andcall yourservicetech-
nicianor gassupplier.(Figure9,Page22)
11.Replaceinnerdoor.(Figure12,Page22)
12.At armslengthaway,turngascontrolknobcounter-
clockwise_ to thefull "ON" position.
WARNING
Do not use gas control knob to regulate gas
flow. (Figure11,Page22)
13.At arms lengthaway,set the thermostatto desired
setting.The mark('V) HOTindicativeof approximate
120°Fispreferredstartingpoint.Somelocallawsmay
require a lower starting point. If hotter water is
desired,seainstructionmanualand"warning" below.
14.Replacetheouterdoor.(Figure12,Page22)
15. TurnON/OFFswitchoncontrolboxto"ON".
WARNING
Hotterwater increasesthe risk ofscald injury.Beforechangingtemperaturesettingsee instructionmanual.
TO TURN OFF GAS TO APPLIANCE
1. TurnON/OFFswitchon controlbox to"OFF".
2. Remove outer door covering gas thermostat and
burnerassembly.(Figure12, Page22)
3. Set the thermostat to lowest setting
by turning the water temperature
dial clockwise (f-_) to its lowest
temperaturesetting(witharrowondial)
asshown.DO NOT FORCE. _
4. Turngascontrolknobclockwise_" ":o"OFF"posi-
tion. Knobcannotbe turnedfrom"PILOT"to"OFF"
unlessknobisdepressedslightly.DO NOT FORCE.
(Figure9,Page22)
5. Replaceouterdoor.(Figure12,Page22)
23