


INSTA
ATION
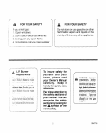
INSTALLER: Leave these instructions with
OWNER: Keep these instructions for future
the appliance.
use.
TOOL LIST
1 l/8” drill bit
2. Electric or hand drill
3. Flat bladed screwdriver
4.
No. 1 or No. 2 Phillips screwdriver
5. Pencil
6. Ruler and straight edge
7. Hand saw or saber saw
8. Pipe wrench
9. 518” wrench and
l/2"
wrench or adjustable wrench
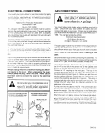
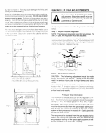
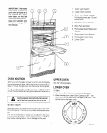
LOCATION
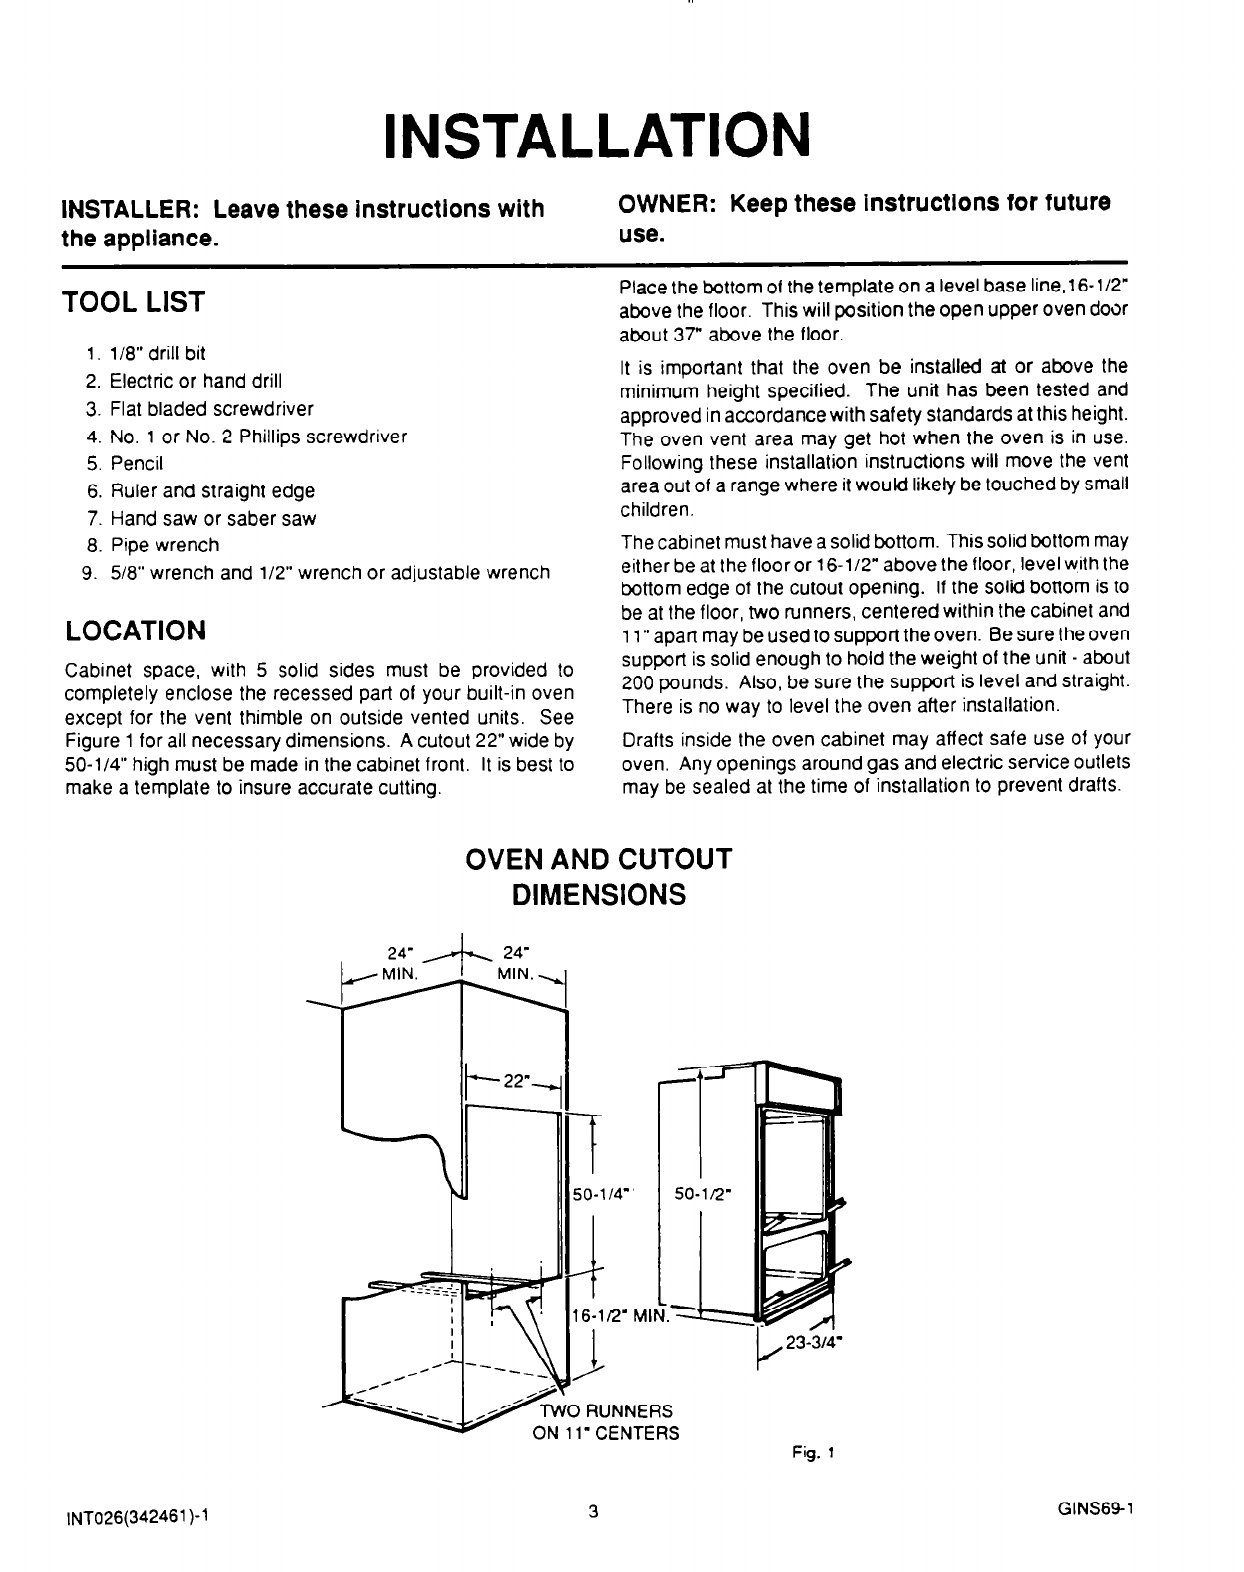
Cabinet space, with 5 solid sides must be provided to
completely enclose the recessed part of your built-in oven
except for the vent thimble on outside vented units. See
Figure 1 for all necessary dimensions. A cutout 22” wide by
50-l/4” high must be made in the cabinet front. It is best to
make a template to insure accurate cutting.
Place the bottom of the template on a level base line,1 6-112’
above the floor. This will position the open upper oven door
about 37” above the floor.
It is important that the oven be installed at or above the
minimum height specified. The unit has been tested and
approved in accordance with safety standards at this height.
The oven vent area may get hot when the oven is in use.
Following these installation instructions will move the vent
area out of a range where it would likely be touched by small
children.
The cabinet must have a solid bottom. This solid bottom may
either be at the floor or 16-l/2” above the floor, level with the
bottom edge of the cutout opening. If the solid bottom is to
be at the floor, two runners, centered within the cabinet and
11” apart may be used to support the oven. Be sure the oven
support is solid enough to hold the weight of the unit - about
200 pounds. Also, be sure the support is level and straight.
There is no way to level the oven after installation.
Drafts inside the oven cabinet may affect safe use of your
oven. Any openings around gas and electric service outlets
may be sealed at the time of installation to prevent drafts.
OVEN AND CUTOUT
DIMENSIONS
24' A 24'
Fig. 1
lNT026(342461)-1
GINS691