TABLE 1
Old Terminal New Label Description
R, V-VR or VR-R R 24 VAC
Y, Y1 or M Y1 Stage 1 Cooling/Heating Circuit
O or R O Reversing Valve (Cooling Mode)
BBReversing Valve (Heating Mode)
G or F G Fan Contactor Circuit
Y2 Y2 2nd Stage Cooling Circuit
W1 or W2 or W-U W2 2nd Stage Heating Circuit
L or X L System Monitor LED
EEEmergency Heating Circuit
C, X or B C 24 VAC Transformer Common Side
NOTE: THIS THERMOSTAT REQUIRES A 24V AC COMMON WIRE FOR PROPER OPERATION.
5. After labeling wires, remove wires from terminals.
6. Remove existing thermostat base from wall.
7. Refer to the following section for instructions on how to
install thermostat.
Recycling Thermostat
If this thermostat is replacing a thermostat that contains mercury in a
sealed tube, do not place your old thermostat in the garbage. Contact your
local waste management authority for instructions regarding proper dis-
posal of the thermostat. If you have any questions, call Robertshaw tech-
nical support at 1-800-445-8299.
Step 2: Installing Model 9620 Thermostat
NOTE: FOR NEW INSTALLATIONS, MOUNT THERMOSTAT ON INSIDE WALL, 4-5 FEET ABOVE THE FLOOR. DO NOT INSTALL
BEHIND A DOOR
, IN A CORNER, NEAR AIR VENTS, IN DIRECT SUNLIGHT, OR NEAR ANY HEAT OR STEAM GENERATING FIX-
TURES
. INSTALLATION AT THESE PLACES WILL AFFECT THERMOSTAT OPERATION.
IMPORTANT: T
HIS THERMOSTAT IS COMPATIBLE WITH 100% LOCKOUT SYSTEMS. TO RESET THE SYSTEM, TURN
THERMOSTAT TO
OFF POSITION FOR AT LEAST 60 SECONDS.
1. Turn off power to the heating and cooling systems.
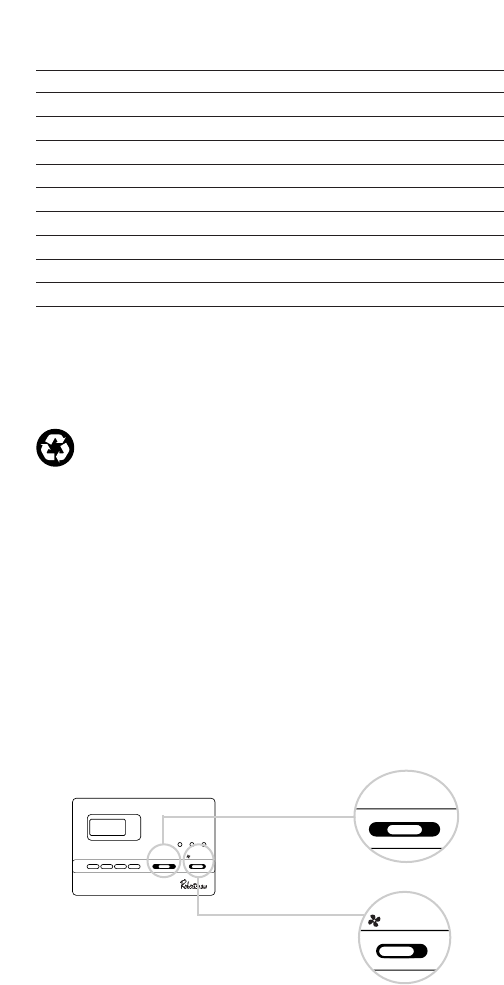
2. Place COOL-OFF-HEAT-EM in OFF position.
3
PROG
MAN
SETPROG/MAN COOL-OFF-HEAT-EM
AUXCHECKEMER
AUTO - ON
>
>
AUTO - ON
COOL-OFF-HEAT-EM


