


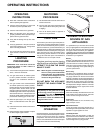
18 F37 Regency
®
Rear Flued Room Sealed Freestanding Gas Heater
OPERATING INSTRUCTIONS
OPERATING
INSTRUCTIONS
1) Read and understand these instructions
before operating this appliance.
2) Check to see that all wiring is correct and
enclosed to prevent possible shock.
3) Check to ensure there are no gas leaks.
4) Make sure the glass in the door frame is
properly positioned. Never operate the ap-
pliance with the glass removed.
5) Verify that the fl ueing and cap are unob-
structed.
6) Verify log placement. If the pilot cannot be
seen when lighting the unit - the logs have
been incorrectly positioned.
7) The unit should never be turned off, and on
again without a minimum of a 60 second
wait.
SHUTDOWN
PROCEDURE
1) Use the thermostat or remote control to turn
off the main burner.
2) Turn the main gas control clockwise to the
"OFF" position to turn off the pilot (push knob
in slightly).
3) Turn off all electric power to appliance if
service is to be performed.
FIRST FIRE
The fi rst fi re in your stove is part of the paint cur-
ing process. To ensure that the paint is properly
cured, it is recommended that you burn your fi re-
place for at least four (4) hours the fi rst time you
use it with the fan on. When fi rst operated, the unit
will release an odour caused by the curing of the
paint, the burning off of any oils remaining from
manufacturing. Smoke detectors in the house
may go off at this time. Open a few windows to
ventilate the room for a couple of hours.
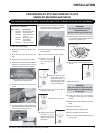
The glass panel may require cleaning
after the unit has cooled down. DO NOT
ATTEMPT TO CLEAN THE GLASS
WHILE IT IS HOT.
Note: When the glass is cold and the appli-
ance is lit, it may cause condensation
and fog the glass. This condensation
is normal and will disappear in a few
minutes as the glass heats up.
DO NOT BURN THE APPLIANCE
WITHOUT THE GLASS FRONT IN
PLACE.
During the fi rst few fi res, a white fi lm
may develop on the glass front as part
of the curing process. The glass should
be cleaned or the fi lm will bake on and
become very diffi cult to remove. Use a
non-abrasive cleaner and NEVER clean
the glass while it is hot.
NORMAL OPERATING
SOUNDS OF GAS
APPLIANCES
It is possible that you will hear some sounds
from your gas appliance. This is perfectly normal
due to the fact that there are various gauges
and types of steel used within your appliance.
Listed below are some examples. All are normal
operating sounds and should not be considered
as defects in your appliance.
Blower:
Regency
®
gas appliances use high tech blowers
to push heated air farther into the room. It is not
unusual for the fan to make a "whirring" sound
when ON. This sound will increase or decrease
in volume depending on the speed setting of
your fan speed control.
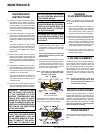
Burner Tray:
The burner tray is positioned directly under the
burner tube(s) and logs and is made of a differ-
ent gauge material from the rest of the fi rebox
and body. Therefore, the varying thicknesses of
steel will expand and contract at slightly different
rates which can cause "ticking" and "cracking"
sounds. You should also be aware that as there
are temperature changes within the unit these
sounds will likely re-occur. Again, this is normal
for steel fi reboxes.
Blower Thermodisc:
When this thermally activated switch turns ON
it will create a small "clicking" sound. This is the
switch contacts closing and is normal.
Pilot Flame:
While the pilot fl ame is on it can make a very
slight "whisper" sound.
Gas Control Valve:
As the gas control valve turns ON and OFF, a
dull clicking sound may be audible, this is normal
operation of a gas regulator or valve.
Unit Body/Firebox:
Different types and thicknesses of steel will
expand and contract at different rates resulting
in some "cracking" and "ticking" sounds will be
heard throughout the cycling process.
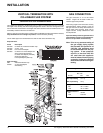
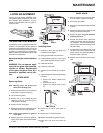
LIGHTING
PROCEDURE
IMPORTANT: Gas on/off knob cannot be
turned from "PILOT" to "OFF" unless it is
partially depressed.
1) Turn stove OFF using the Burner "ON/OFF"
switch, remote or thermostat.
2) Turn gas control knob so indicator points
to "OFF" position and allow 5 minutes for
any gas in the combustion chamber to
escape.
3) Turn gas control knob counterclockwise
so indicator points to the "PILOT" position.
Depress the gas control knob fully. Depress
the igniter button several times until the
pilot lights. After approximately one minute,
release the gas control knob. The pilot fl ame
should continue to burn. If the pilot does not
remain lit, repeat operation allowing a longer
period before releasing gas control knob.
4) When the pilot stays lit, turn the gas knob
further counterclockwise to the "ON" posi-
tion.
5) Use the thermostat or remote control to turn
on the unit.
6) Rotate the fl ame height regulator to adjust
the fl ame height higher or lower.
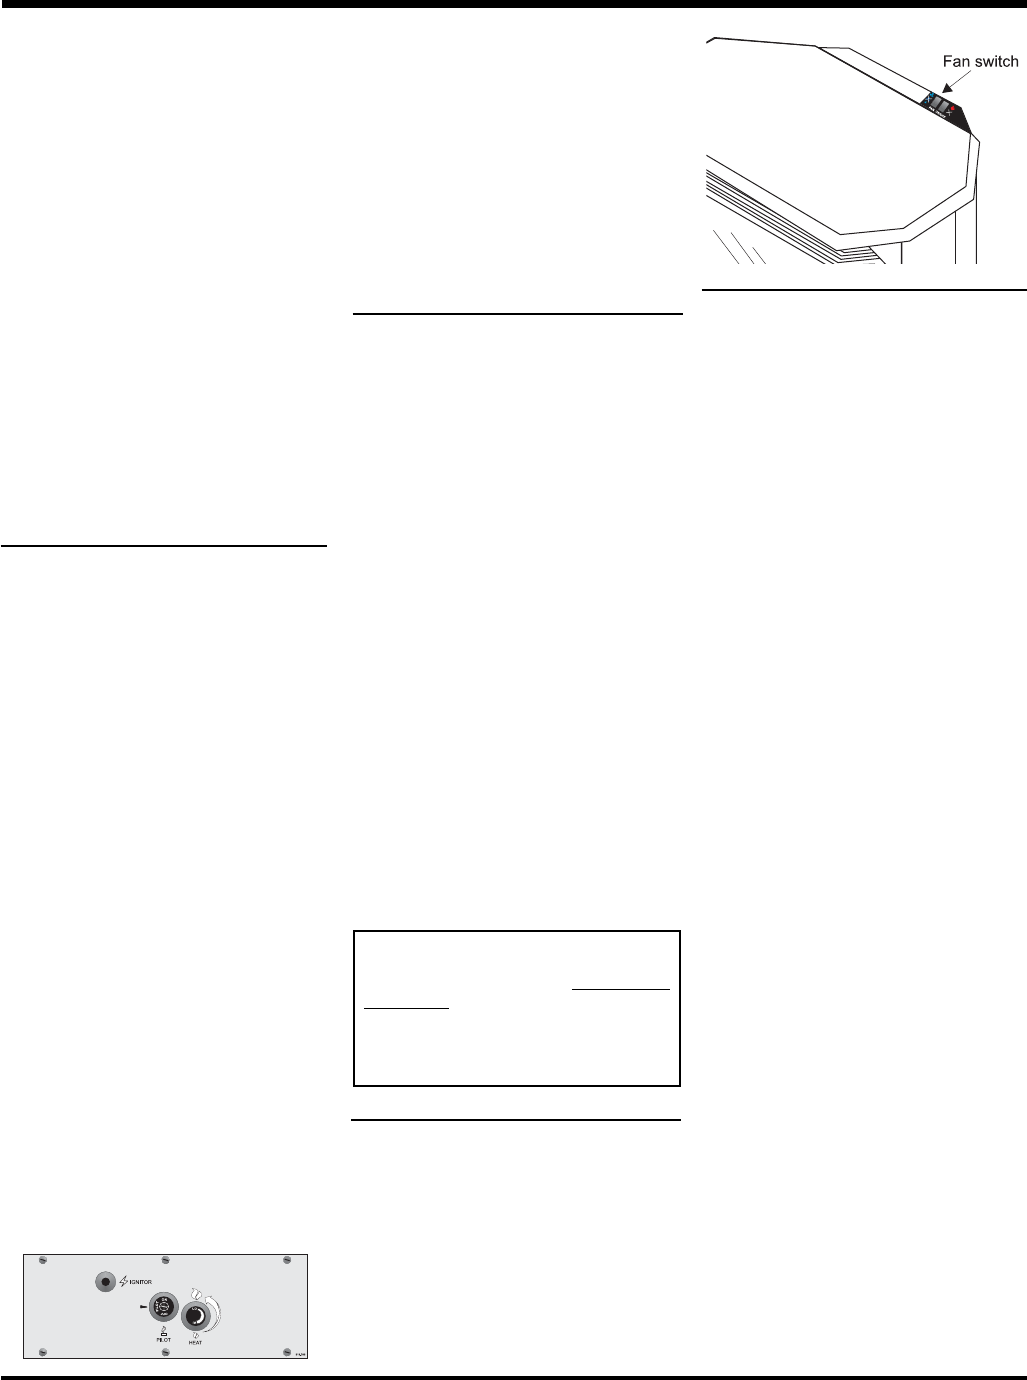
CONVECTION FAN
OPERATION
Set the fan speed on control panel at the top rear
of the unit to adjust to the desired speed. The fan
will turn on as the stove comes up to operating
temperature. After the unit has been turned off
and the unit cooled to below a useful heat output
range the fan will shut off automatically.