


6
C. Use only your hand to push in or turn the gas
control knob. Never use tools. If the knob will not
push in or turn by hand, do not try to repair it, call
a qualified service technician. Force or attempted
repair may result in a fire or explosion.
D. Do not use this appliance if any part has been
under water. Immediately call a qualified service
technician to inspect the appliance and to
replace any part of the control system and any
gascontrol which has been under water.
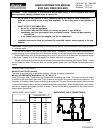
LIGHTING INSTRUCTIONS
1. STOP! Read the safety information.
2. Set the thermostat on the lowest setting.
3. Turn off all electric power to the appliance.
4. This appliance is equipped with an ignition
device which automatically light the pilot. Do
not try to light the pilot by hand.
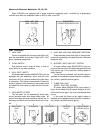
5. Remove boiler door panel.
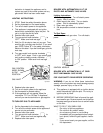
6. Turn gas control knob clockwise to
“OFF”. Make sure knob rest against stop.
7. Wait five (5) minutes to clear out any gas. Then
smell for gas, including near the floor. If you smell
gas, STOP! Follow "B" in the safety information
above on this label. If you don't smell gas, go to the
next step.
8. Turn gas knob counter clockwise from
"OFF" until it stops. Push in gas control knob
and continue rotating counter clockwise
to "ON" position. Make sure knob rest against
stop.
9. Replace boiler door panel.
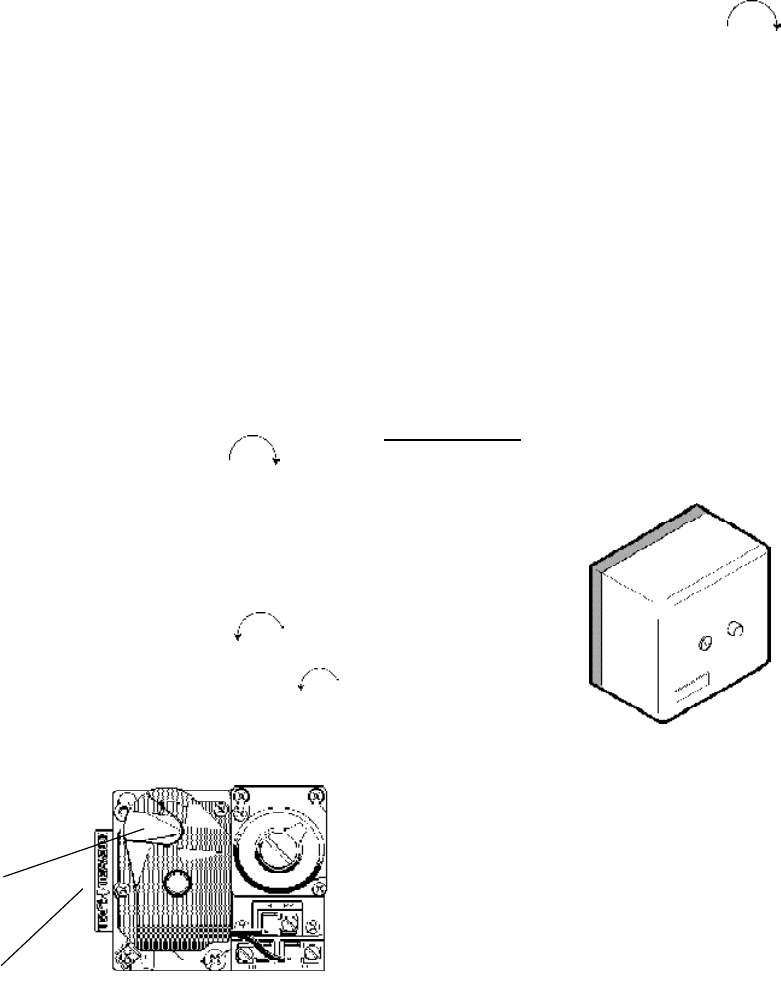
GAS CONTROL
KNOB SHOWN
IN "ON"
POSITION
GAS INLET
10. Turn on all electric power to the appliance.
11. Push in and release electric control reset button
(center of control cover). Pilot is automatically
lighted.
12. Set thermostat to desired setting.
13. If the appliance will not operate, follow the
instructions “To Turn Off Gas To Appliance” and
call your service technician or gas supplier.
TO TURN OFF GAS TO APPLIANCE
1. Set the thermostat to the lowest setting.
2. Turn off all the elctric power to the appliance if
service is to be performed.
3. Remove boiler door panel.
4. Turn gas control knob clockwise to
"OFF". Make sure knob rest against stop.
5. Replace boiler door panel.
BOILERS WITH AUTOMATICALLY LIT C2/IRI
PILOT AND AUTOMATIC GAS VALVES
1. Close all gas valves. Turn off electric power
supply. Wait five (5) minutes.
2. Open manual pilot valve. Turn on electric
power. Push and release electric control reset
button (Center of control cover). Pilot is auto-
matically lighted.
3. Open main gas valve.
4. Set temperature controls to desired tempera-
ture.
To Shut Down
Close all manual gas valves. Turn off electric
power.
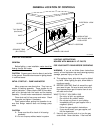
INSPECTION PROCEDURES
BURNERS
Clean main burners and air louvers of dust, lint and
debris. Keep boiler area clear and free from com-
bustibles and flammable liquids. Do not obstruct the
flow of combustion and ventilating air. Make visual
check of burner and pilot flame. Yellow flame indicates
clogging of air openings. Lifting or blowing flame
indicates high gas pressure. Low flame indicates low
gas pressure.
NOTE: Modulating burner flame varies in height from
approximately 1/4" at low fire to approximately 3" at
high fire.
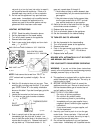
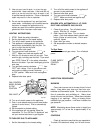
CONTROLS
Check all controls to see that they are operational.
To check IID's electronic safety, turn off main burner.
FLAME SAFETY
CONTROL
RELAY
Fig.# 9318
Fig.# 8082