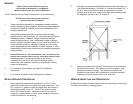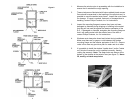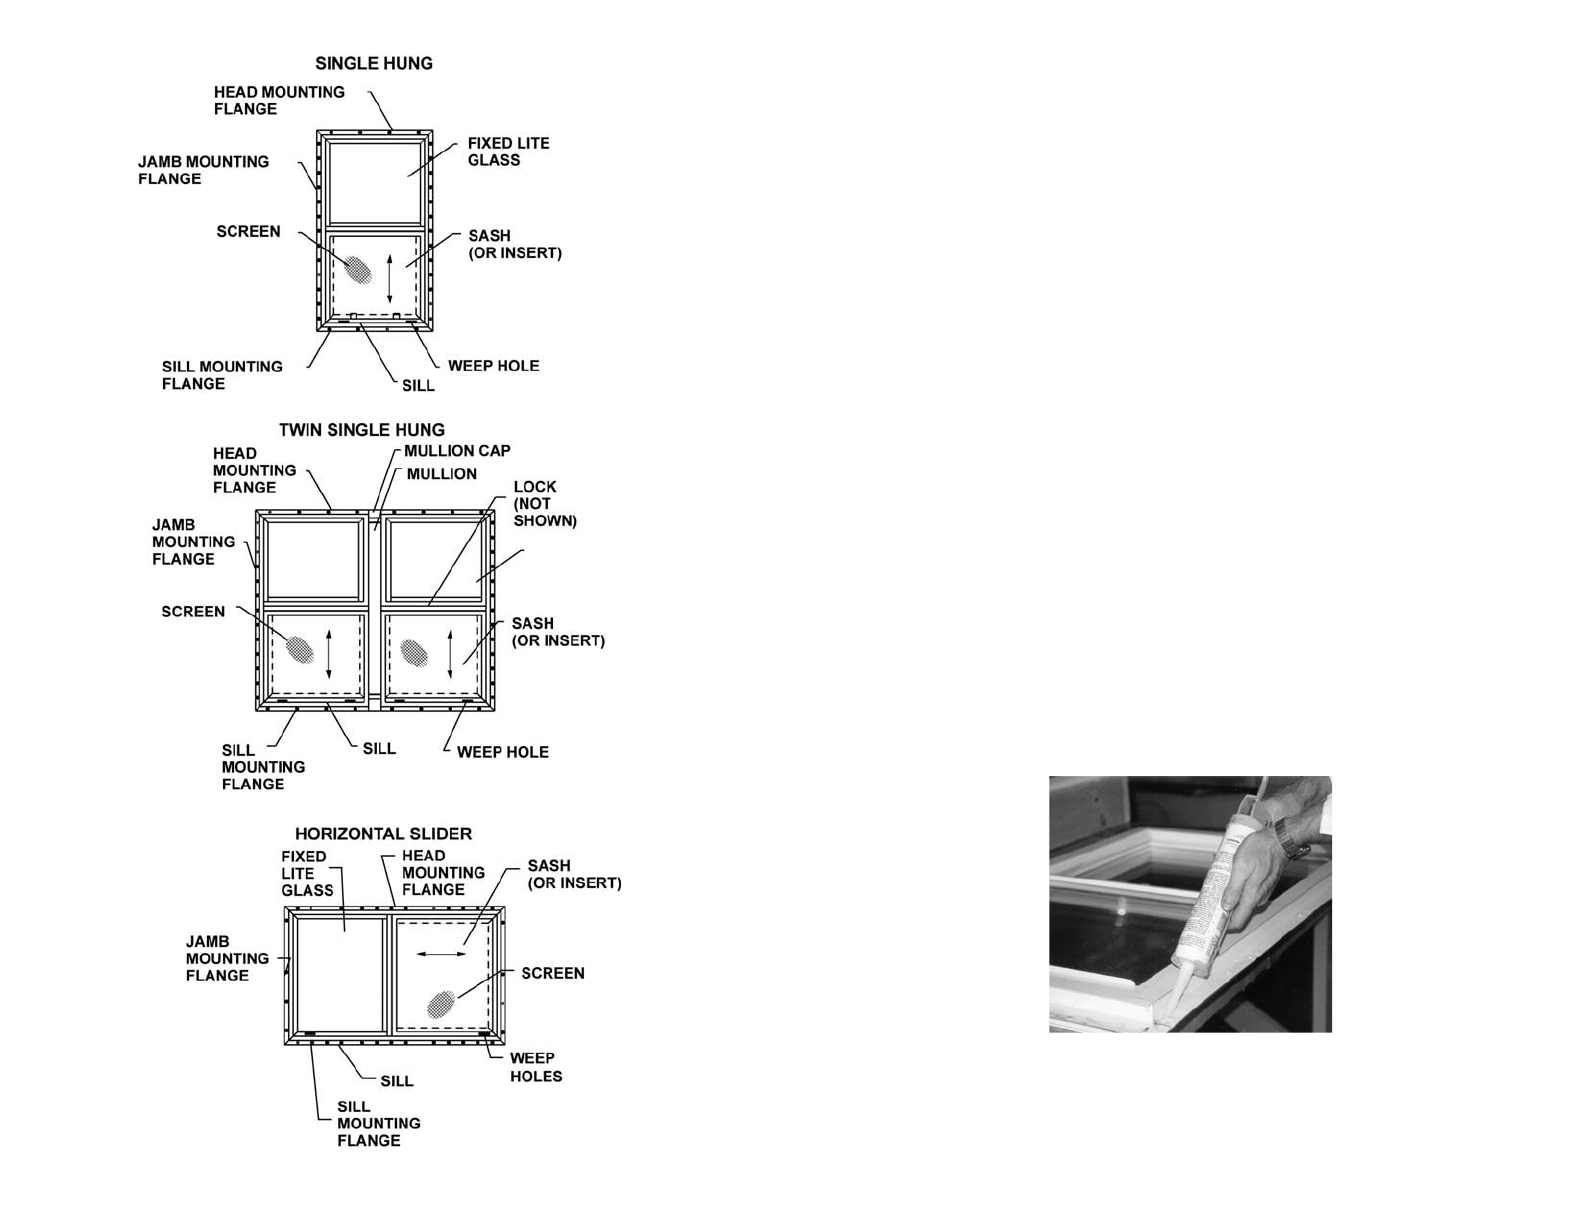
Figure 2
4
1. Measure the window prior to proceeding with the installation to
ensure that it matches the rough opening.
2. These windows are fabricated with fusion welded joined corners.
Care should be exercised in the handling of the products as it is
possible to crack the welded outer frame. Inspect the outer frame
for damage. If frame is cracked, fractured, or damaged due to
handling, contact Philips Products, Inc. for instructions.
3. Inspect the mounting flanges to ensure they have not been
damaged or distorted during shipping or handling to the extent
that they will not seat flat against the exterior perimeter of the
R.O. If damaged or distorted, straighten the mounting flange so
that it will make contact with the exterior face of the wall or
contact Philips Products, Inc. for instructions.
4. Windows must always be closed and locked during installation.
Make sure there are no gaps or voids between the window
mounting flange and the exterior perimeter of the R.O. Gaps or
voids in this area may provide a path for water and air to enter.
5. It is possible to install the window "upside down" and/or "inside
out" which will cause the unit to operate incorrectly, thereby
voiding the warranty. Note: The weep holes are always at the
bottom of the window at the exterior face (see figure 2). Never
fill, modify, or block weep holes.
Figure 3
5


