Adjustment
11 - 27
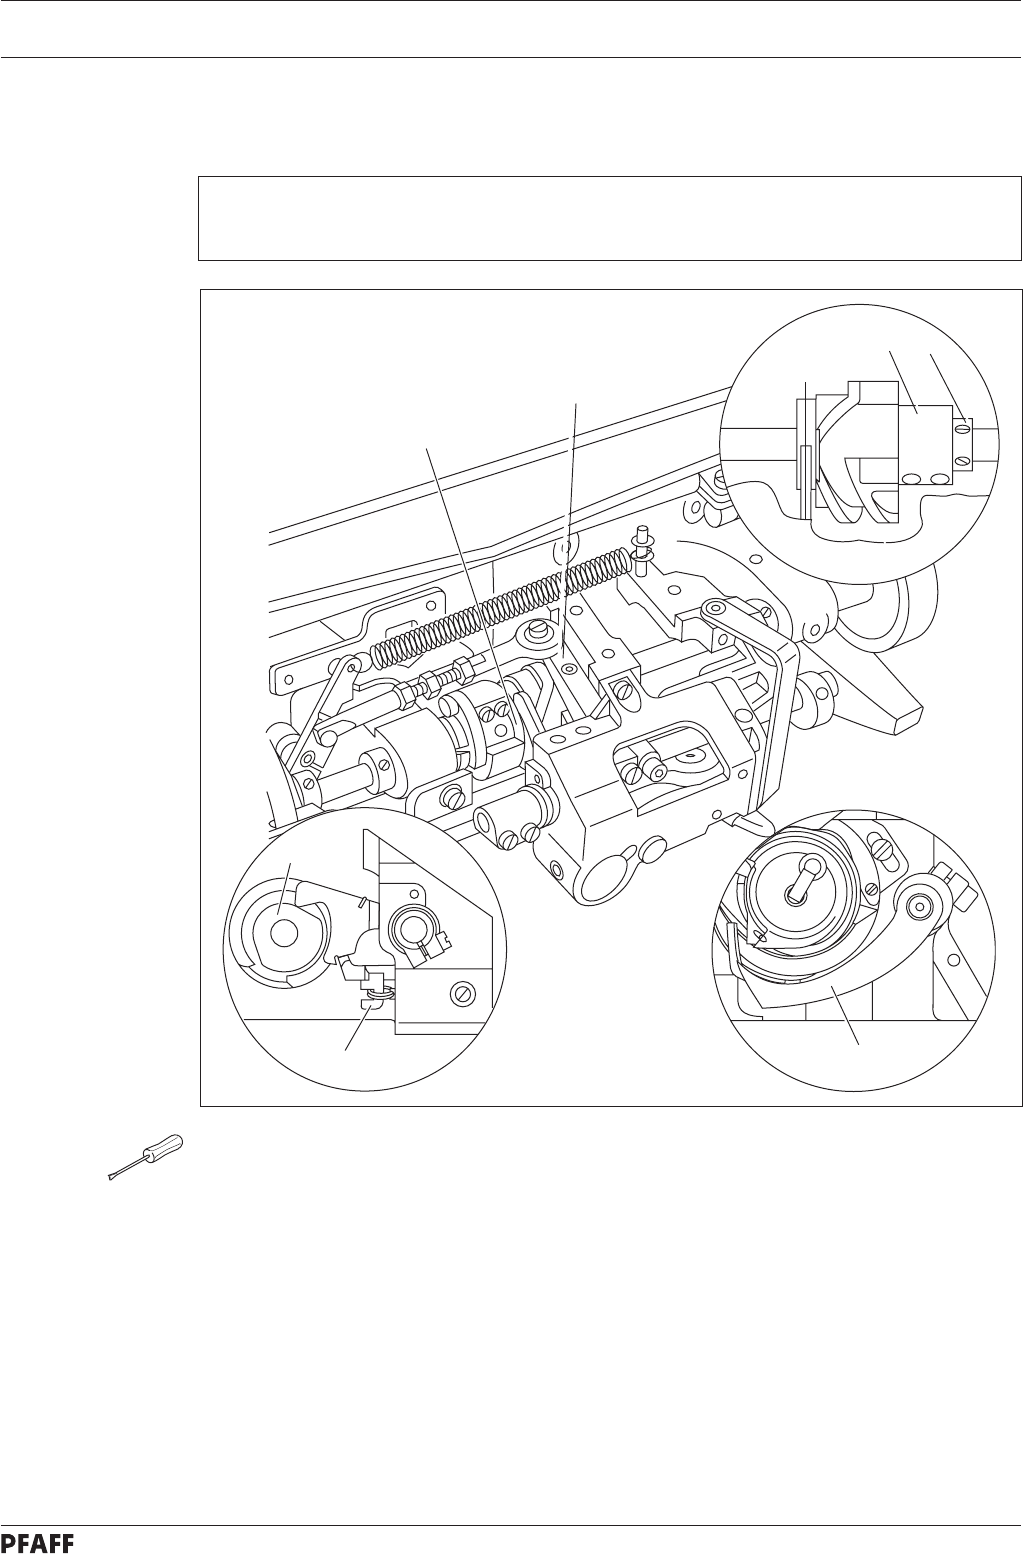
11.05.08 Final adjustment of the control cam
Requirement
When control lever 3 is engaged and the needle point is 12 mm above the needle plate
coming from its BDC, the motion of the thread catcher 5 must begin.
Fig. 11 - 24
1
2
1
5
3
4
1
● Bring the take-up lever to just past its TDC by turning the handwheel and loosen the
accessible screws on control cam 1.
● Continue turning the handwheel in its direction of rotation until the machine is in needle
rise position and then activate engaging lever 2.
● Taking care to ensure that control lever 3 is engaged, loosen the remaining screws on
control cam 1.
● Continue turning the handwheel in its direction of rotation until the point of the needle is
12 mm above the needle plate.
● In this position, and taking care to ensure that control cam 1 is touching retaining collar
4, turn in the direction of rotation until you feel some resistance.
● In this position, tighten the accessible screws on control cam 1.
● Make the remaining screws on control cam 1 accessible and tighten these as well.
● Carry out a check in accordance with the requirement.


