


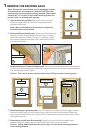

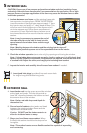
D. Remove Interior Frame Cover #3.
The cover on vent units on the opposite frame side from where the crank handle is
located.
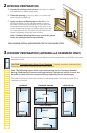
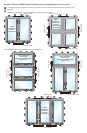
For Standard Awning greater than 42" in width, single
units greater than 42" in height and multiple window
combinations.
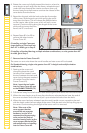
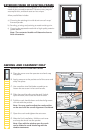
6WDUWDWRQHHQGRIWKHFRYHUDQGLQVHUWWKHWRROEHWZHHQ
the frame and cover as shown.
3XOOWKHWRRODZD\IURPWKHIUDPHWRVWDUWUHOHDVLQJWKH
cover barbs from the frame kerfs.
:KHQWKHFRYHUEHJLQVWRSXOODZD\IURPWKHIUDPHJUDVS
the cover and continue to pull to release the barbs from
the kerfs, removing the cover.
%
%
$
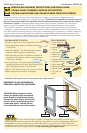
TWO OR MORE PEOPLE ARE REQUIRED FOR THE FOLLOWING STEPS
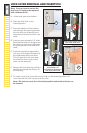
4 SEALING AND FASTENING THE WINDOW
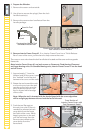
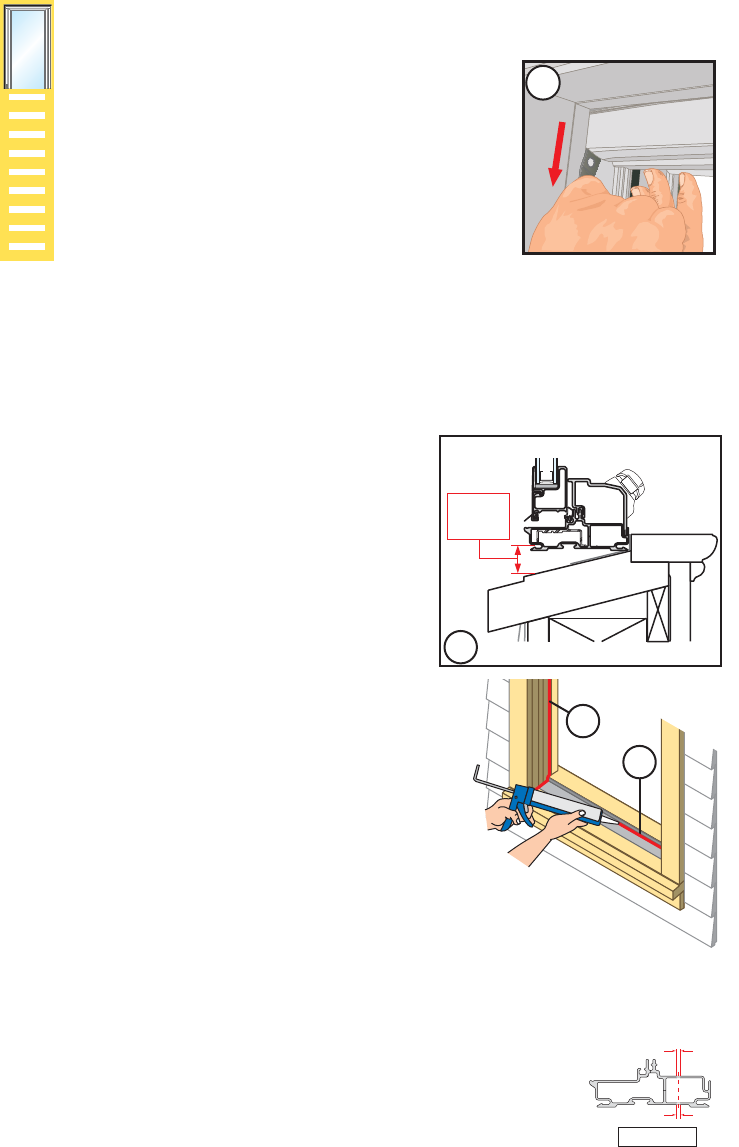
A. If the existing double-hung has a sloped sill, the sill of the new window will need to
be supported by using the Pella replacement sill adapter accessory or by using wood
blocking as needed.
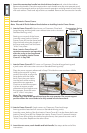
B. If using the Pella replacement sill adapter accessory:
Dry fit the window, temporarily fasten or with
someone holding it in place, confirm the window
will fit. From the exterior, measure the distance
from the bottom of the window to the existing sill.
,IRU!QRDGMXVWPHQWWRWKHVLOODGDSWHU
is needed.
,IWREUHDNRIIDWWKHŵUVWVFRUHPDUN
,IWREUHDNRIIDWWKHVHFRQGVFRUH
mark.
5HPRYHWKHZLQGRZIURPWKHRSHQLQJ0HDVXUH
the width of the window and cut the sill adapter
to the same length. Apply the sill adapter by
sliding it into the fin groove.
C. Apply a 3/8" bead of sealant at the point where
the existing stool meets the existing window sill.
Additionally, place sealant at the ends of the flashing
tape, making sure to connect with the stool sealant.
D. Apply a continuous 3/8" diameter bead of sealant
at the exterior surface of the interior head and jamb
stops. Connect this bead of sealant to the sealant line
on the stool.
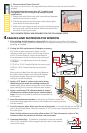
E. Insert the replacement window in the opening. Check to make sure
the window rests against the interior blind stops and is making contact
with the sealant.
F. From the exterior, place shims near the top of one jamb, in line with the top pre-drilled
KROHLQWKHZLQGRZIUDPH3DUWLDOO\LQVHUWRQHZRRGVFUHZ5HSHDWWKHSURFHVVIRU
the other jamb.
Note: Position shims to ensure they allow at least 1/2" from the exterior surface of the
window to allow for placement of backer rod and sealant.
"8/*/(
$"4&.&/5
$BTFNFOU4JMM
.FBTVSF
UIJT
EJTUBODF
4*--$65"8":7*&8
#
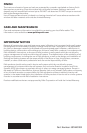
G. Casement Units Only -,IDGGLWLRQDOLQVWDOODWLRQKROHVDUHQHHGHG
GULOODŔLQVWDOODWLRQKROHWKURXJKERWKWKHLQWHULRUDQGH[WHULRU
walls of the frame.
Casement
Exterior
3/16”
3/16”