


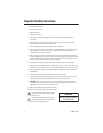
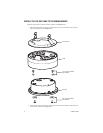
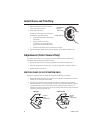

Install Dome and Trim Ring
1. Align the screw holes in the trim ring with
ADJUSTMENT
those in the Camclosure base.
GROOVE
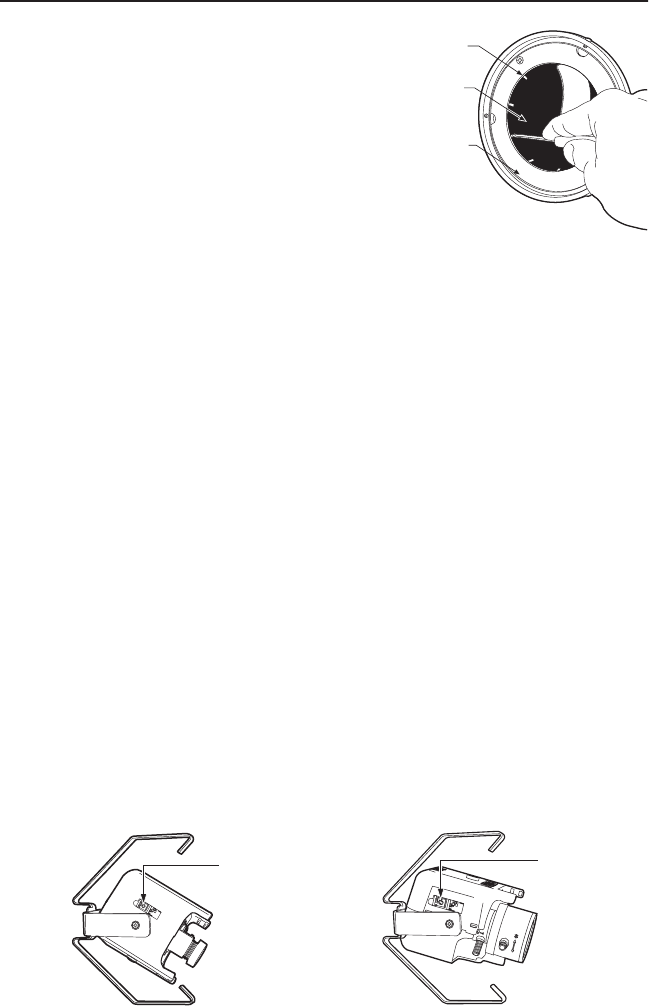
2. Domes with Liners (only) –
DOME LINER
Position the viewing window over the lens of
the camera by doing the following:
LOOSEN SCREWS
a. Loosen the three Phillip screws located
in the dome.
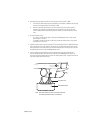
b. Insert the blade of a standard
screwdriver in one of the adjustment
grooves. Move the dome into position.
c. Tighten the three Phillip screws to lock the liner in place.
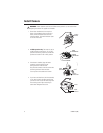
3. Tighten the tamper-resistant screws with the supplied 1/8-inch hollow screwdriver bit.
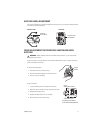
Adjustments (Color Camera Only)
If you have a color camera, it is set up at the factory and normally requires no adjustments.
Sometimes, however, adjustments may be necessary.
1. Remove the dome and trim ring using the supplied 1/8-inch hollow screwdriver bit.
2. Adjust the vertical phase, iris level, focus, or switch settings (refer to procedures below).
3. Replace the dome and trim ring.
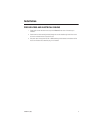
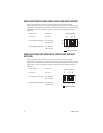
VERTICAL PHASE (24 VAC OPERATION ONLY)
Adjustment is required if there is vertical roll when switching between two cameras.
1. Reverse the 24 VAC connections on one camera. If both cameras are connected to the same
transformer, this should solve the problem.
2. If reversing the connections does not solve the problem, or if cameras are connected to
different transformers, turn the adjustment screw on one camera (while switching as rapidly
as possible between the two camera views) until the switching is clean and there is no
vertical roll. If more than two cameras are out of synchronization with each other, choose one
camera and synchronize all others to it.
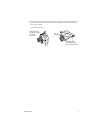
FIXED LENS
VARIFOCAL LENS
VERTICAL
VERTICAL
PHASE
PHASE
ADJUSTMENT
ADJUSTMENT
C2495M-A (1/06) 10