CAB
™
16 Series User Manual
Page 30 http://aa.peavey.com copyright 2000 All Rights Reserved
Setting the Hardware Base Address
Once you have a valid physical connection to the network port, you now must configure the port on both ends of the network
media to establish communications between the MediaMatrix software and the CAB 16. This is a critical configuration since
you will not be able to pass audio or enable communications without it. Please keep in mind that there are two separate set-
tings for successful communications on the CobraNet
™
network. One is the Hardware Base Address, the other is the “Bundle”
which will be discussed in a separate section. First things first.....
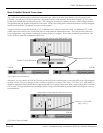
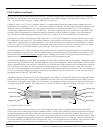
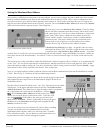
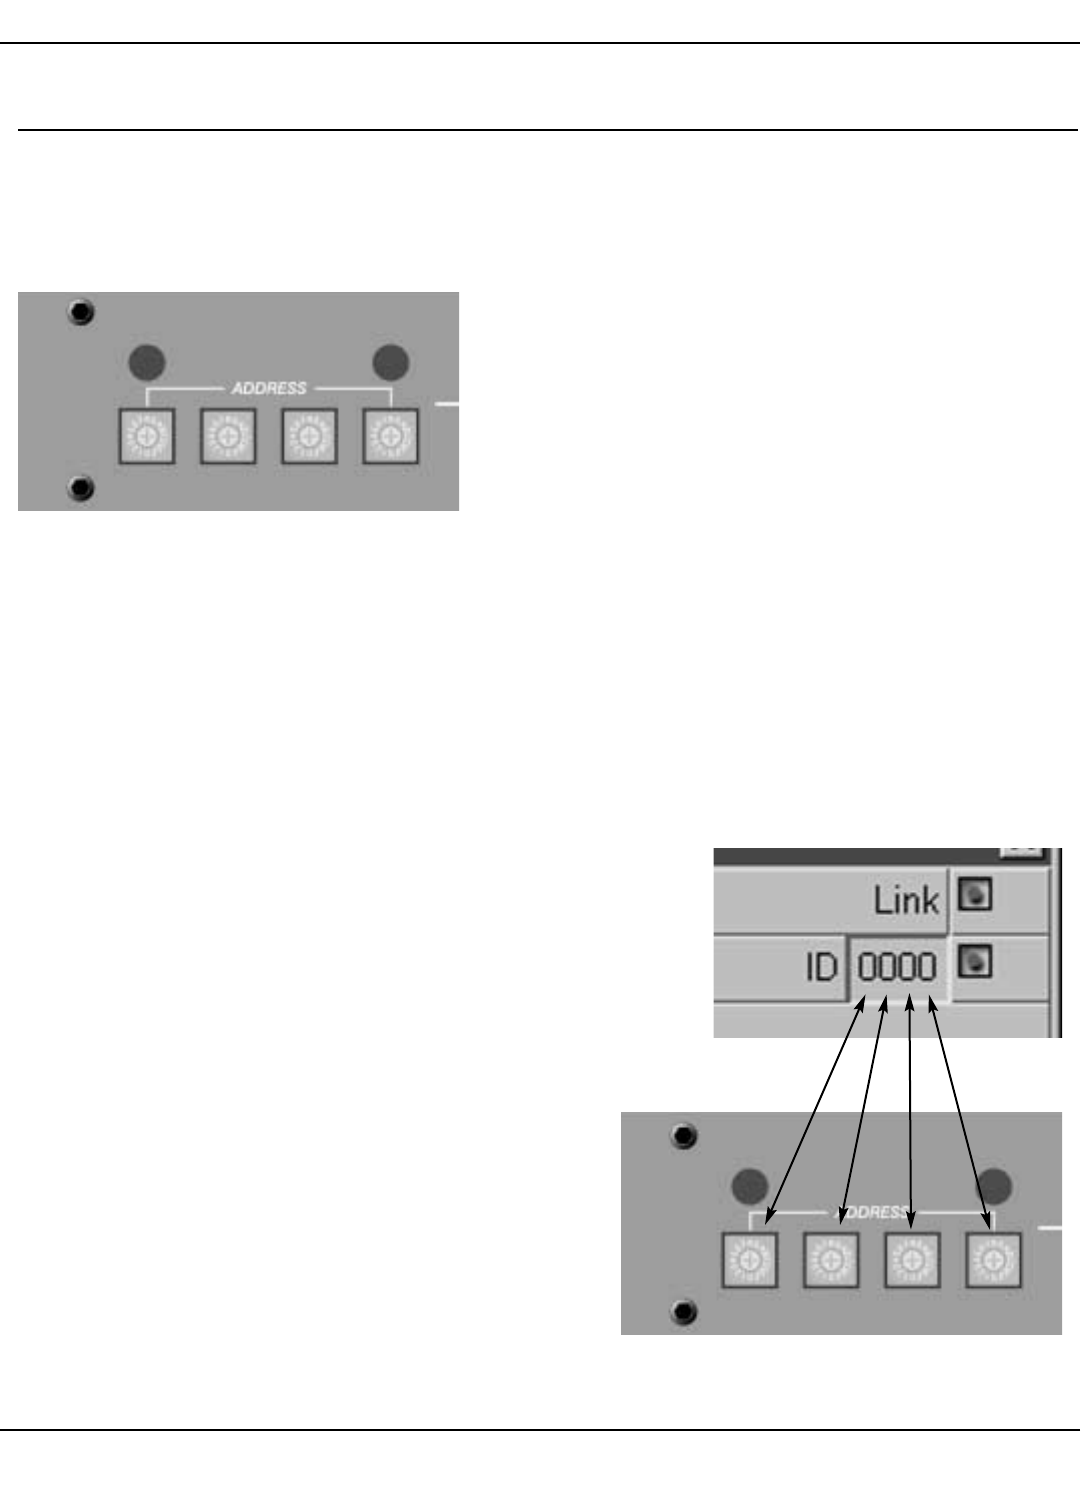
The first step is to set your Hardware Base Address. Correctly setting
this ID will enable communications between the CAB 16 and its associ-
ated control panel, the “Taxi” device within MediaMatrix. On the front
panel of the CAB 16, there is a hardware base address switch. This
switch, which is actually 4 small rotary switches, is hidden behind a
small metal panel. This panel is held in place by two thumb screws.
Remove these screws to gain access to the hardware base address
switches. Refer to Fig. 16, Hardware Base Address Switches.
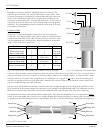
A Hardware Base Address has 4 digits. Acceptable values are in hex
and range from 0001 to 7FFF. From left to right, the four rotary switch-
es represent your 4 digit Hardware Base Address number. If you look
carefully, there is a small arrow on each switch indicating the selected number. Using a small Phillips screwdriver, carefully set
each rotary switch to the desired number. You will feel a “click” as you move between digits. Be careful, and do not force the
switch.
The next step is to set the same address within the MediaMatrix software using the yellow CAB device, or as I mentioned earli-
er, the “Taxi”. The Taxi device represents the actual hardware, and there must be one Taxi for each physical CAB 16. In addi-
tion to this hardware address setting, the Taxi device includes the CAB 16’s analog controls and the CobraNet “Bundle” assign-
ment control for the CAB 16’s audio network channel. More on that later.
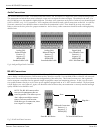
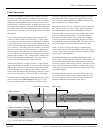
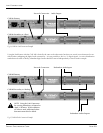
Now, let's set up the hardware address within the software and establish communications between the MediaMatrix and the
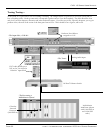
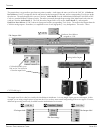
CAB 16. Refer to Fig. 17, “Hardware & Software Addressing Controls”.
(Ensure that you have the simple view shown in the section on page 11 constructed
and compiled for these steps. Refer to the MediaMatrix Help file for details on
MediaMatrix basics.)
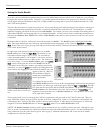
Find the yellow box labeled CAB 16i or 16o.....the “Taxi”. Open the device by double-
clicking on it. In the upper right hand corner of this box is the Hardware Base
Address ID Control. This control has a 4-digit ID number which corresponds to
the 4-digit Address ID on the actual CAB hardware. While in
CCoonnttrrooll
MMooddee
, set the Hardware Base Address to match (exactly) the 4-digit
address you set on the physical CAB 16 unit earlier. To do this, click
once (in
CCoonnttrrooll MMooddee
) on the address box and type your hex based
alpha-numeric ID number. When a valid number is entered, the green
ID LED next to the ID number should light, indicating that the ID
number you entered is valid.
Now you are ready to test your connection. If you have done everything
correctly, you should now have communications between the
MediaMatrix frame and the CAB 16. If so, the front panel TX and RX
LED’s will indicate traffic. You can further test the connection by test-
ing the functions of the CAB and verifying the response.
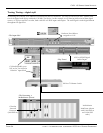
Fig. 16, Hardware Base Address Switches
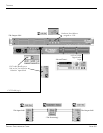
Fig. 17, Hardware & Software Addressing Controls


