9
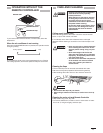
OPERATION WITH THE REMOTE CONTROLLER
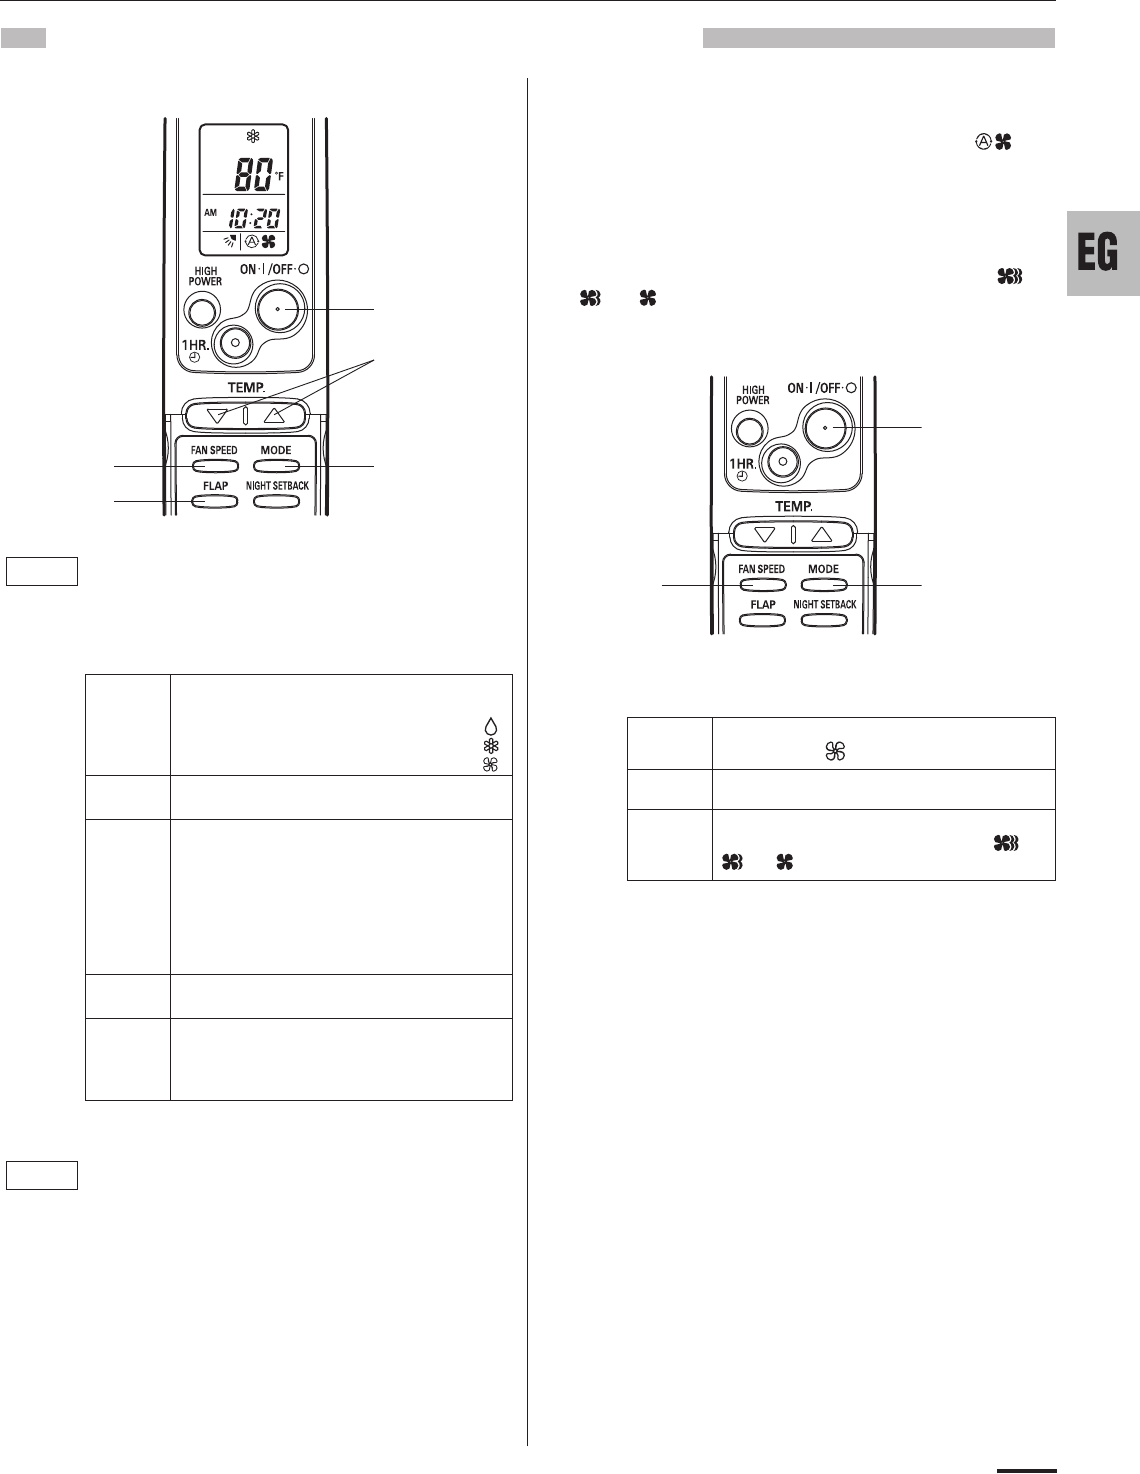
1. Operation 2. Adjusting the Fan Speed
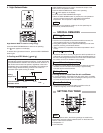
A. Automatic fan speed
Simply set the FAN SPEED selector button to the
position.
This automatically sets the best fan speed for the room
temperature.
B. Manual fan speed
If you want to adjust fan speed manually during operation,
just set the FAN SPEED selector button as desired. [ ,
, or ]
3. Fan Only
Check that the circuit breaker on the power panel is
turned on.
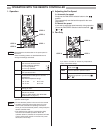
Press the setting buttons as described below and
change the settings as desired.
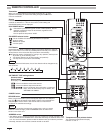
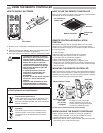
STEP 1 Press the MODE selector button
and select the desired mode.
For dehumidifying operation
For cooling operation
For fan only operation
o
o
o
STEP 2 To start the air conditioner, press the ON/
OFF operation button.
STEP 3 Press the TEMP. setting buttons to change
the temperature setting to the desired
temperature.
Adjustable temperature range:
STEP 4 Set the FAN SPEED selector button to the
setting you want.
STEP 5 Press the FLAP button and set the airflow
direction as desired.
(Refer to “ADJUSTING THE AIRFLOW
DIRECTION” on page 12.)
To stop the air conditioner, press the ON/OFF
operation button again.
• Choose the best position in the room for the remote
controller, which also acts as the sensor for room
comfort and transmits the operating instructions.
Once you’ve found this best position, always keep the
remote controller there.
• This appliance has a built-in 5-minute time delay
circuit to ensure reliable operation. When the
operation button is pressed, the compressor will start
running within three minutes. In the event of power
failure, the unit will stop.
STEP 2
STEP 1
STEP 3
STEP 4
STEP 5
NOTE
30 °C max.
16 °C min.
or 86 °F max.
60 °F min.
NOTE
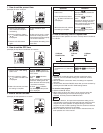
If you want to circulate air without any temperature
control, follow these steps:
STEP 1 Press the MODE selector button to switch to
the fan mode .
STEP 2 Press the ON/OFF operation button.
STEP 3 Press the FAN SPEED selector button to
select the fan speed of your choice ( ,
or ).
STEP 2
STEP 1
STEP 3


