


5
W415-0171 / D / 01.06.04
Do not use abrasive cleaners to clean these parts. Buff
lightly with a clean dry cloth. Porcelain enamelled compo-
nents must be handled with care. The baked-on finish is
glasslike. If struck, it will chip! Touch-up paint is available
through your Napoleon dealer.
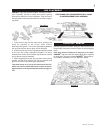
Levelling the insert will eliminate rocking or excessive
noise when the fan is in operation. Replace the securing
screw to the front of the dilution plate.
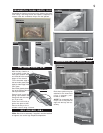
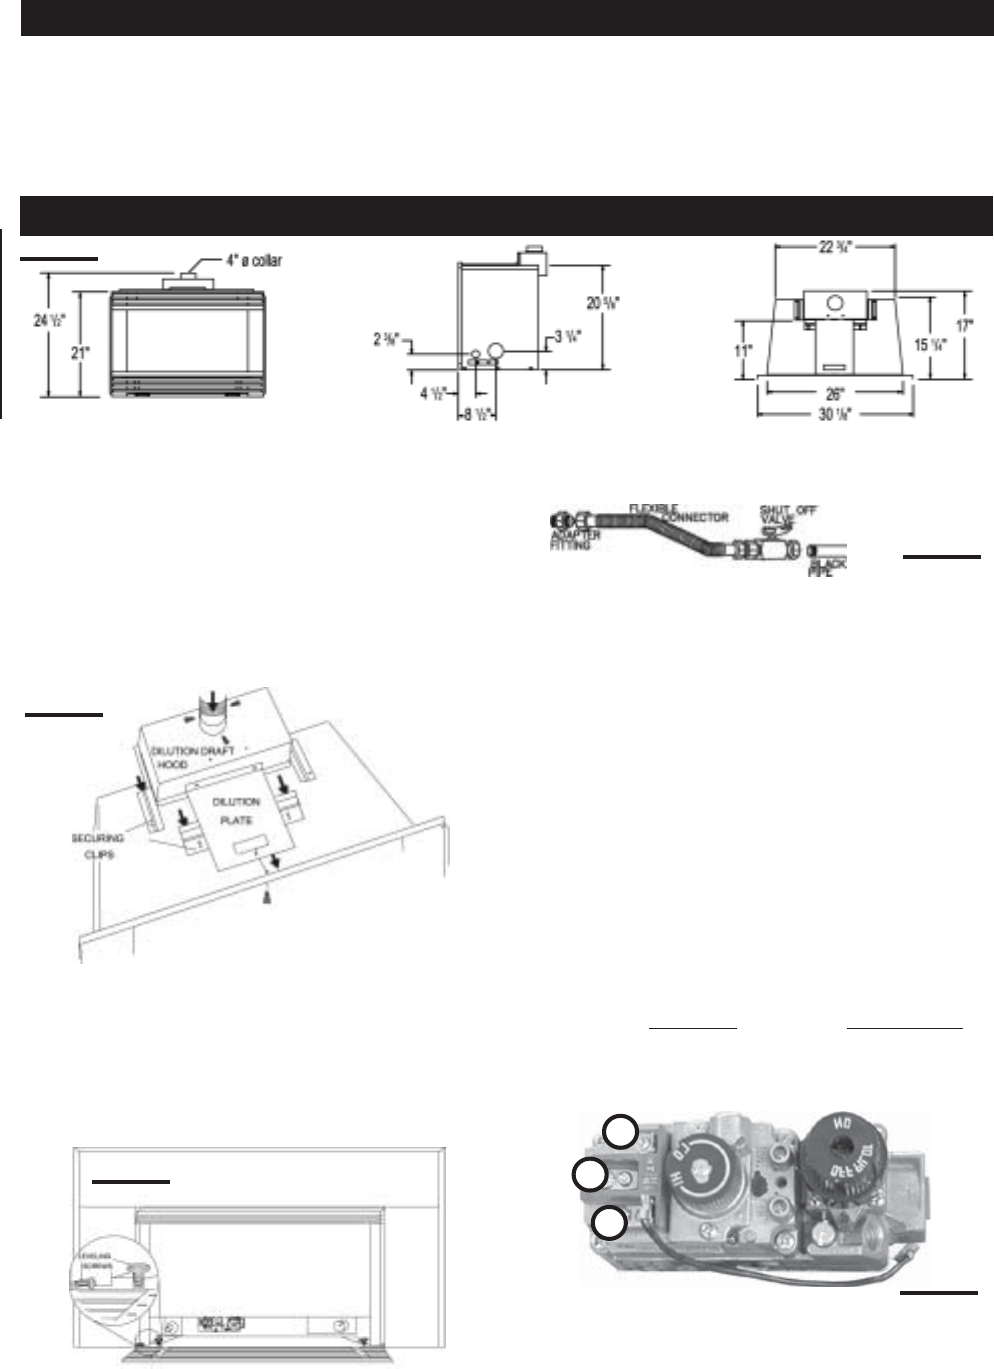
Install rigid black pipe, a flex connector, if local codes per-
mit, or 1/2" type L, copper tubing with a 3/8" to 1/2" adapter
and a shut off valve to the fireplace. Seal and tighten se-
curely. The adapter will be required between the gas valve
and the copper tubing or flex connector.
Do not damage or kink flex connector!
Check for gas leaks by brushing on a soap and water
solution.
Do not use open flame!
An on/off switch has been included and can be located at
the lower right, behind the louvre access door or at the
right side trim.
For ease of accessibility, this switch may be replaced with
a wall switch or substituted with a millivolt thermostat that
may be installed in a convenient location on any wall. Route
2-strand (solid core) millivolt wire through the electrical
hole located at the bottom right side of the unit. The rec-
ommended maximum lead length depends on wire size:
WIRE SIZE MAX. LENGTH
14gauge 100 feet
16gauge 60 feet
18gauge 40 feet
Attach the two leads to terminals 1 and 3 located on the
gas valve.
Do not connect either the wall switch or the gas valve to
electricity (110 volts or 24 volts).
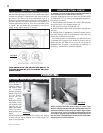
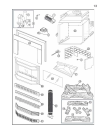
Clean out the ashes from the inside of the woodburning
fireplace. Make sure that the chimney and woodburning
fireplace are in clean and sound condition. Do not remove
bricks or mortar from the masonry fireplace. If necessary
have any repair work done by a qualified person before
installing the insert. Remove the existing fireplace damper
or lock into an open position. Line the chimney with a 4
inch diameter approved liner. Pack insulation around the
liner in the damper area to prevent air flow from entering
the chimney. Chimney installation must conform to both
national and local code requirements. The liner must be
continuous from the fireplace to the chimney cap.
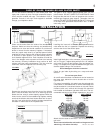
Remove the securing screw from the front of the dilution
plate. Push the dilution hood out of its securing clip and
attach the liner using 3 screws equally spaced. Move the
insert into the centre of the woodburning fireplace making
sure that the dilution draft hood inserts back into its secur-
ing clip. Level using the four levelling screws located front
and back on either side of the fireplace base.
FIGURE 2
FIGURE 5
FIGURE 6
1
2
3
FIGURE 4
CARE OF GLASS, ENAMELLED AND PLATED PARTS
INSTALLATION
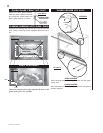
The glass is 3/16" ceramic glass available from your Na-
poleon dealer. DO NOT SUBSTITUTE MATERIALS. Clean
the glass after the first 10 hours of operation with a recom-
mended gas fireplace glass cleaner. Thereafter clean as
required. DO NOT CLEAN GLASS WHEN HOT! If the glass
is not kept clean permanent discolouration and / or blem-
ishes may result.
FIGURE 3