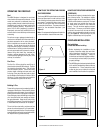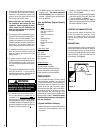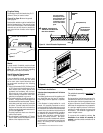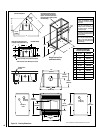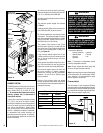
NOTE: DIAGRAMS & ILLUSTRATIONS ARE NOT TO SCALE.
9
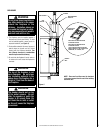
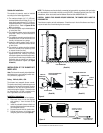
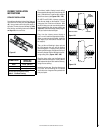
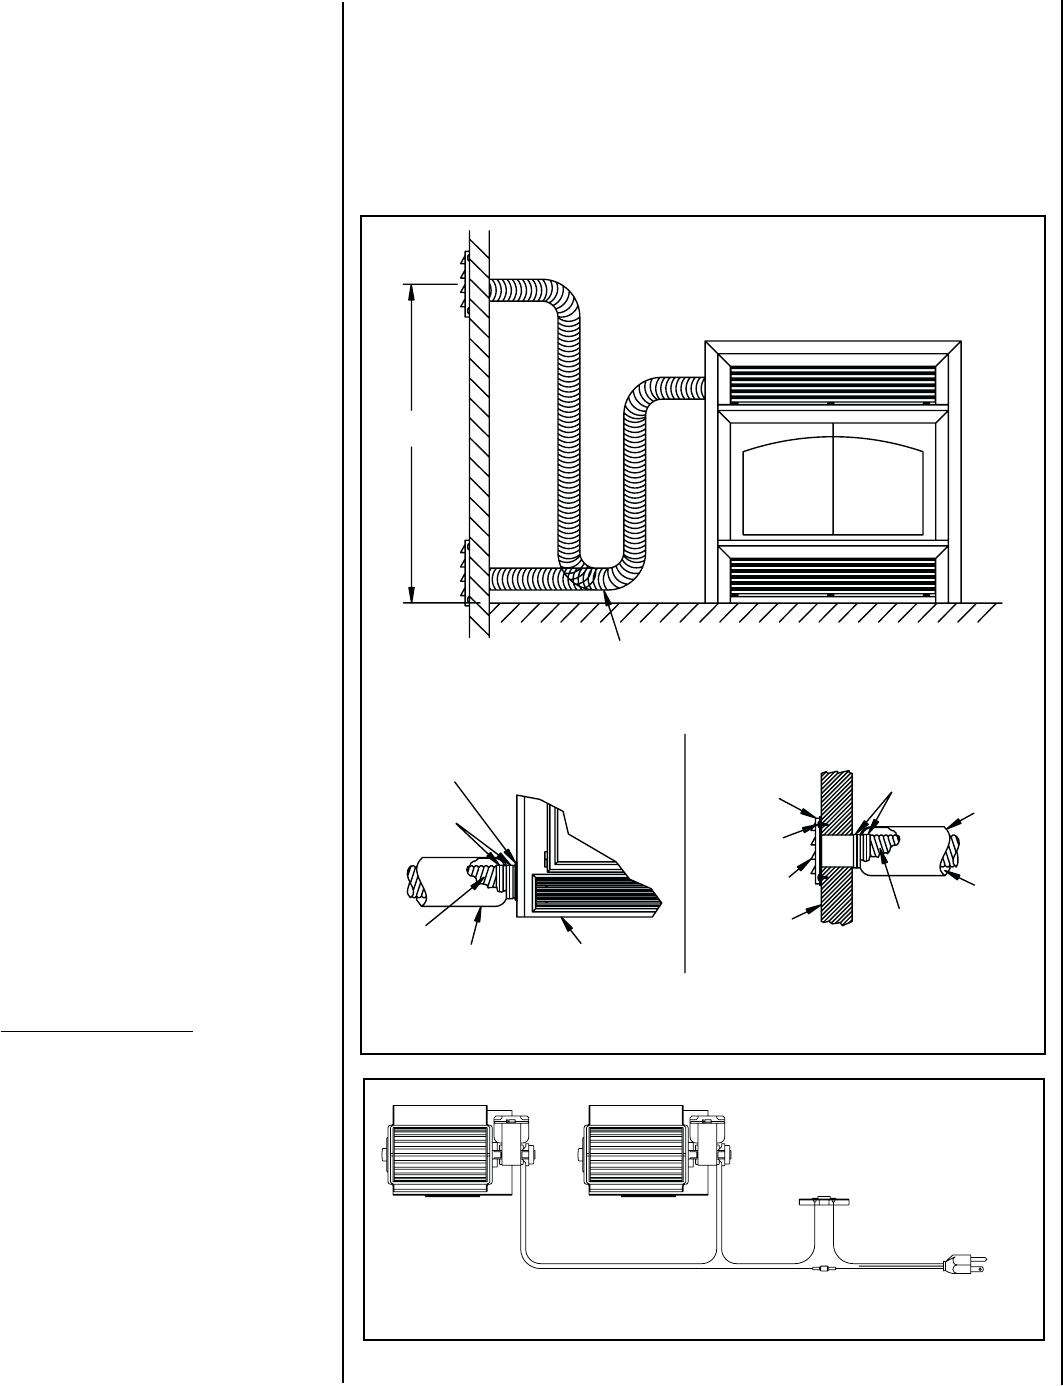
Figure 8
OUTSIDE
INTAKE
ALUMINIUM TAPE
PLASTIC
COVER
FLEXIBLE PIPE
SCREW
OPENING
FACING DOWN
WALL
OUTSIDE AIR CONNECTION
TO THE FIREPLACE
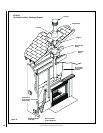
FIREPLACE
CONNECTION
ALUMINIUM
TAPE
INSULATION
FLEXIBLE
PIPE
FIREPLACE
PLASTIC COVER
LOOP IS MANDATORY
7' MAX.
OUTSIDE AIR CONNECTION
(Detail A)
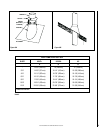
(Detail B)
(Detail C)
Outside Air Installation
The outside air assembly must be installed
according to the following guidelines:
1.
The maximum length of 4" I.D. (100 mm)
insulated flexible duct is 20 feet (6.1 m). If a
longer duct is required, use a 6" I.D. (150mm)
insulated flexible duct. The maximum length
is 40 feet (12 m). Refer to Figures 8B and
8C
for connections.
2. The duct and register may be installed above
or below floor level.
3. The outside air register must not be installed
more than 7 feet (2.1 m) above the base of
the fireplace.
4. The outside air assembly must draw air from
outside the house. It must not draw air from
the attic, the basement or a garage.
5. Locate the outside register where it will be
well away from automobile exhaust fumes
or other vents.
6. The outside air register should be installed
where it is not likely to be blocked by snow
or exposed to extreme wind.
7. It is recommended to install the outside air
register at floor level. However, if you must
raise the air register above the fireplace level,
you will have to make a loop to the floor with
the flexible pipe to prevent from causing a
draft in the outside air register (see Figure
8 Detail A
).
INSTALLATION OF THE BLOWER KIT
MODEL UZY3
Note: This blower kit can easily be installed when
the fireplace has a pre-installed junction box.
You just have to plug them in.
Rating: 120 Volts, 60Hz, .63A.
The blowers have magnetic blower mounts.
The junction box (factory installed on approved
fireplaces for the use of this blower kit) must be
connected to 110 VAC service before perma-
nently enclosing the fireplace. The access hole
for connecting the 110 VAC is located on the
lower right exterior side of the fireplace.
Installation instructions:
1. Open the bottom louver of the fireplace.
2. Place each blower kit into the fireplace
side opening 1" from the back of the
fireplace.
3. Install the automatic blower activator on
the side of the firebox (the blower activator
has a magnetic mount).
4. Plug the blower kit into the junction box.
5. Ground both blowers to the back panel
using the green screws (see Figure 9).
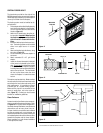
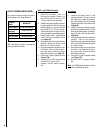
Figure 9
ELECTRICAL CONNECTION
WITH
GROUND CONNECTION
THERMODISC, AUTOMATIC
THERMAL FAN ACTIVATOR
CONNECTOR FOR
OPTIONAL RHEOSTAT
FAN WITH
MAGNET
FAN WITH
MAGNET
NOTE: The fireplace must be electrically connected and grounded in accordance with local codes
or in the absence of local codes, with the current CSA C22.1 Canadian Electrical Code. For U.S.A.
installations, follow local codes and the National Electrical Code ANSI/NFPA No 70.
CAUTION: SHOUL
D THIS BLOWER REQUIRE SERVICING, THE POWER SUPPLY MUST BE
DISCONNECTED.
These blowers require periodic maintenance. Check the area in front of the blowers and wipe or
vacuum at least once a month during the burn season.


