


19 Room Air Conditioner
Disassembly
CAUTION: Discharge the refrigerant
system using a Freon
TM
Recovery
System. If there is no valve to attach the
recovery system, install one (such as a
WATCO A-1) before venting the Freon
TM
.
Leave the valve in place after servicing
the system.
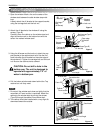
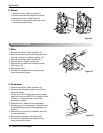
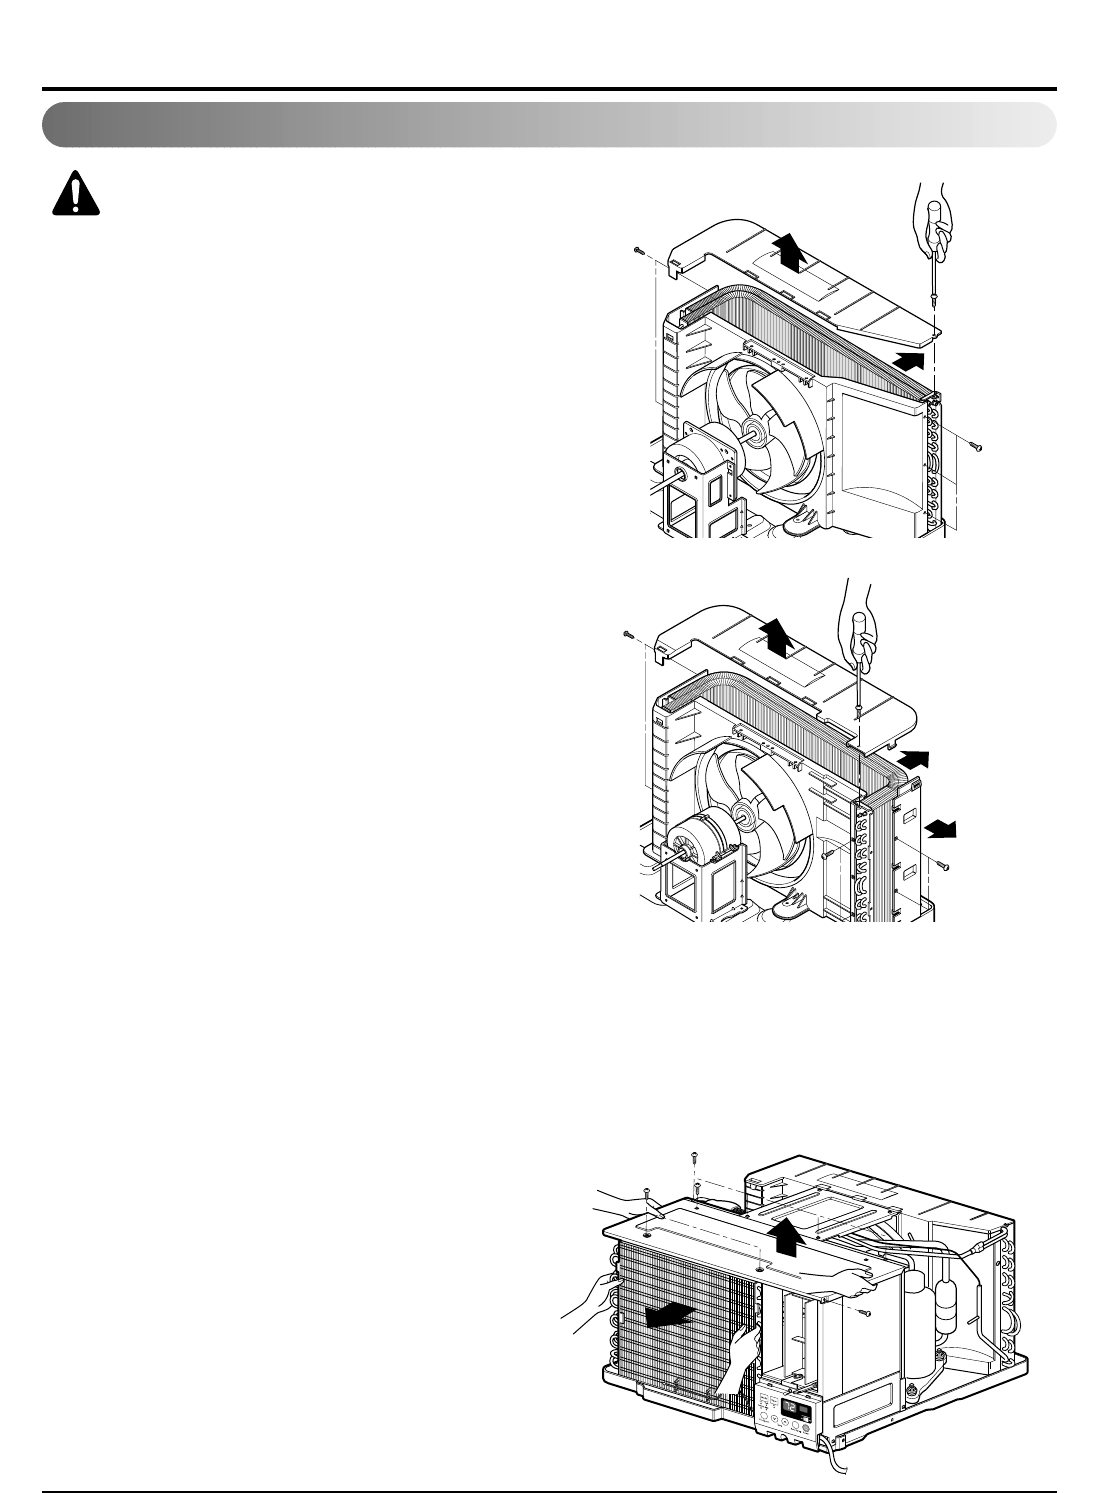
13. Condenser
1. Remove the cabinet. (Refer to section 18)
2. Remove the 4 screws that fasten the brace.(Refer
to section 20)
3. Remove the 5 screws that fasten the condenser
and shroud.
4. After discharging the refrigerant completely,
unbraze the interconnecting tube at the condenser
connections.
5. Remove the condenser.
6. Re-install the component by referring to notes.
(See Figure 31)
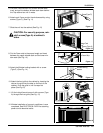
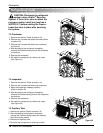
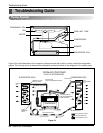
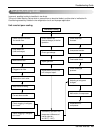
14. evaporator
1. Remove the cabinet. (Refer to section 18)
2. Remove the 2 screws that fasten the evaporator.
3. Move the evaporator sideways carefully.
(Refer to section 20)
4. After discharging the refrigerant completely,
unbraze the interconnecting tube at the evaporator
connections.
5. Remove the evaporator.
6. Re-install the component by referring to notes.
(See Figure 32)
15. Capillary Tube
1. Remove the cabinet. (Refer to section 18)
2. After discharging the refrigerant completely,
unbraze the interconnecting tube at the capillary
tube.(See caution above)
3. Remove the capillary tube.
4. Re-install the component by referring to notes.
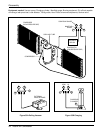
Refrigerating Cycle
Figure 31
Figure 32