


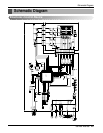
Service Manual 16
Disassembly
Air Handling Parts
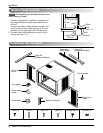
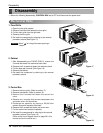
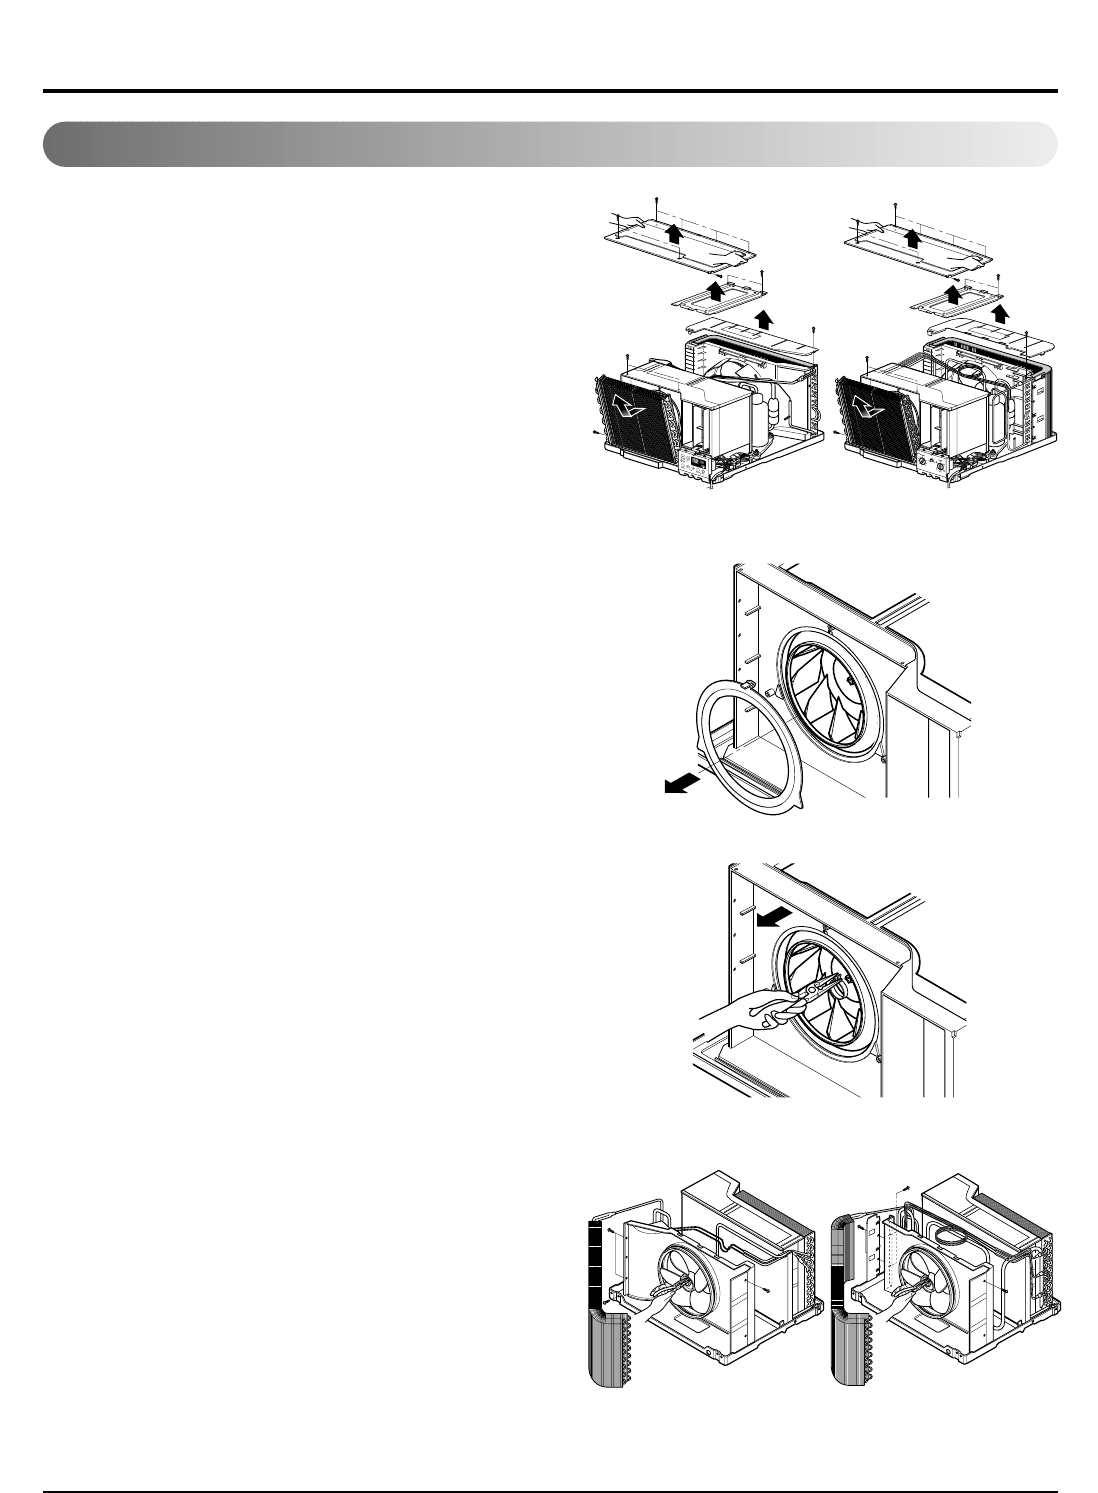
4. Cover (at the top)
1. Remove the front grille. (Refer to section 17)
2. Remove the cabinet. (Refer to section 18)
3. Remove 11 screws which fasten the brace and
covers.
4. Remove the covers and the brace. (See Fig. 20)
5. Re-install the components by referring to the
removal procedure, above.
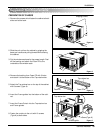
5. Blower
1. Remove the cover. (Refer to section 20)
2. Remove the 3 screws which fasten the evaporator
at the left side and the top side.
3. Move the evaporator sideward carefully.
4. Remove the orifice from the air guide carefully.
5. Remove the clamp which secures the blower with
plier. (See Fig. 21)
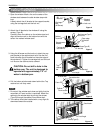
6. Remove the blower with plier or your hand without
touching blades. (See Fig. 22)
7. Re-install the components by referring to the
removal procedure, above.
6. Fan
1. Remove the cabinet. (Refer to section 18)
2. Remove the brace and shroud cover.
(Refer to section 20)
3. Remove the 5 screws which fasten the condenser.
4. Move the condenser sideways carefully.
5. Remove the clamp which secures the fan.
6. Remove the fan. (See Figure 23)
7. Re-install the components by referring to the
removal procedure, above.
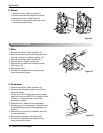
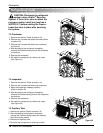
Figure 20
Figure 21
Figure 22
Figure 23