14
NOTE: DIAGRAMS & ILLUSTRATIONS ARE NOT TO SCALE.
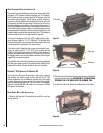
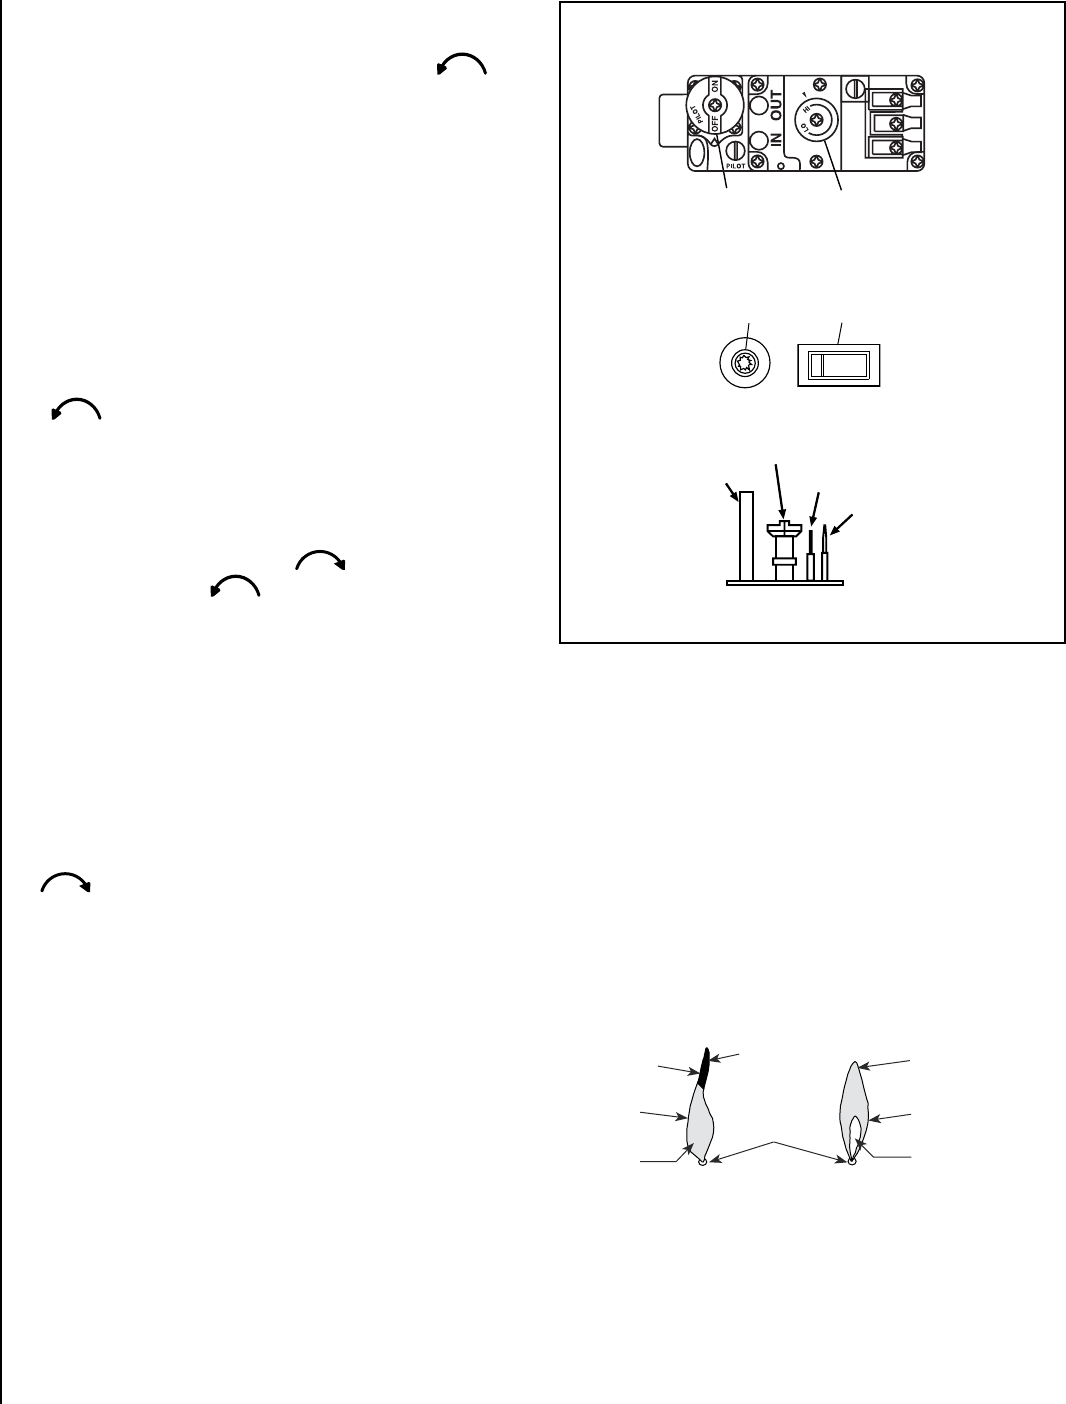
5. Locate the pilot by looking over the top of the left front
log. A blue flame will be seen when the pilot is lit.
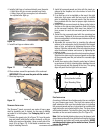
6. Turn the gas control knob counter-clockwise to
the "PILOT" position.
7. Push the knob all the way in and hold in that position.
Immediately light the pilot by pressing the igniter button
several times until pilot is lit. Continue to hold the knob
in for about 30 seconds after the pilot is lit. Realease
knob and it will pop back out. Pilot should remain lit. If it
goes out, repeat steps 4-8 holding knob in an additional
15 seconds after pilot is lit. If knob does not pop out
when released, stop and immediately call your service
technician or gas supplier. If the pilot will not stay lit after
several tries, turn the gas control knob to "OFF" and call
your service technician or your gas supplier.
8. After pilot is lit, turn gas control knob counter-clockwise
to "ON." Knob can only be turned to "ON" if the
knob has popped out.
9. To turn burner on, turn "ON/OFF" rocker switch to "ON"
or set the thermostat to the desired temperature above
room temperature.
10. Adjust the flame height (and heat output) by turning the
flame height knob clockwise for full flame and
counter-clockwise for reduced flame.
11. Turn on the electric power to the appliance and set the
blower to the desired air flow after it turns on when the
appliance reaches operating temperature.
TO TURN OFF GAS TO APPLIANCE
1. Turn off the "ON/OFF" rocker switch and/or thermostat (if
installed) to its lowest setting.
2. Turn off electric power to the appliance if service is to
be performed.
3. Push in gas control knob slightly and turn clockwise
to "OFF." Do not force.
This appliance needs fresh air for safe operation and
must be installed so there are provisions for adequate
combustion and ventilation air.
WARNING: Improper installation, adjustment, alteration,
service, or maintenance can cause injury or property dam-
age. For assistance or additional information, consult a
qualified installer, service agency, or your gas supplier.
Operation of this appliance when not connected to a prop-
erly installed and maintained venting system can result in
carbon monoxide (CO) poisoning and possible death.
SHUTDOWN PROCEDURE
To turn off the burner, turn the rocker switch to "OFF" or
adjust the thermostat (if installed) to a setting below room
temperature. The pilot will remain lit for future burner igni
-
tion. For complete shutdown, see "TO TURN OFF GAS TO
APPLIANCE" above.
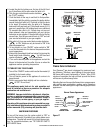
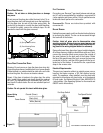
Flame Color & Behavior
Your Ravenna™ gas insert is designed for maximum heat-
ing efficiency. Therefore, upon lighting of the main burner
the flames will be semi-transparent or “bluish.” After 10-20
minutes of operation the logs will heat up and the flames
will become a yellow/orange color.
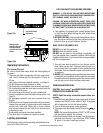
Adjusting the insert to cause the flames to turn orange sooner
may result in poor combustion, sooting, and a hazardous
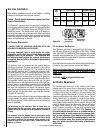
situation. See the drawing to the right showing proper flame
appearance.
PILOT ASSEMBLY
Thermopile
Veilleuse à gaz
Igniter (electrode)
Allumeur
Thermocouple
Gas Pilot Hood
Robertshaw Millivolt Gas Valve
TP/TH
TH
TP
Gas Control Knob
(Pilot / On / Off)
OFF
ON
Piezo Igniter
Allumeur
ON/OFF Switch
Interrupteur
Flame Height Control
Knob (HI/LO)
No Blue Flame
Center
Soot at
Flame Tip
Dark Orange
Flame
IMPROPERLY
BURNING FLAME
Soot above
Flame Tip
No Soot at
Flame Tip
PROPERLY
BURNING FLAME
Semi-Transparent
Yellow Flame
Blue Flame
Center
Ports on Pan
Burner Assembly
Burner Flame Appearance
Figure 16
Figure 17


