6. FALSE ALARMS
To avoid false alarms,DO NOT USE WHERE ROOM TEMPERATURES WILL EXCEED
100º F.
Heat alarms respond only to heat. They do not detect smoke. If the unit does
alarm, check for fires first. If a fire is discovered, get out of the house and call
the fire department. If no fire is present check to see if one of the reasons listed
in section 3 may have caused the alarm.
7. MAINTENANCE
ALARM REMOVAL
IF TAMPER RESIST PIN HAS BEEN USED, REFER TO TAMPER RESIST LOCK-
ING PIN IN SECTION 4 FOR PIN REMOVAL INSTRUCTIONS.
To replace the battery, remove the alarm from the trim ring by rotating the alarm
in the direction of the “OFF” arrow on the cover (see section 4, figure 7). To dis-
connect the AC power harness, squeeze the locking arms on the sides of the
Quick Connector while pulling the connector away from the bottom of the
alarm (see section 4, figure 6).
BATTER
Y INSTALLATION AND REMOVAL
To replace or install the batteries, you must
first remove the alarm from the trim ring
by following the ALARM REMOVAL instruc-
tions at the beginning of this section. After
alarm has been removed, you can open the
battery door and install or replace the bat-
tery. Battery installation instructions are
provided on the inside of the battery door.
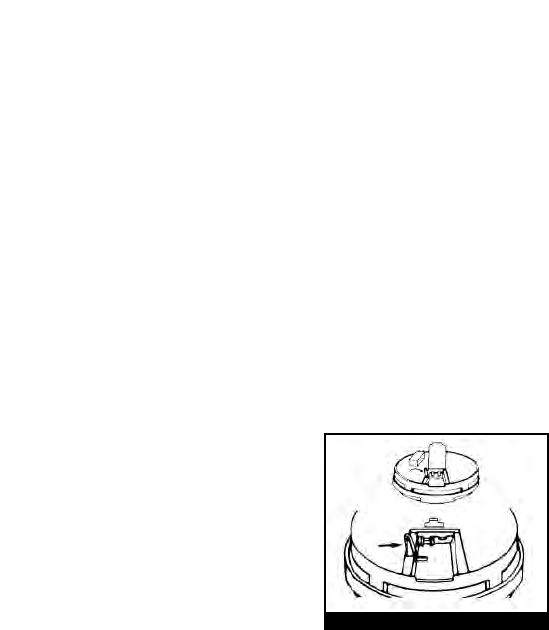
When installing the battery, press the bat-
tery reminder finger down into the battery
compartment and install the battery (see
figure 9).
CAUTION! IF THE BATTERY REMINDER FINGER IS NOT HELD DOWN IN THE
BATTERY COMPARTMENT BY THE BATTERY, THE BATTERY DOOR WILL
NOT CLOSE, THE AC QUICK CONNECTOR WILL NOT ATTACH TO THE
ALARM, AND THE ALARM WILL NOT ATTACH TO THE TRIM RING.
FIGURE 9


