


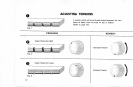
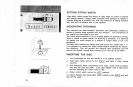
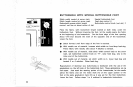
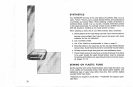


BUTTONHOLE WITH SPECIAL BUTTONHOLE FOOT
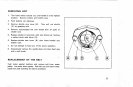
Stitch width control at arrow mark
Stitch length control at arrow mark
Buttonhole reverse stitch length
control; red line at about center of dial
Special buttonhole foot
Feed dog control U
Buttonhole control knob (red dot) F
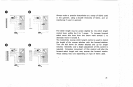
Place the fabric, with buttonhole length marked at both ends, under the
buttonhole foot. Without lowering the foot, let the needle pierce the fabric
at the beginning of the buttonhole. Set the front edge of the foot opening
about 1/16 inch beyond the mark of the opposite end of the buttonhole.
Lower the foot.
O Stitch forward until front edge of the foot is reached.
O With needle out of material, increase stitch width to 4 and drop feed dog.
Pierce fabric with needle, take about 4 stitches to barrack.
O With needle out of material, slide stitch width control back to the arrow
mark, set buttonhole control knob on "'R", raise feed dog, sew to the
other end of the buttonhole.
O With needle out of material, set stitch width on 4, lower feed dog and
bartack 3 or 4 stitches. Raise feed dog.
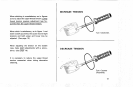
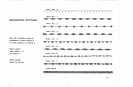
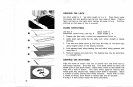
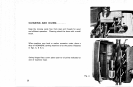
Reproduction of identical size buttonholes is facilitated with the aid of the
graduations on the left side of the buttonhole foot. These graduations are
inch apart. Just mark the starting points of the buttonholes, let the needle
pierce the fabric and set the index mark (A) on the upper portion of the
foot at the same graduation mark (B) as it was set for the first buttonhole.
Lower the foot. Follow steps 1 to 4 outlined in buttonhole instructions.
2O