26
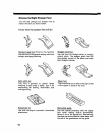
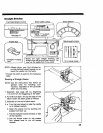
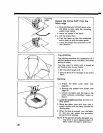
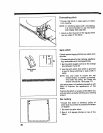
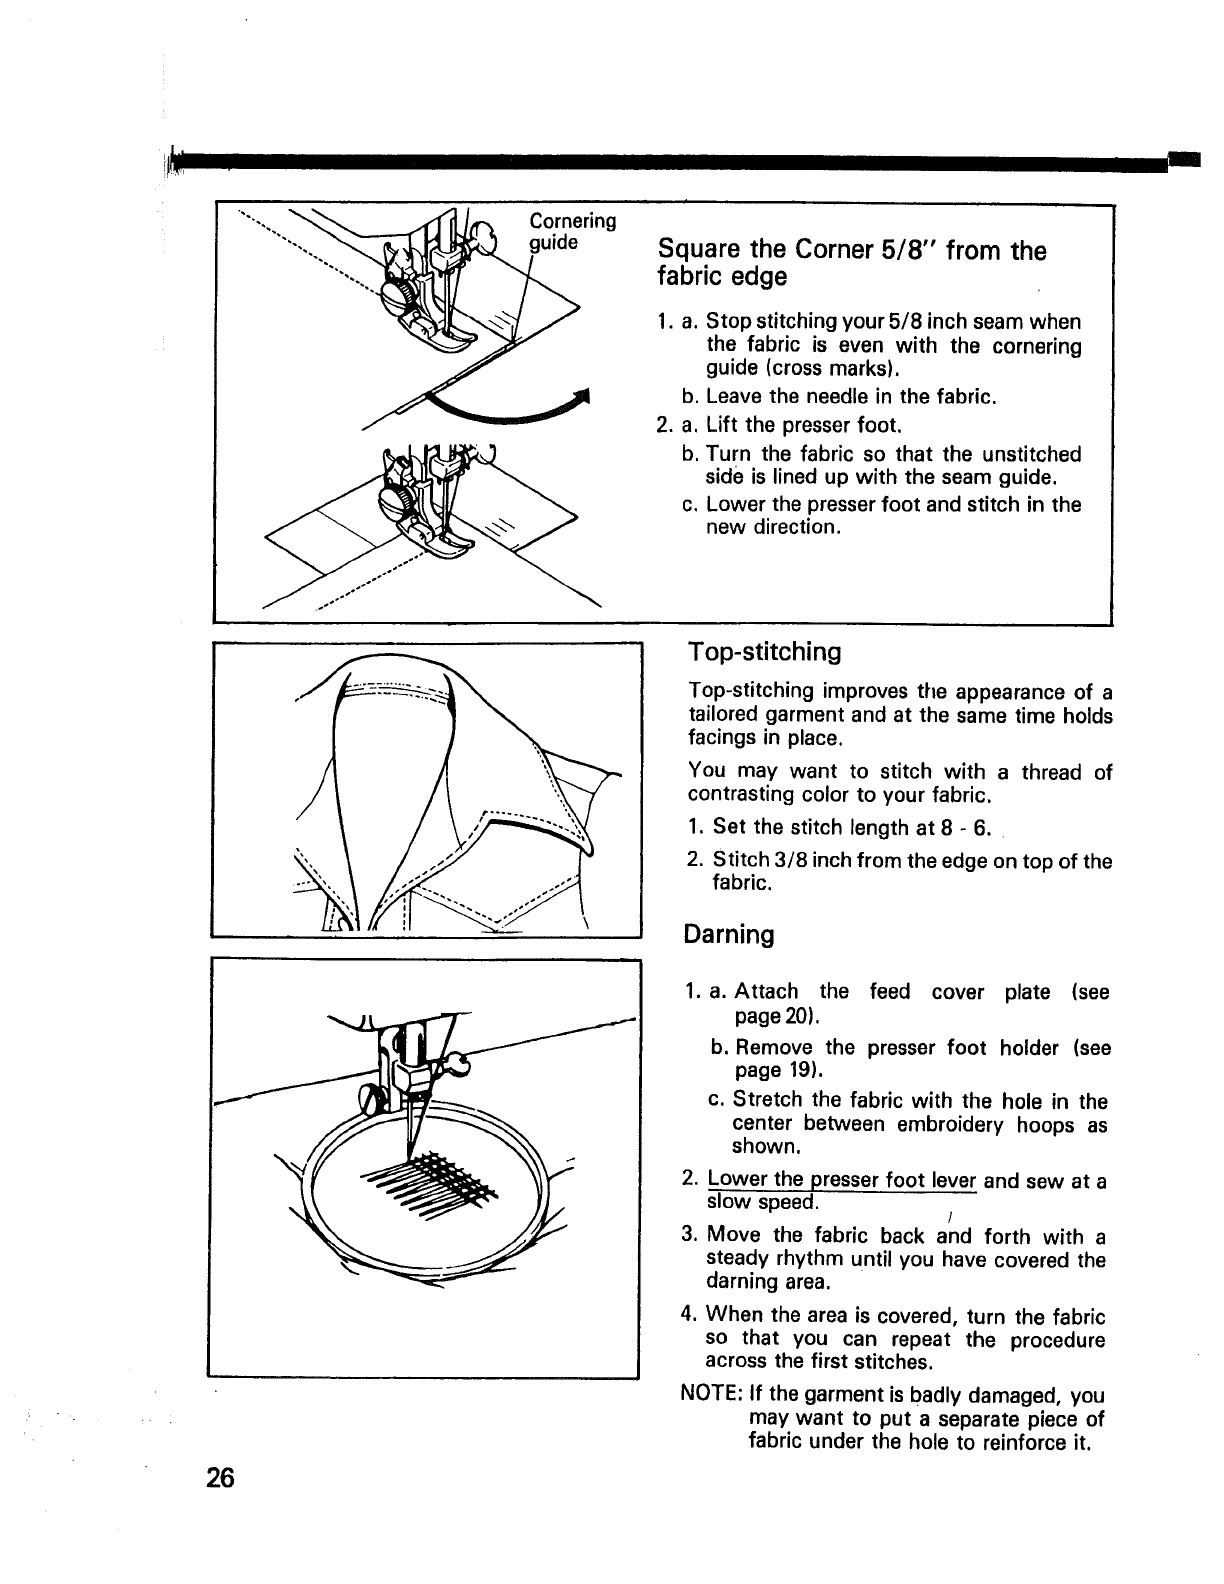
Cornering
guide
Square the Corner 5/8" from the
fabric edge
. a°
b.
2. a.
b.
Co
Stop stitching your 5/8 inch seam when
the fabric is even with the cornering
guide (cross marks).
Leave the needle in the fabric.
Lift the presser foot.
Turn the fabric so that the unstitched
side is lined up with the seam guide.
Lower the presser foot and stitch in the
new direction.
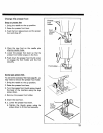
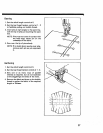
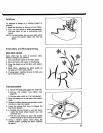
Top-stitching
Top-stitching improves the appearance of a
tailored garment and at the same time holds
facings in place.
You may want to stitch with a thread of
contrasting color to your fabric.
1. Set the stitch length at 8 - 6.
2. Stitch 3/8 inch from the edge on top of the
fabric.
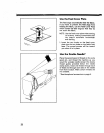
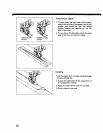
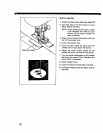
Darning
1. a. Attach the feed cover plate (see
page 20).
b. Remove the presser foot holder (see
page 19).
c. Stretch the fabric with the hole in the
center between embroidery hoops as
shown.
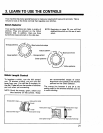
2. Lower the presser foot lever and sew at a
slow speed.
/
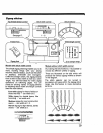
3. Move the fabric back and forth with a
steady rhythm until you have covered the
darning area.
°
When the area is covered, turn the fabric
so that you can repeat the procedure
across the first stitches.
NOTE: If the garment is badly damaged, you
may want to put a separate piece of
fabric under the hole to reinforce it.


