1 • 2 • 3 '--_" 5 -_
t
I III
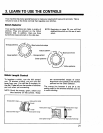
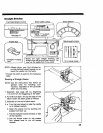
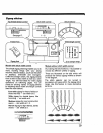
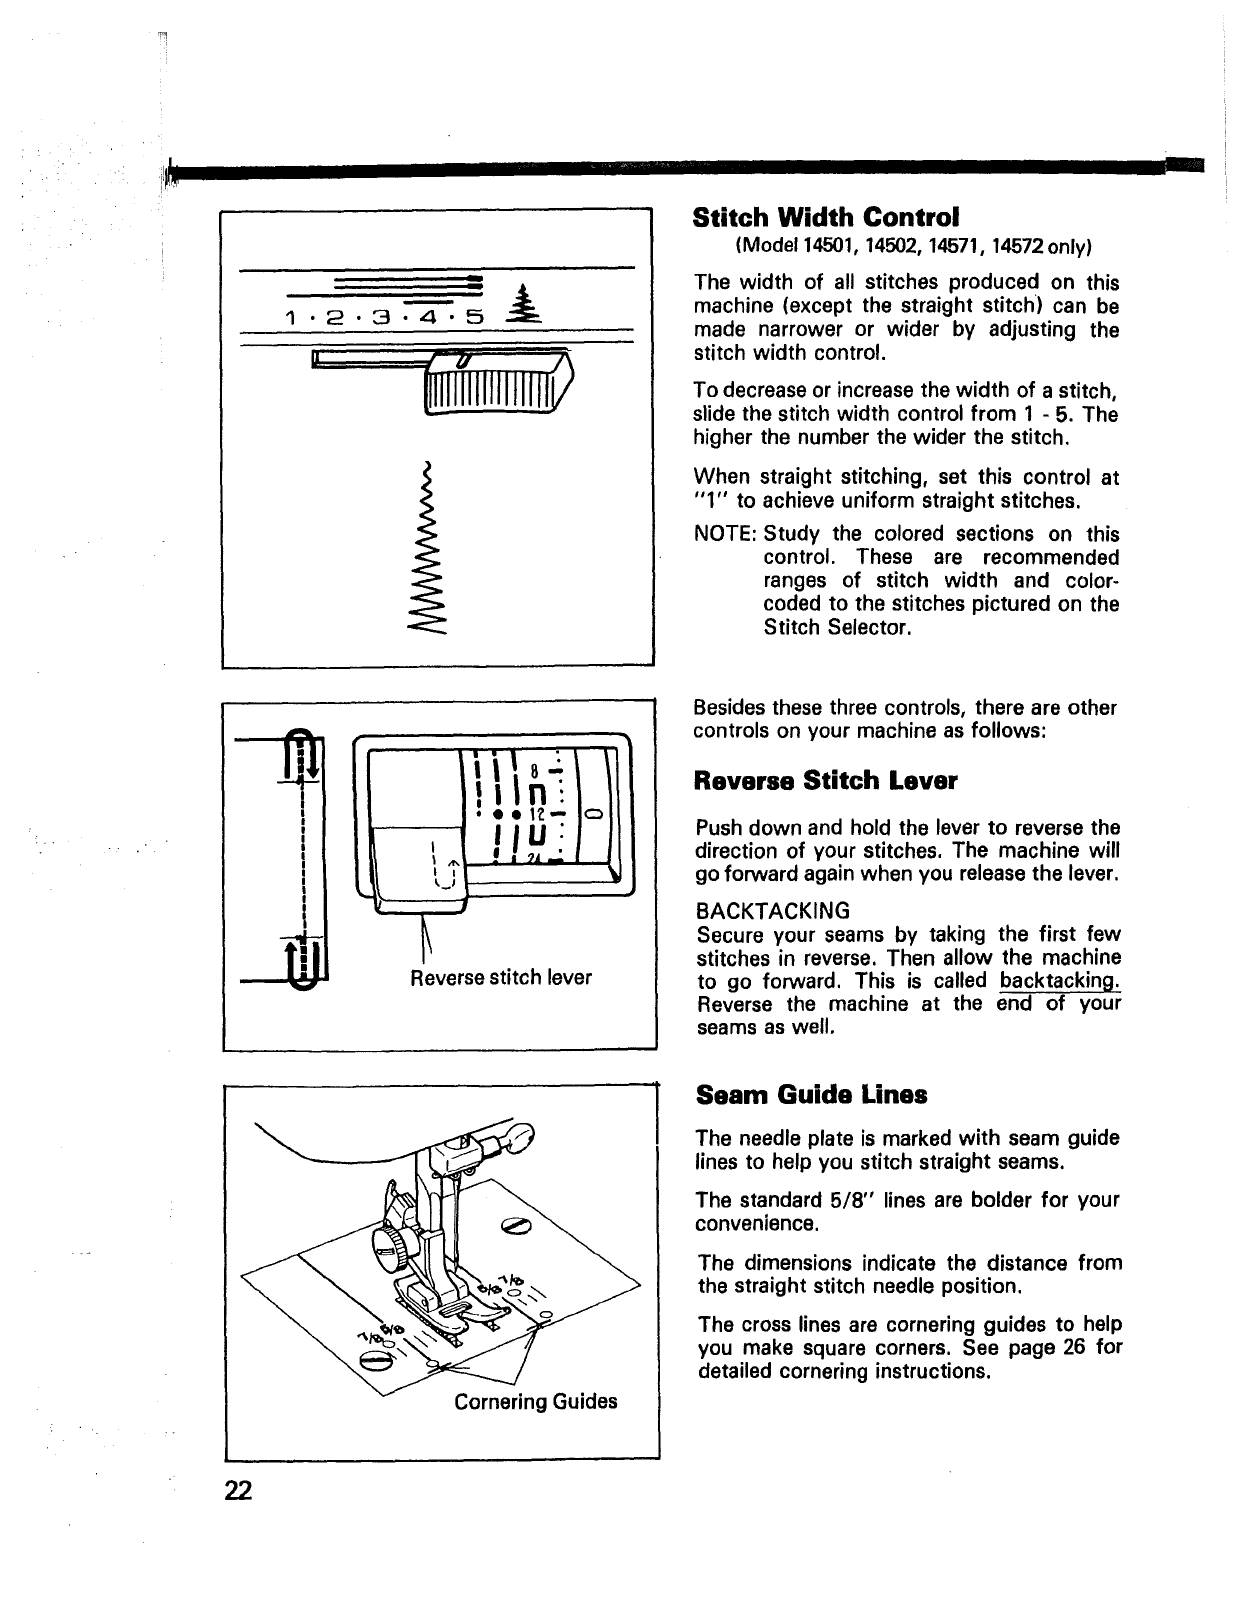
Stitch Width Control
(Model 14501, 14502, 14571, 14572 only)
The width of all stitches produced on this
machine (except the straight stitch) can be
made narrower or wider by adjusting the
stitch width control.
To decrease or increase the width of a stitch,
slide the stitch width control from 1 - 5. The
higher the number the wider the stitch.
When straight stitching, set this control at
"1" to achieve uniform straight stitches.
NOTE: Study the colored sections on this
control. These are recommended
ranges of stitch width and color-
coded to the stitches pictured on the
Stitch Selector.
I
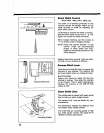
Reverse stitch lever
Besides these three controls, there are other
controls on your machine as follows:
Reverse Stitch Lever
Push down and hold the lever to reverse the
direction of your stitches. The machine will
go forward again when you release the lever.
BACKTACKING
Secure your seams by taking the first few
stitches in reverse. Then allow the machine
to go forward. This is called backtacking.
Reverse the machine at the end of your
seams as well.
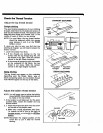
Cornering Guides
Seam Guide Lines
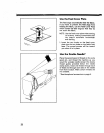
The needle plate is marked with seam guide
lines to help you stitch straight seams.
The standard 5/8" lines are bolder for your
convenience.
The dimensions indicate the distance from
the straight stitch needle position.
The cross lines are cornering guides to help
you make square corners. See page 26 for
detailed cornering instructions.
22


