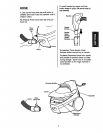
!
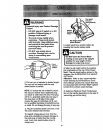
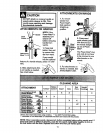
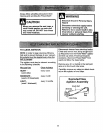
• CAUTION
DO NOT attach or remove handle or
wands while cleaner is ON, This
could cause sparking and damage
the electrical contacts.
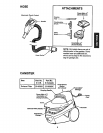
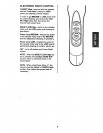
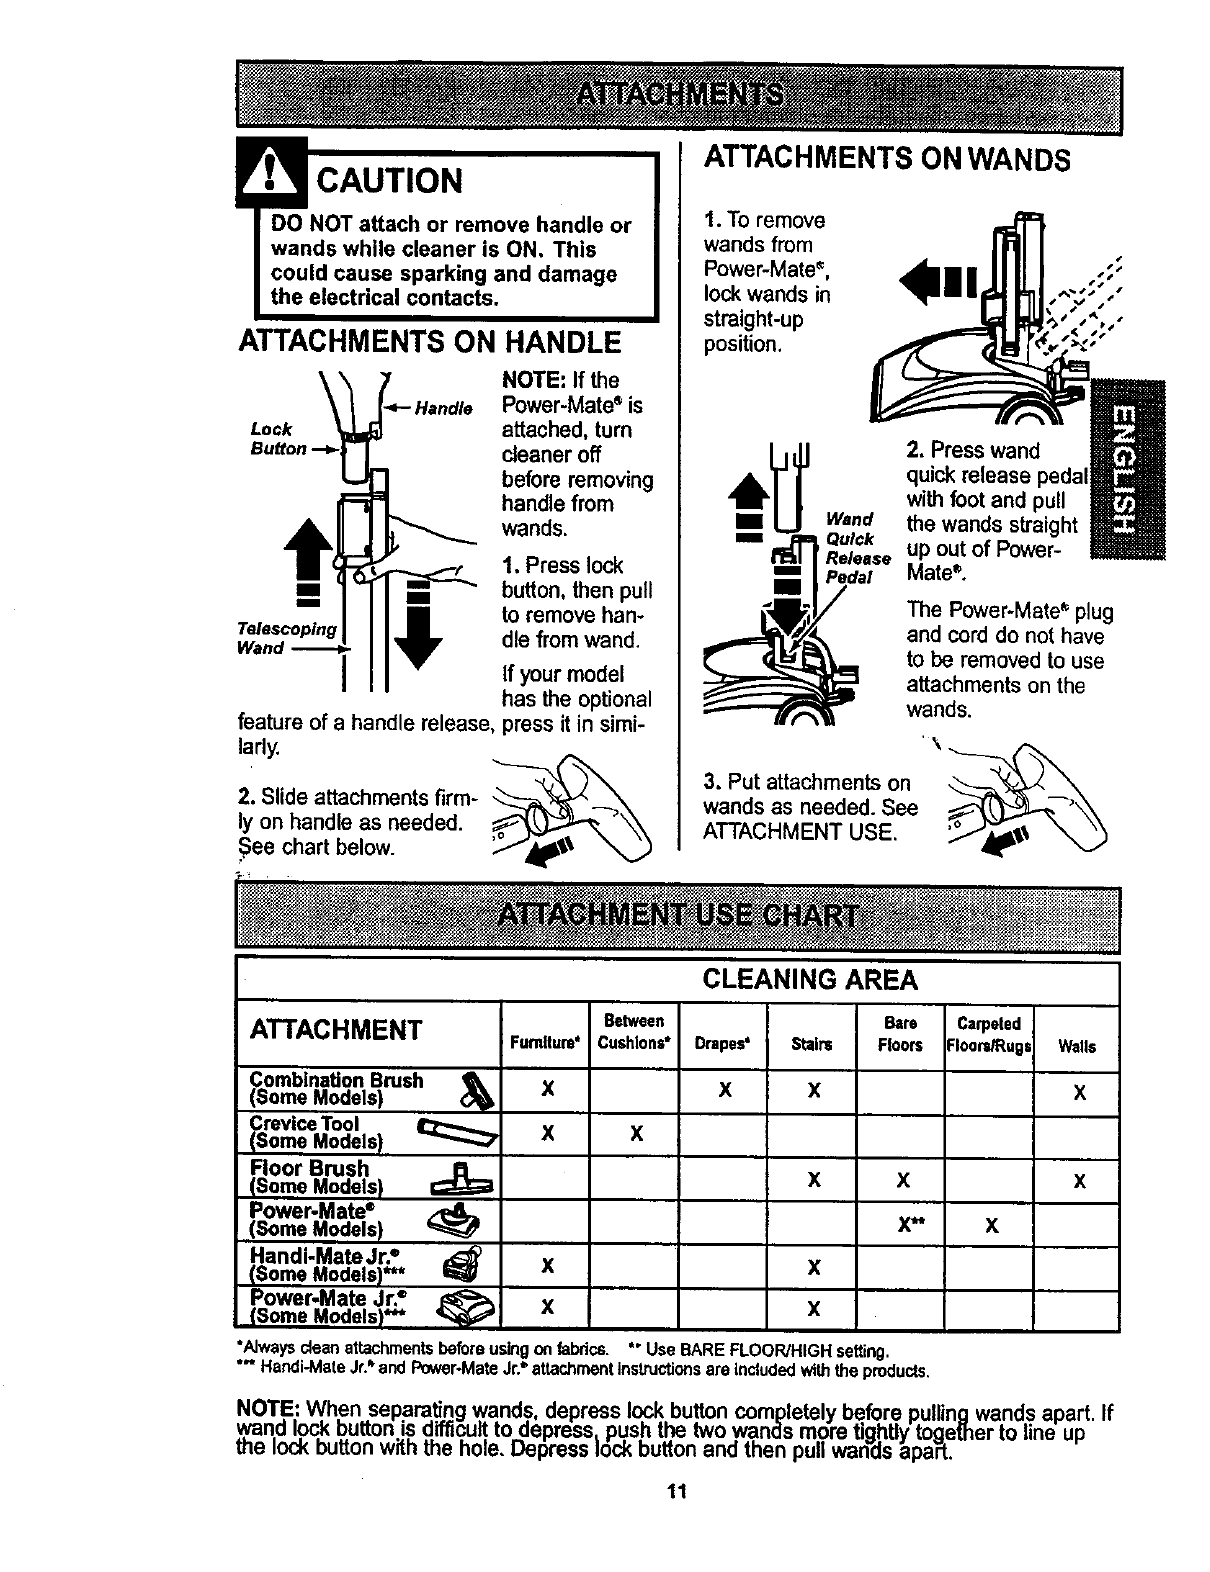
ATTACHMENTS ON HANDLE
Lock
Telescoping
NOTE: If the
Power-Mate_ is
attached, turn
cleaner off
before removing
handle from
wands.
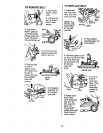
1. Press lock
button, then pull
to remove han-
dle from wand.
If your model
has the optional
feature of a handle release, press it in simi-
larly.
_('_,
2. Slide attachments firm- _--_'_
ly on handle as needed.
See chart below.
ATTACHMENTS ON WANDS
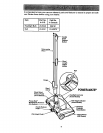
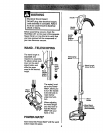
1. To remove
wands from
Power-Mates, ,;;
Is
lockwands in , ,"
straight-up %,,
,11
position.
2. Press wand
quickrelease pedal
withfoot and pull
the wands straight
up outof Power-
Mate®.
The Power-Mate* plug
and cord do not have
to be removed to use
attachmentson the
wands.
,\
3. Put attachmentson _---___ _
wands as needed. See
ATTACHMENT USE.
CLEANING AREA
ATTACHMENT Betw.n Carpeted
Cushions* Drapes' :loars_ugs Walls
x x
Combination Brush
(Some Models)
Crevice Tool
(Some Models) _
Floor Brush
(Some Models)
Power.Mate ®
(Some Models)
Handi-Mate Jr?
(Some Models)*** I_
Power-Mate Jr.=
(Some Models)"** '_
Furnlture*
X
X x
Bare
Stain= Floors
x
x x
x**
x
X
X
*Alwaysdeanattachmentsbeforeusingan fabrics.
*'* Handi-MateJr.=.andPower-MateJr? attachmentinstructionsareincludedwiththeproducts.
X
*"Use BAREFLOOR/HIGHsetting.
x
x
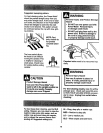
NOTE: When separating wands, depress lock button completely before pullingwands apart.
,wandlock buttonisdifficut.to depress_push the two wands more tightlytogether to line up
me lock buttonwith the hole. Depress lock button and then pullwands apaPt.
11
If


