20
Logset Assembly
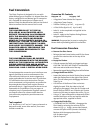
This is the heart of your Jøtul GI 425 Camden
fireplace. Much time and effort has been devoted
to attaining a lively, realistic flame picture while
simultaneously achieving efficient fuel combus-
tion and effective heat output under a variety of
installation conditions. The flame picture you
experience, however, will be affected by a number
of variables peculiar to your installation such as
venting configuration, environmental and weather
conditions, and fuel type. Log placement is critical
to the final flame picture. Pay particular attention
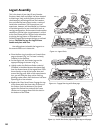
to placing the log pieces as illustrated here.
Carefully unpack and arrange the logs as outlined
below. CAUTION: The logs are fragile. Please
handle each piece with care.
Use safety gloves to handle the log parts as
the ceramic fibers can irritate skin.
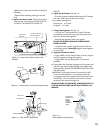
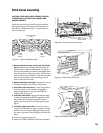
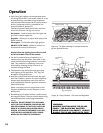
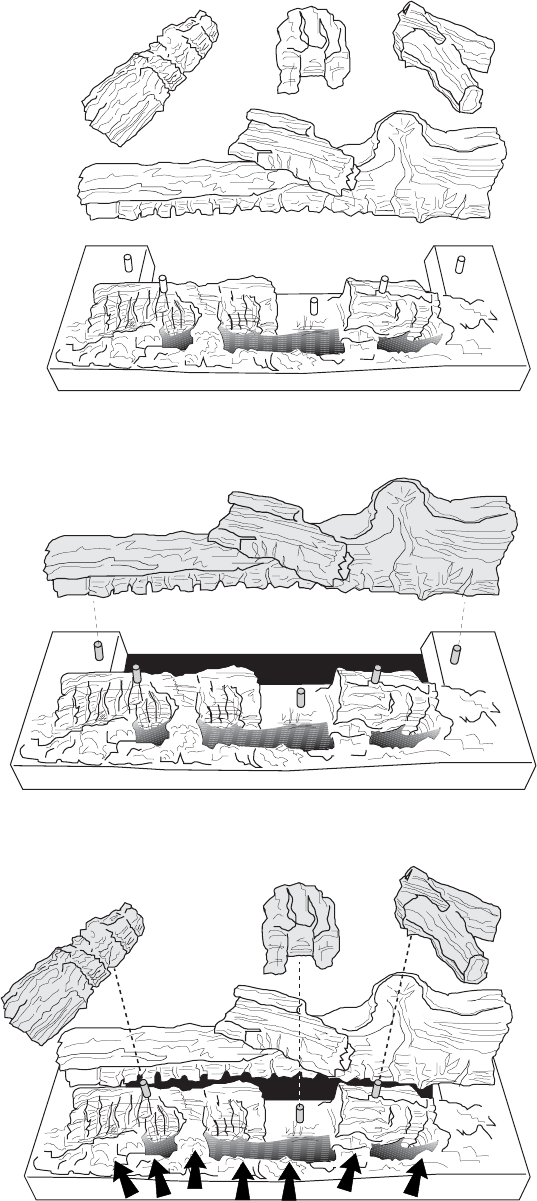
1. Place the Rear Log in position on Ceramic Base
pegs as shown in fig. 22. The base is already
installed in the fireplace.
2. Set the Right, Left, and Center Logs on the
appropriate pegs as shown in fig. 23.
3. Lightly scatter the Platinum Ember material
(included in the Miscellaneous Hardware Bag)
over the forward area of the Logset Base. Place
them directly on top of the burner base and
around the log parts. With a little experimenta-
tion, you will find that they add an inviting,
glowing ember effect after the burner has been
operating for a few minutes.
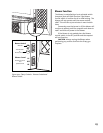
4. Replace the Glass Panel Frame: Engage the top
of the frame with the three tabs at the top of
the firebox. Push the bottom of the frame
against the firebox face and pull the Frame
Latches out to engage them with the slots in
the bottom of the frame.
Figure 23. Install the Center, Left and Right Logs on the pegs.
Figure 22. Engage Rear Log with Base pegs.
Figure 21. Logset Parts.
Rear Log
Left Log
Right Log
Center Log
Ceramic Base
Loosely scatter Ember material over the burner screen
and around the front log pieces.


