


25
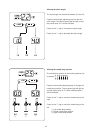
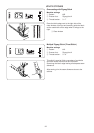
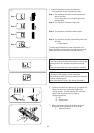
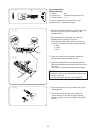
b Start the machine to sew the buttonhole.
The buttonhole will be automatically sewn.
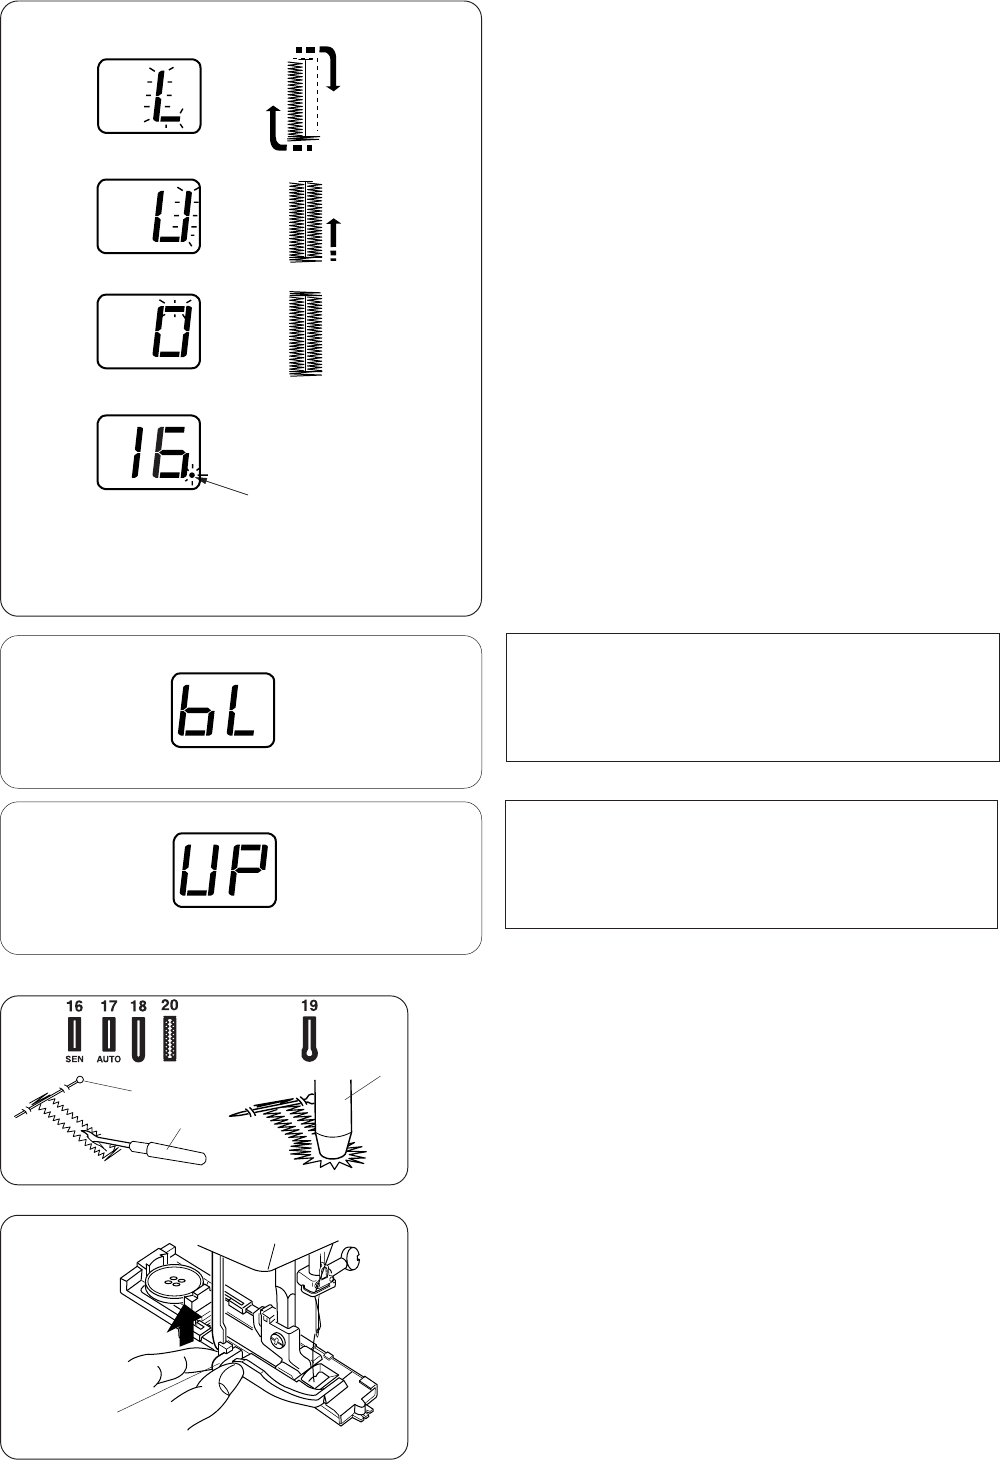
Step 1: The machine will sew the front bartack and
the left row first.
Then it goes back to the starting point with
straight stitch.
Step 2: The machine will sew the right row.
Step 3: The machine will sew the back bartack.
Step 4: The machine will stop automatically and a dot
will blink.
!2 Blinking dot
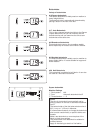
To sew another buttonhole, raise the presser foot.
Move the fabric to where the next buttonhole is to be
sewn, then lower the foot and start the machine.
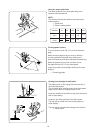
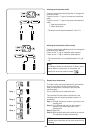
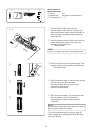
n Remove the fabric and place a pin just below the
bartack at each end to prevent accidentally
cutting stitches. Cut the opening with the seam
ripper. Use an eyelet punch to open a
keyhole buttonhole.
!3 Pin
!4 Seam ripper
!5 Eyelet punch
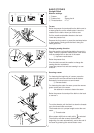
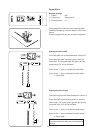
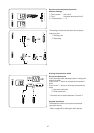
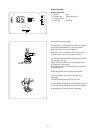
m When buttonhole sewing is finished, push the
buttonhole lever upward as far as it will go.
t Buttonhole lever
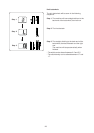
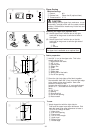
NOTE:
If you strat sewing the buttonhole without lowering the
buttonhole lever, the indicator will show a warning
sign.
Lower the buttonhole lever, then restart the machine.
NOTE:
If you select other pattern without raising the
buttonhole lever after buttonhole sewing, the indicator
will show a warning sign.
Raise the buttonhole lever, then select the pattern.
Step 1
Step 2
Step 3
Step 4
!2
b
n
m
!3
!4
!5
t