


28
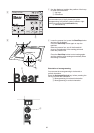
EMBROIDERY SEWING
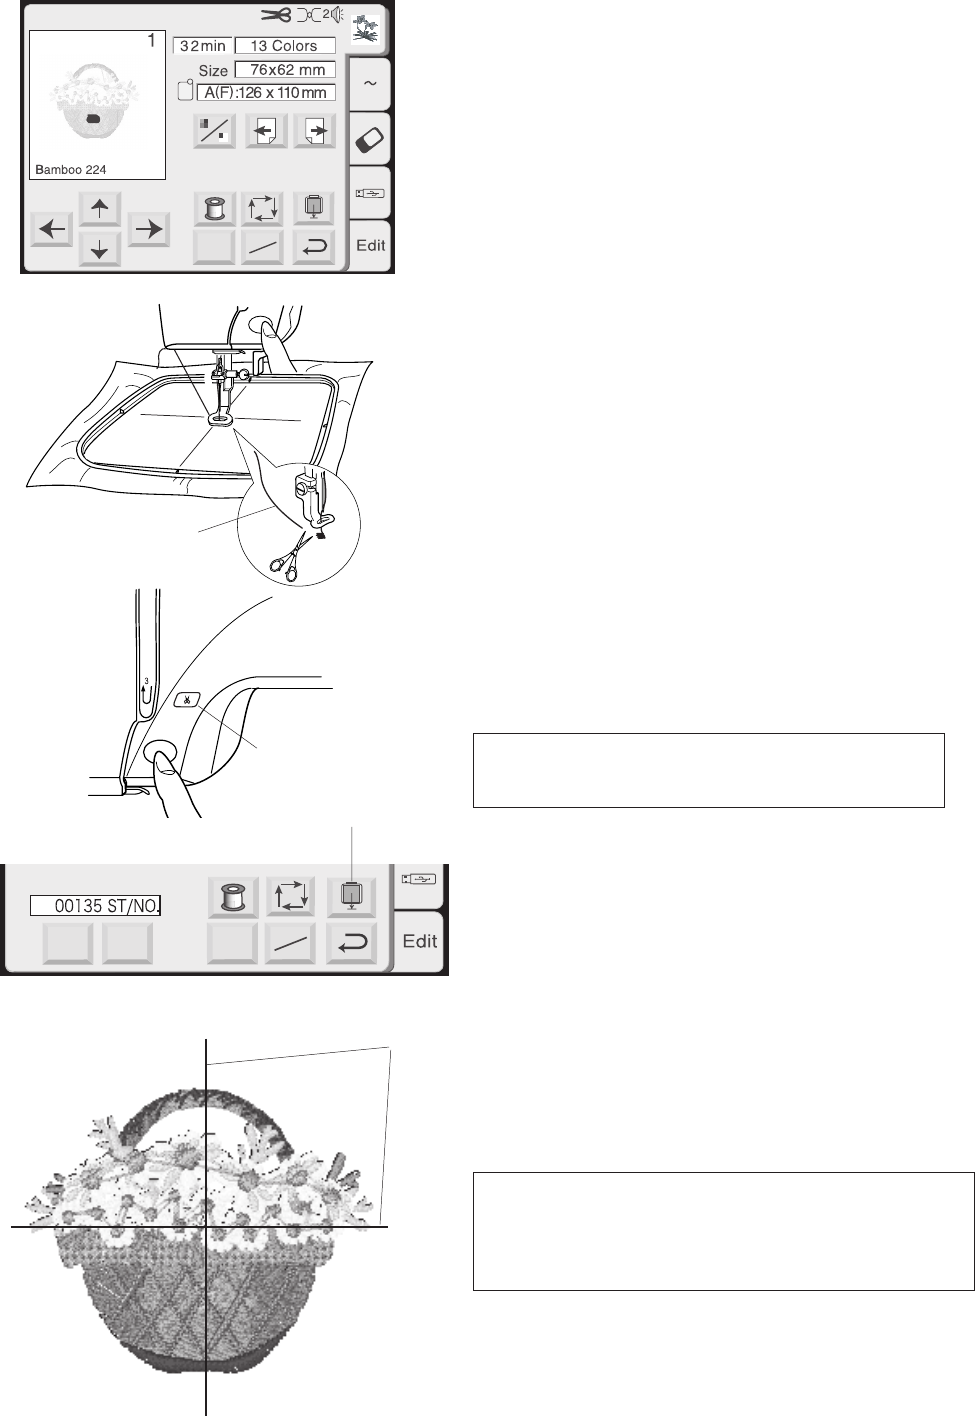
Starting to Sew Embroidery
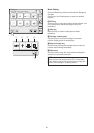
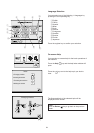
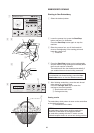
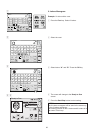
z Select the desired pattern.
x Lower the presser foot, press the Start/Stop
button and sew 5 to 6 stitches.
Press the Start/Stop button again to stop the
machine.
c Raise the presser foot, cut off the thread tail
close to the beginning of the starting point and
lower the presser foot.
q Thread tail
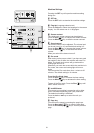
v Press the Start/Stop button to start sewing again
and the machine stops sewing automatically when
the first color section is finished.
The machine will trim the threads automatically if
you enabled the auto thread cutting command.
NOTE:
If you disabled auto thread cutting, press the Auto
thread cutter button or trim the threads manually.
b After finishing embroidery, press the auto thread
cutter button to cut the threads.
Press the Carriage store key to return the
carriage to the stored position.
w Auto thread cutter button
e Carriage store key
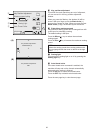
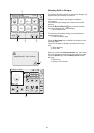
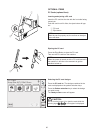
Sewing results
The embroidery stitch pattern is sewn on the centerlines
on the fabric as shown .
r Centerlines on the fabric
NOTES:
The embroidery stitch pattern position against the
centerlines is indicated on the template sheets.
For embroidery sewing with the PC cards, use the
included template sheets to set correct sewing position.
START
STOP
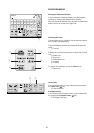
AZ
Mode
Ready to Sew
Jog
ST
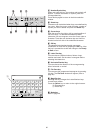
START
STOP
z
x
c
v
b
Mode
Jog
ST
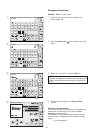
q
w
e
r